Showing posts with label Capitol Reef. Show all posts

Sunday, January 7, 2018

Cabin Reveal


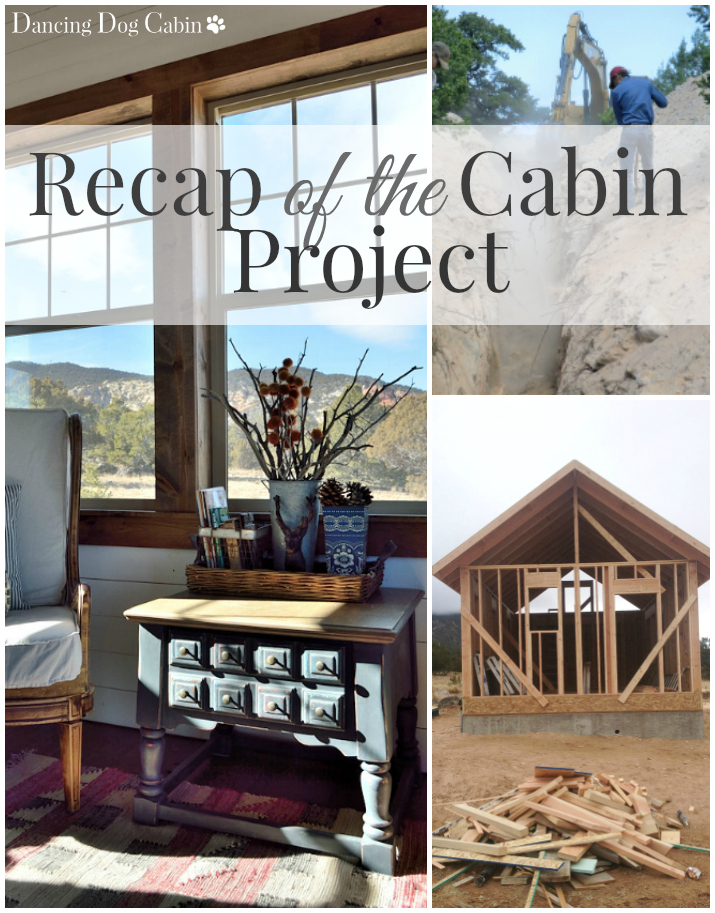
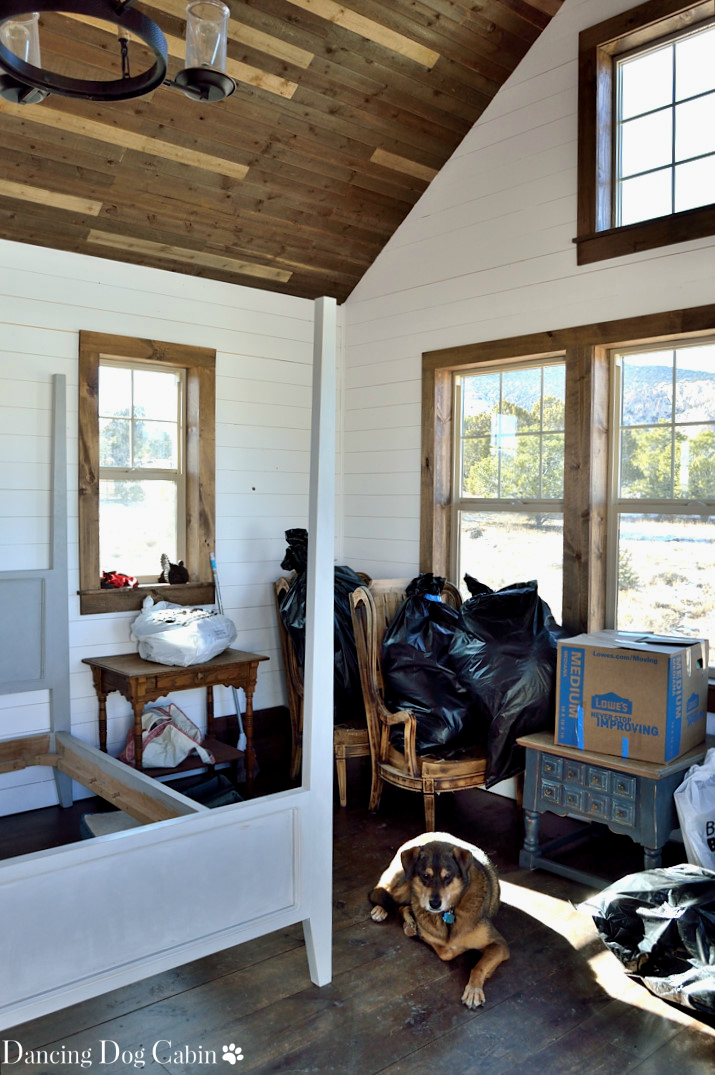
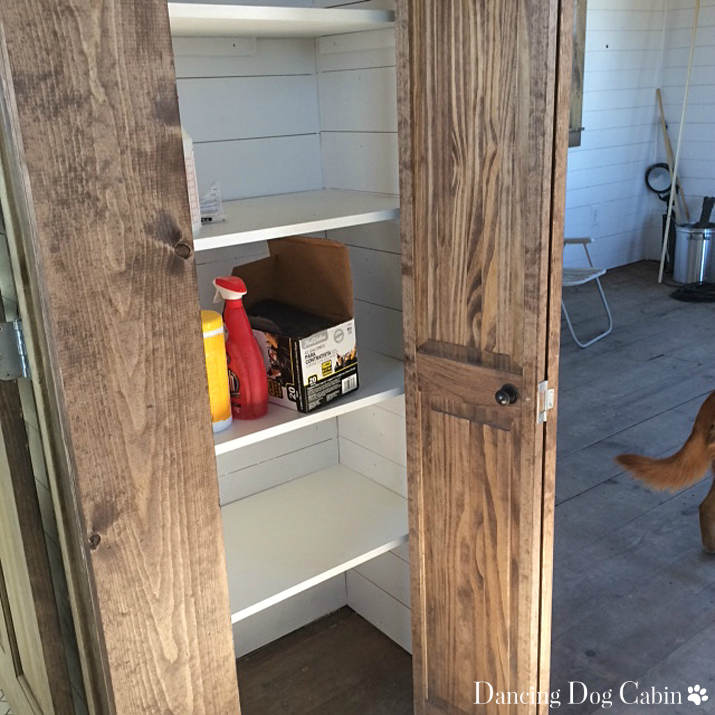
Our little cabin is 384 square feet in total, and includes a bedroom/living area with closet, little 'dining' area, small kitchen with pantry, and a bathroom. I'm not calling it a tiny home, because it isn't.  

When I first started the design of our little cabin back in 2013/2014,  I hadn't even heard of the tiny house movement.  If I had, we might have done a few things differently in terms of the layout of the different spaces and incorporating various organization features, based on all the innovative things I've seen on various tiny house blogs and the DIY channel. But the final outcome would have been the same: the construction of what will initially serve as a little vacation cabin and will ultimately become one of several bedrooms in a larger residence, once we get around to building it.  


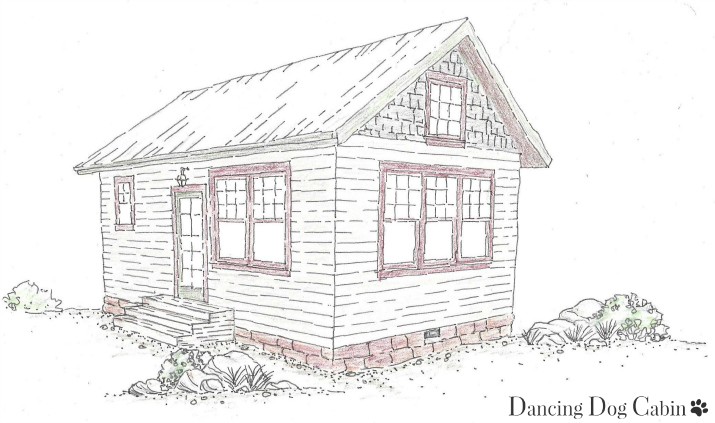
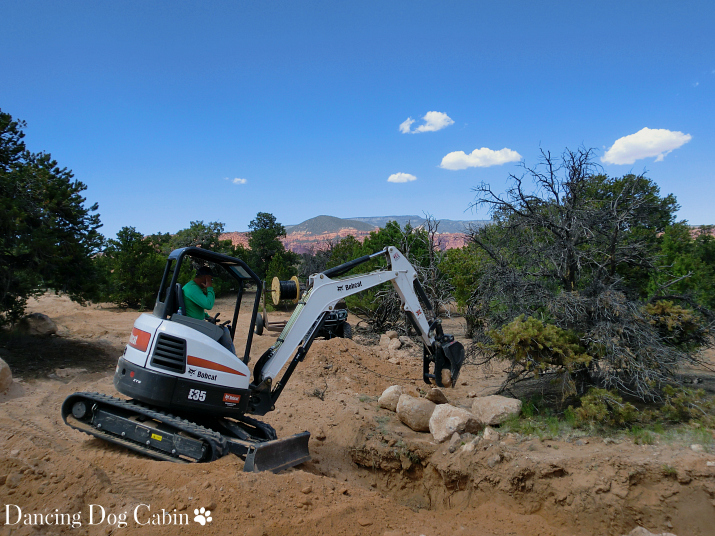
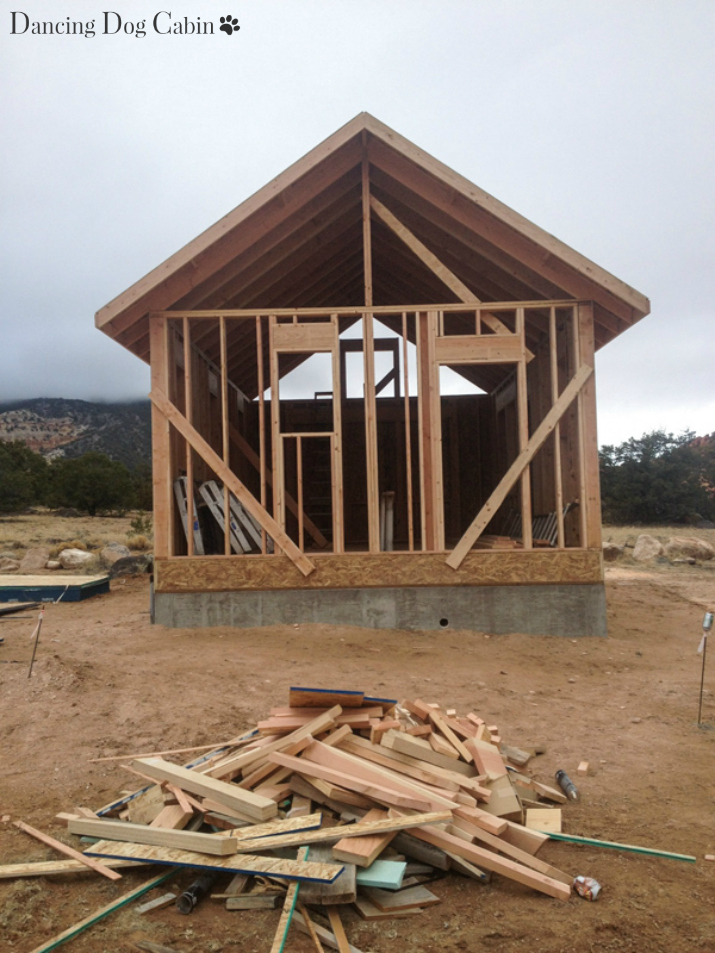
I talk about the design process of the cabin here and here.  For an summary of the whole construction process (which I was sure would never end), click here.


***

So...here is an overview of the entire cabin with its various spaces.  I will, over time, share more about the many projects that were encompassed by the larger cabin project, i.e.: furniture make-overs, kitchen sink conversion, bathroom vanity conversion, pillows, wall art...

I had a huge amount of fun selecting the furnishings and decor items for the entire cabin.  The overall guiding vision for the cabin looked to the character of this gorgeous, scenic part of Utah, whether it be elements from the surrounding mountains and mesas, the Romance of the West that saturates every nook and cranny of this part of the U.S. (after all, we drive by Butch Cassidy's birthplace when traveling too/from the cabin), rough and ready mining camps, or the pioneers that rattled their way west and settled and farmed wherever there was water.  


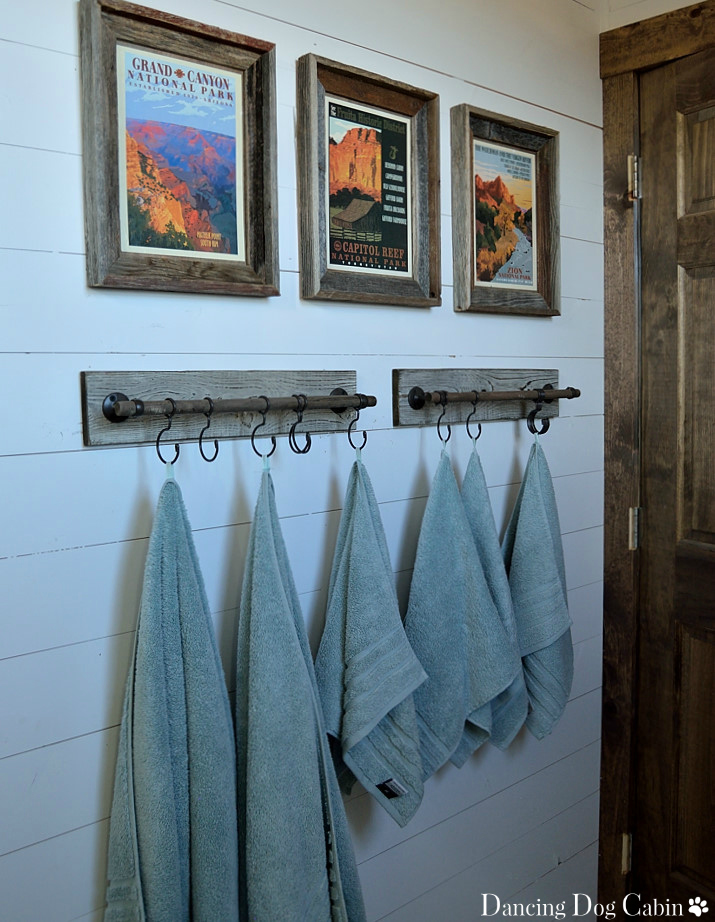
I also did my best to give a nod to nearby national parks, the breathtaking scenery visible from every window, the joys of camping, hiking, exploring, roasting marshmallows and making s'mores, drinking hot chocolate by the campfire... (but the best part is that we don't have to sleep on the ground or use a smelly outhouse, since we have a comfy bed and a nice bathroom-- I am very much over tent camping).


All this went into the selection of furniture, wall art, decor, bed linens, fabric, fixtures... I wanted something fun, quirky, and rustic, but at the same time completely comfortable for both of us. 

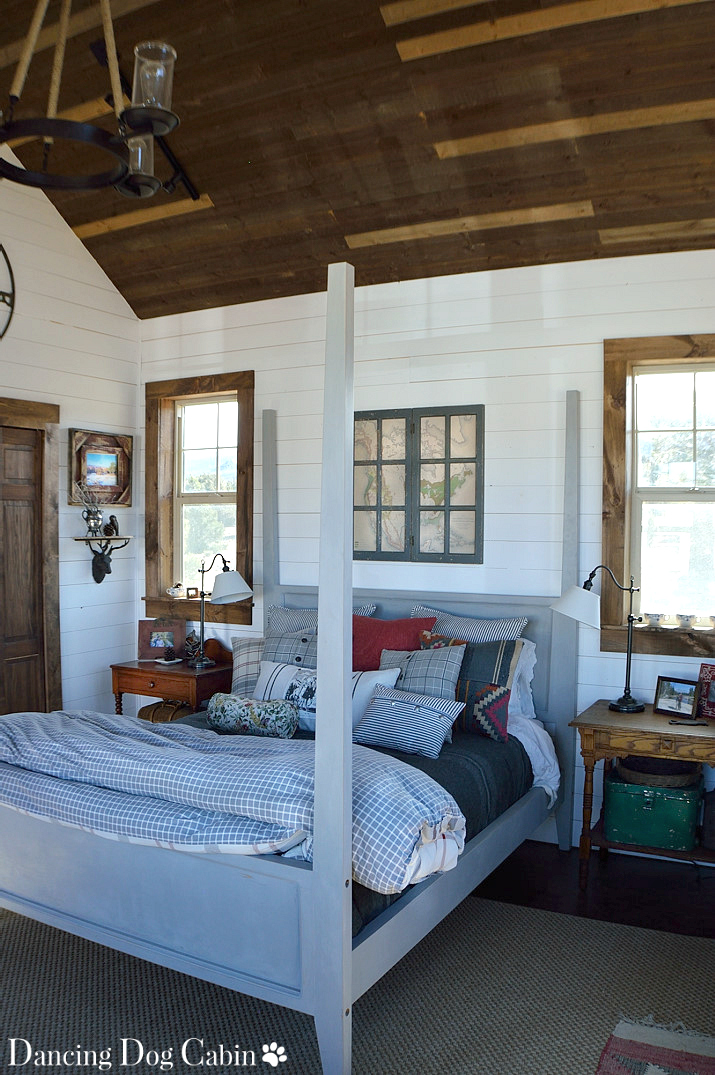
Living/Bedroom/Dining Room


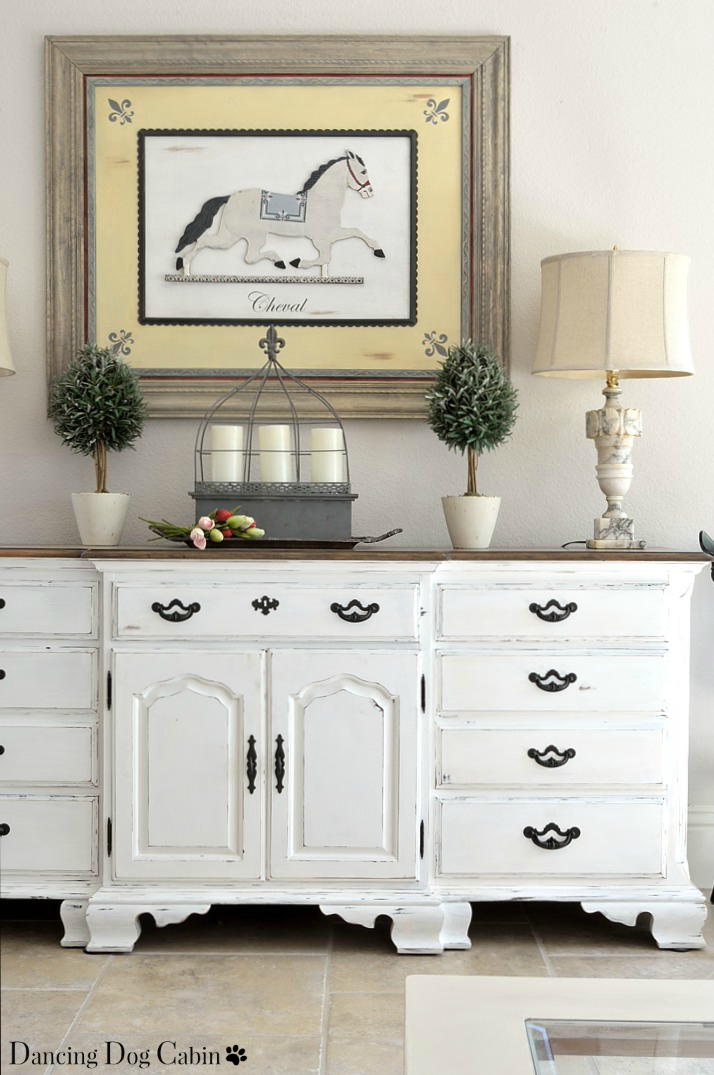
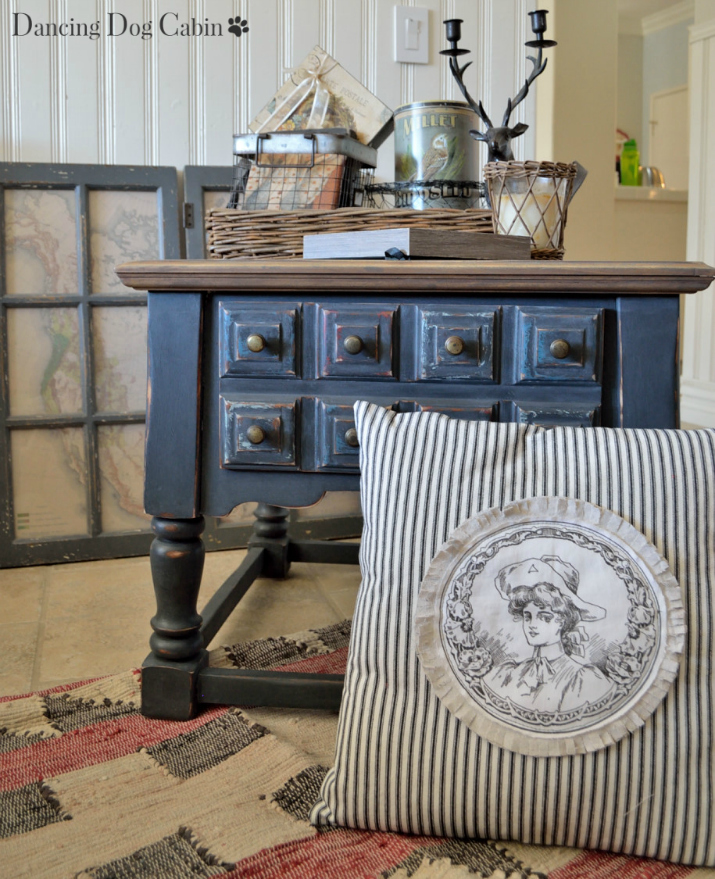
All of the furniture here is either an antique or vintage piece that I purchased, or something we already had on hand (the bed and dining chairs).  


Except for the two bedside tables, everything was a 'project' that required some work, from a few layers of  new paint to full deconstruction (the armchairs).  I wanted a balance between unpainted, stained wood and painted furniture.


Too much unpainted, stained furniture would result in an overly 'brown', dark space; too much painted furniture might be too 'cottagy' and feminine. 


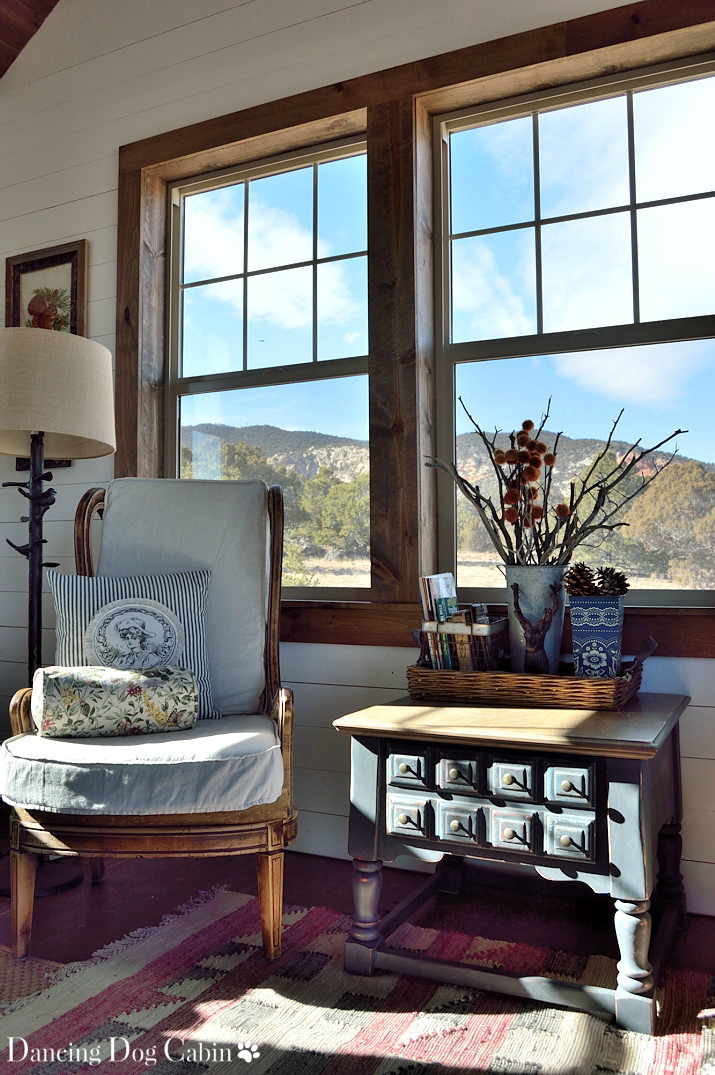
The fabrics I chose for the many pillows that I sewed (I went a little crazy with the pillows, it's quite a process to de-pillow the bed every evening before bedtime and then put it all together again the next morning) consisted of mostly simple checks and black ticking-- all reminiscent of cowboy camps and frontier homesteads and adventuring into rugged areas by horseback.  


I also used painter's drop cloth for several pillows as well as the cushions for the deconstructed armchairs  and shower curtain because (1) it's cheap, (2) it's paintable, and (3) it reminds me of the canvas saddlebags that were used on the pack burros my mom used to rent to carry camping gear on our family backpacking trips.  


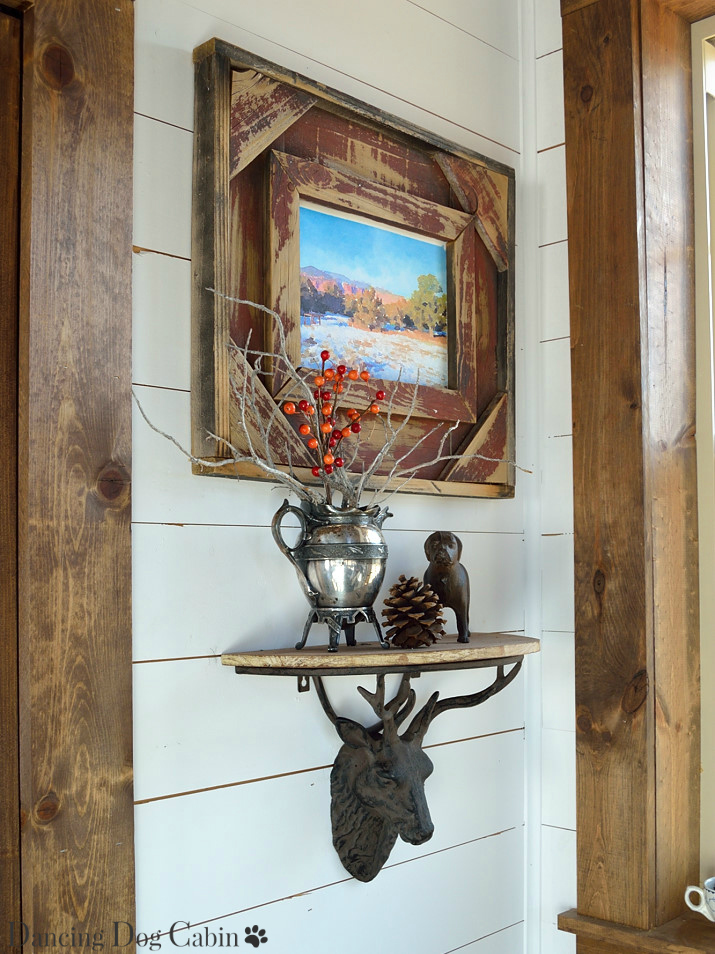
Elk and stag ornaments, other miscellaneous woodland creatures, and botanical prints and motifs, make an appearance throughout, because, after all, we are surrounded by hundreds of acres of pinon/juniper woodland, pine forests, scrubby mesas... 


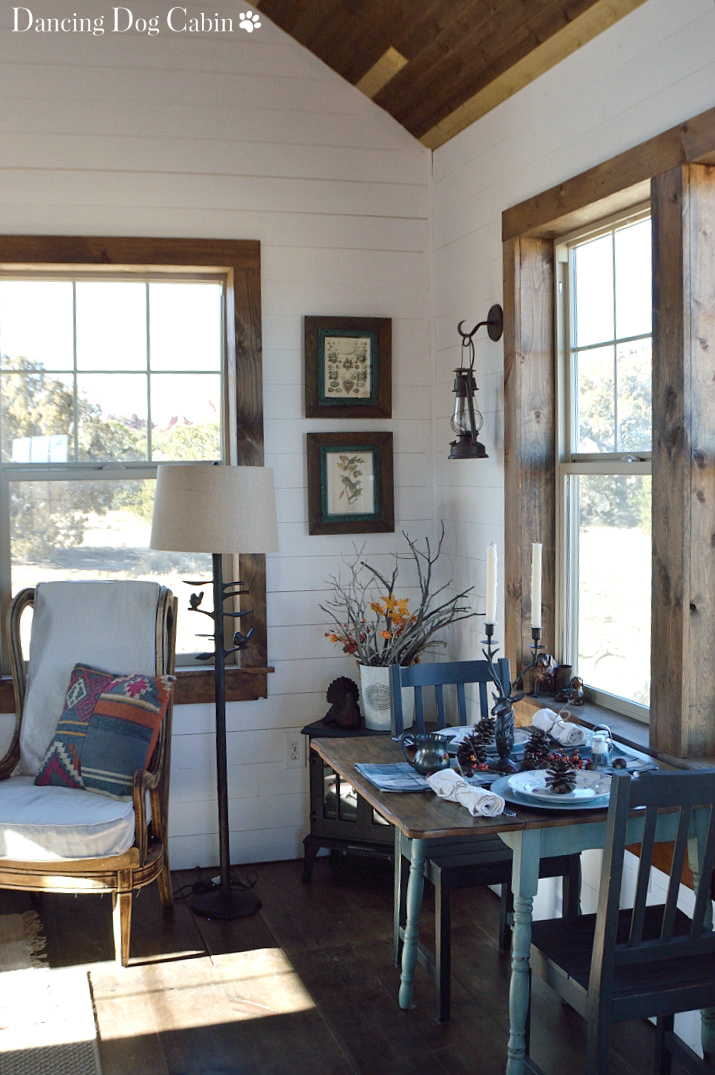
More woodland touches on the 'dining' table.  This little vintage table has two wings that flip up if we need more room.  These little lantern wall sconces add the perfect 'camping' touch to our dining experience.


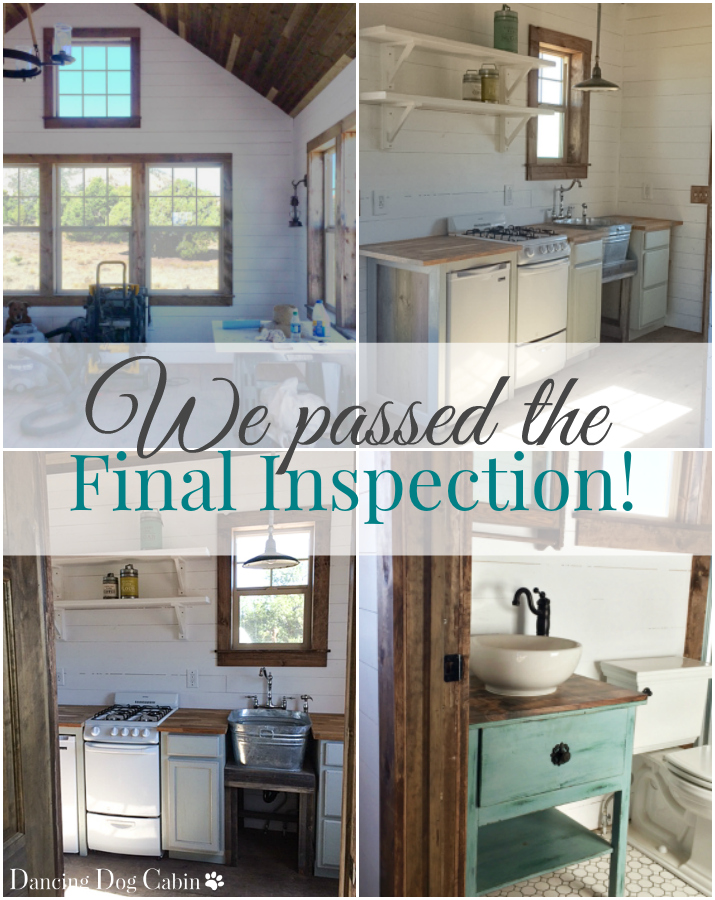
I had so much fun coming up with ideas for the kitchen!  


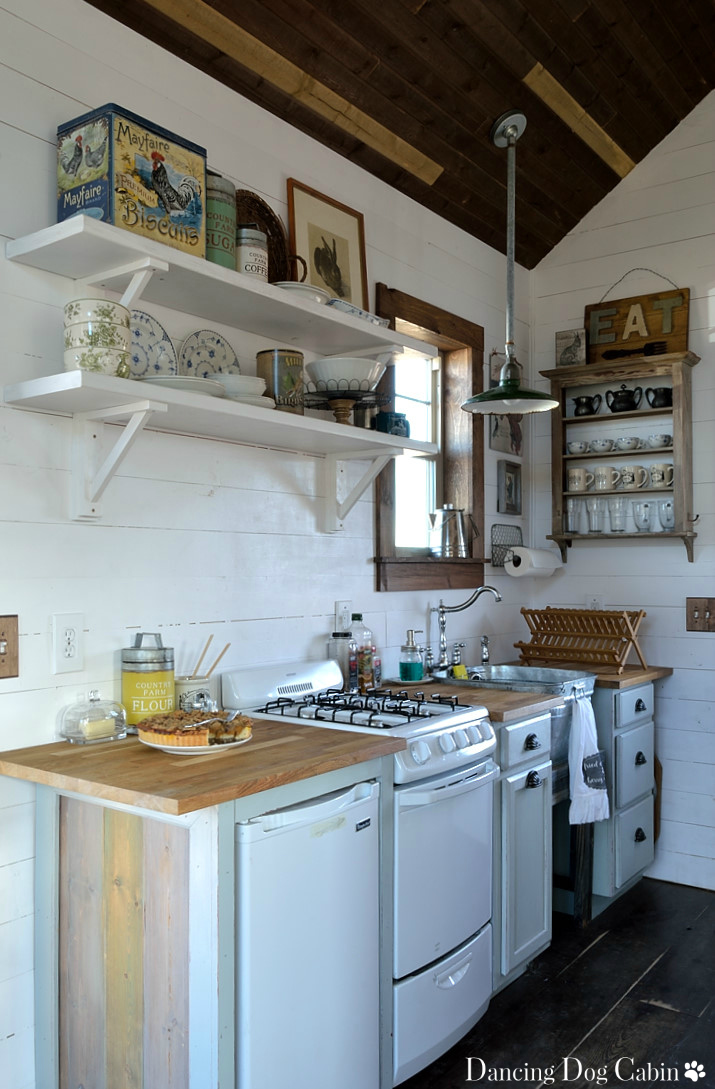
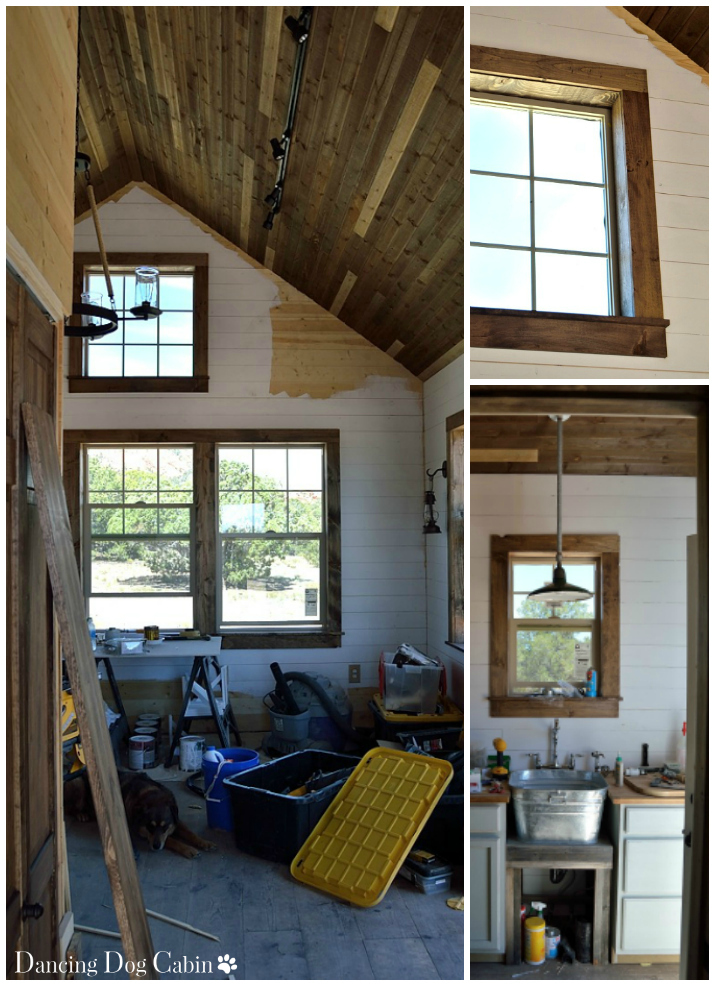
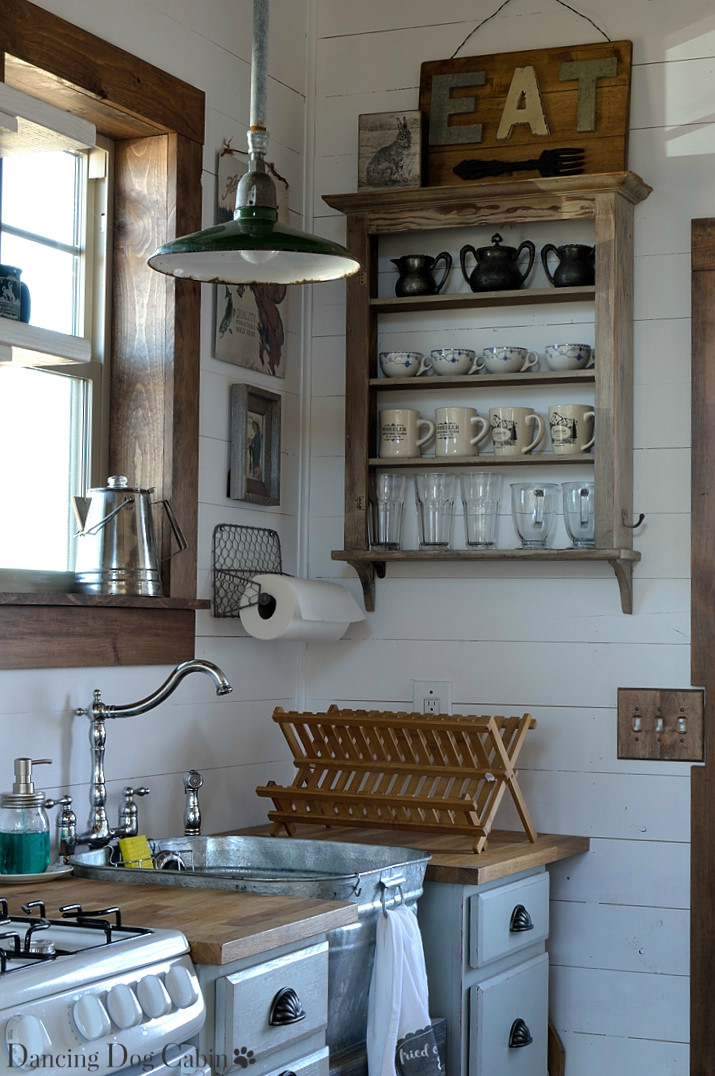
It may have been less fun for my husband to implement some of them, but he is ingenious Mr. Fix It who was able to turn a galvanized metal feed tub into a functioning, fully plumbed kitchen sink with a custom-made, salvage wood base. 

The polished chrome faucet adds a bit of vintage charm while making it feel like a real kitchen.


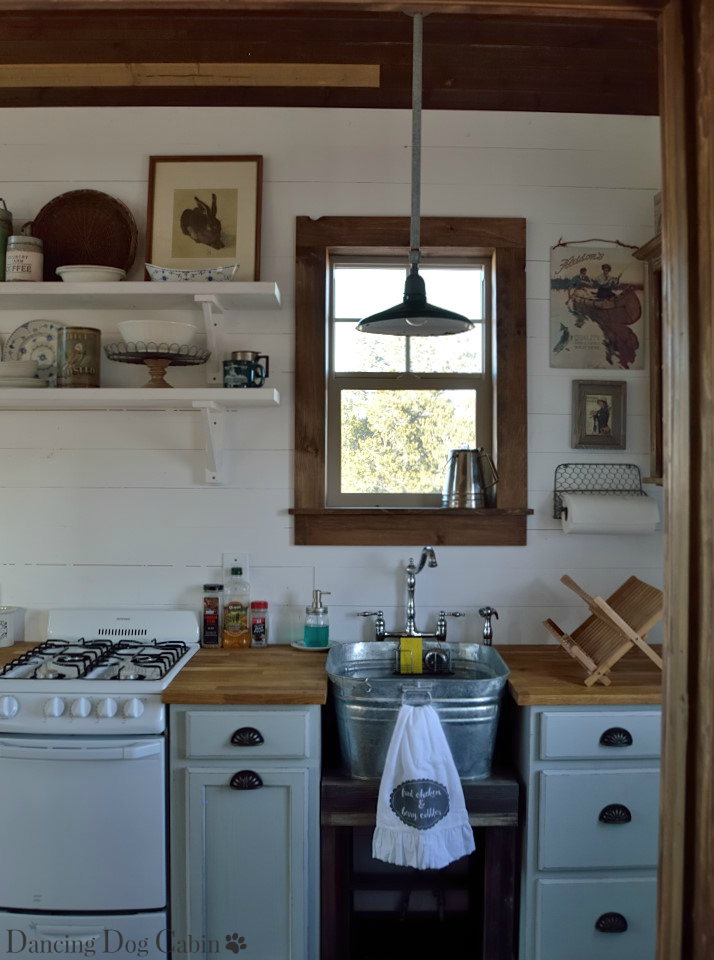
Hubby also converted this old barn light into a pendant light so that all dish washing activities are well lit.  


These are my mom's blue and white dishes-- the simple pattern is a perfect touch, and I think of her every time I use them.


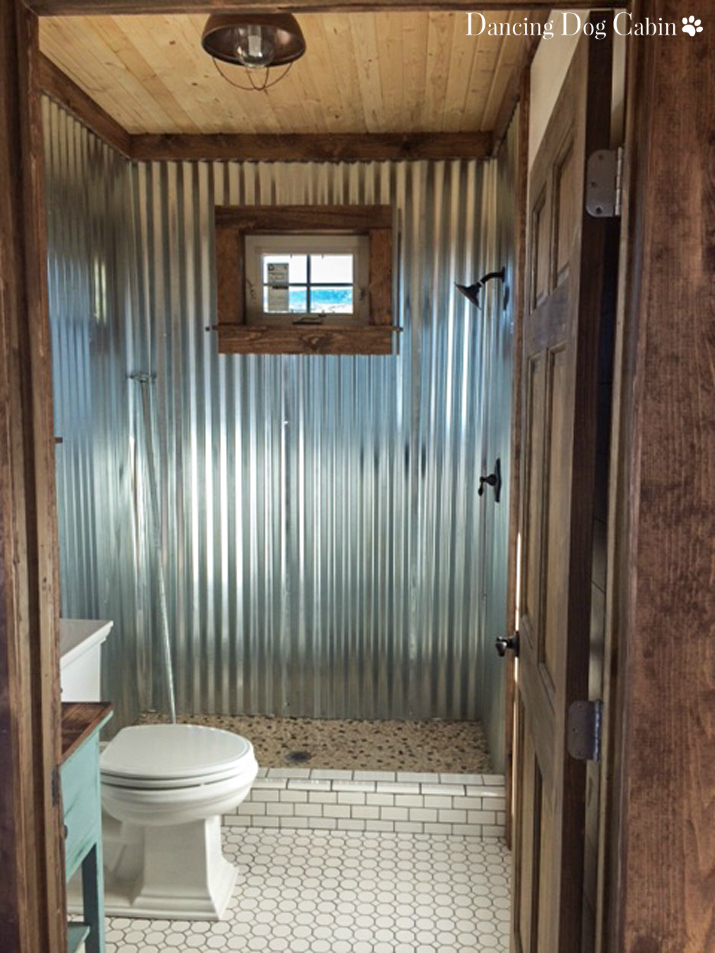
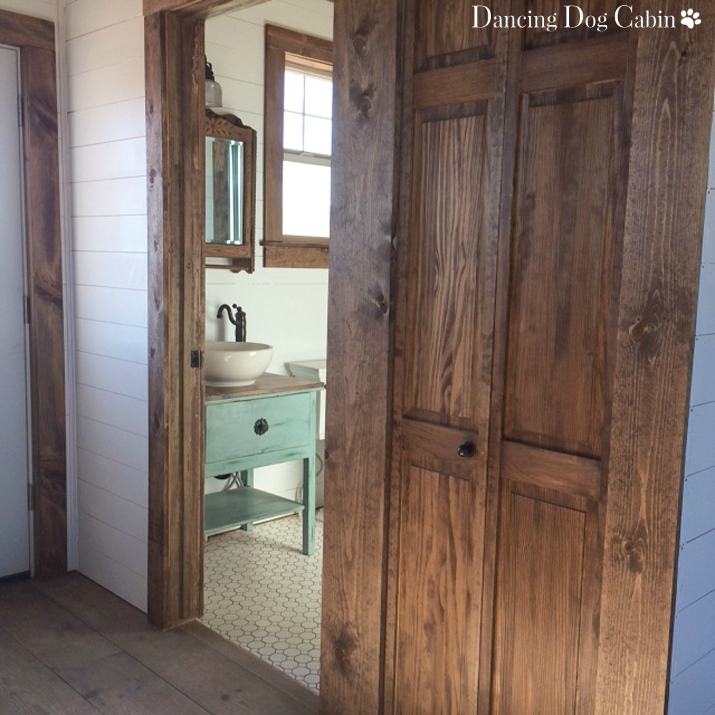
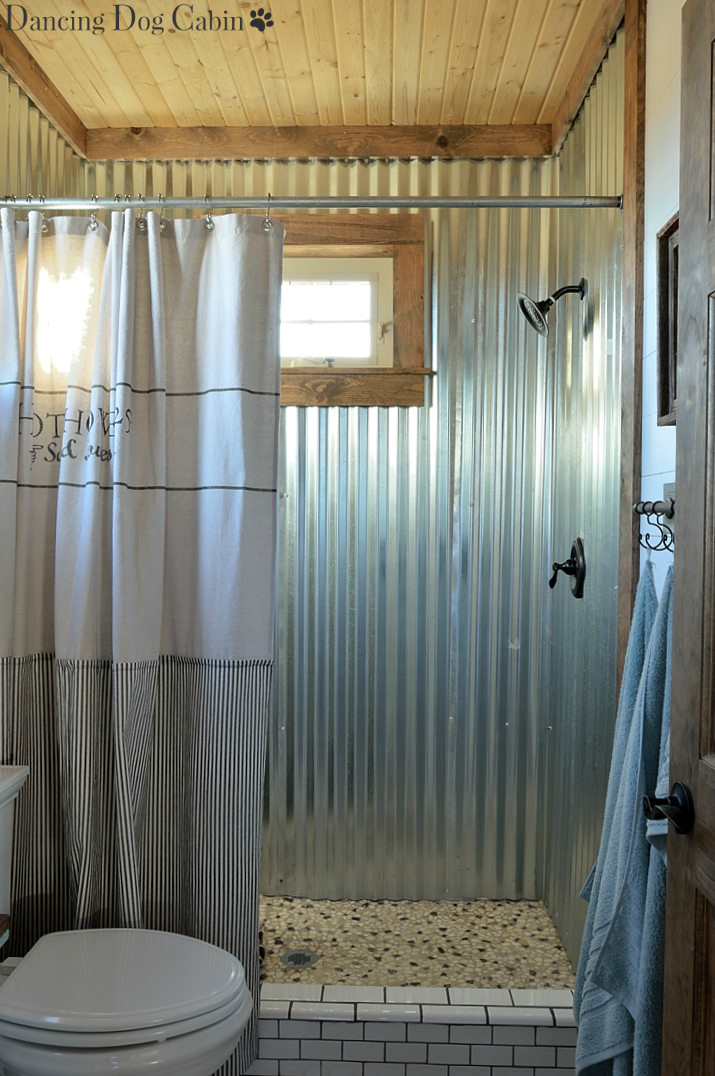
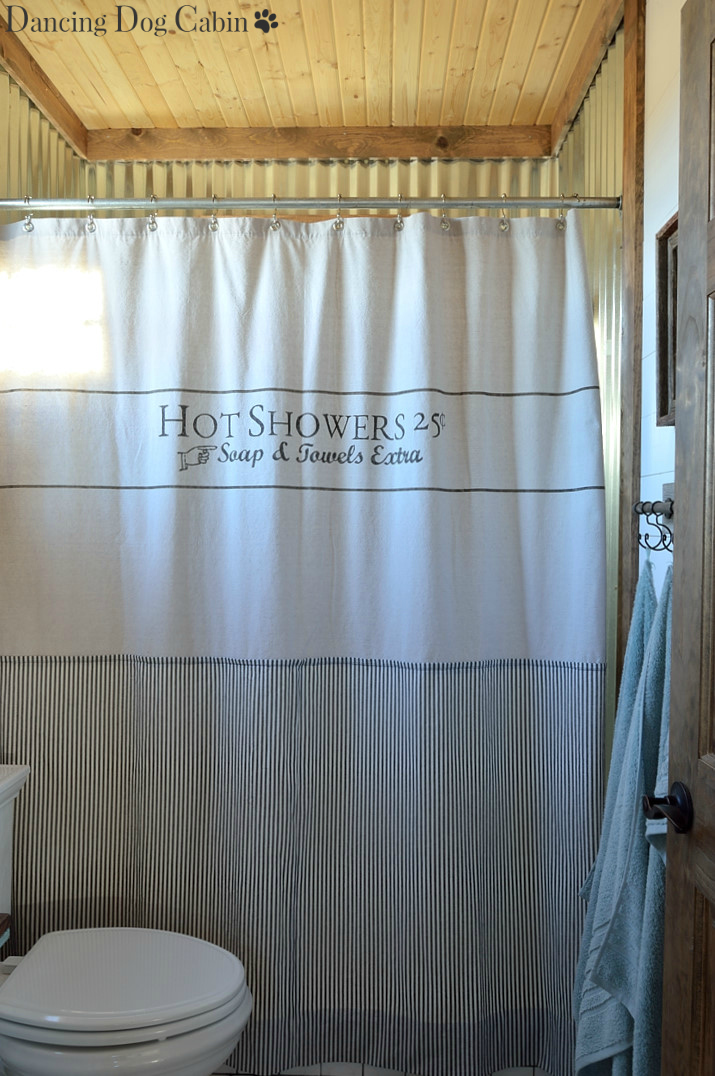
Ditto the bathroom...so much fun to design, and so much fun to use!  Again, my husband's excellent skills made it possible for this to come together the way it did.  


The shower curtains are another drop cloth project. I highly recommend using pebble tile for a shower floor-- nothing beats standing on those pebbles in your bare feet.

Building the custom shower pan and working with sheets of corrugated metal was not easy, but my husband pulled it off and we both couldn't be more pleased with the results.


I need to thank my husband for figuring out how make all my ideas, no matter how crazy, a reality.  Thanks to his ingenuity and fabulous DIY skills, we have a wonderful, unique cabin to enjoy and escape to.


***
Thanks for visiting!


***


Most likely linking to the following this week....


Tablescape Thursday at Between Naps on the Porch
Happiness is Homemade at Ducks 'N a Row


I was featured at:

Amaze Me Monday #248 at Dwellings-The Heart of Your Home

Inspire Me Tuesday at A Stroll Through Life

Wow Us Wednesdays at Savvy Southern Style

Share Your Cup at Have a Daily Cup of Mrs. Olson


Sweet Inspiration at The Boondocks Blog and Art Decoration and Crafting

Best of the Weekend at Ms. Toody Goo Shoes


Thank you so much to everyone who featured me.  I am truly honored to be featured on your websites!

Sunday, December 10, 2017

Recap of the Cabin Project


I'm slowly working my way through all the photos I took at the cabin over Thanksgiving, however this effort has been hijacked by major renovation efforts currently happening in my office.  In fact, I have no office right now: my desk and bookshelves are scattered in pieces across several rooms upstairs, and my computer is hiding under a dropcloth, along with the WiFi, so neither gets covered with all the dust from the sanding going on in my office... so it's a little hard for me to make any headway on photo editing.

So in the meantime, I thought I would give you a recap of the cabin journey from start to finish.

Water and Power

Our property had no water or power, so we had to bring it in from the main road a half mile away.  I'm still amazed that we managed to dig a half-mile long trench, get all the pipe and utility lines in place, get it inspected and approved, bury everything, and actually end up with running water on our property in one week.  

For more information on the first step of what has been an incredible journey for my husband and I, click here (this is also the very first post of this blog).


Weather-Tight Cabin

Originally my husband had wanted to build the cabin structure himself, but luckily the voice of reason prevailed and we hired a contractor to build the finished shell.  

For more on foundation building and framing fun (courtesy of our contractor), click here


Septic and Water System and Starting on the Interior

Once the weather-tight cabin was finished, it was our turn to step in and get to work on finishing the interior and installing the septic system and water tank and pump.  This was two years ago-- I can't believe I actually thought we were 'almost done'!

For more on this, click here.  


More Work on the Interior

We had to go back several more times to get the interior finished (my husband made several more trips than I did).  Finish work not only included installing the 'salvaged' wood ceilings and floors, but also installing and painting the tongue and groove ('shiplap') walls, staining and installing the window and door trim, installing the custom shower and converted vanity sink, the galvanized feed tub kitchen sink...

 Click here to see more on this.


Passing the Final Inpsection


Last September we passed the final inspection.  The week before we took care of some final details (including installing the kitchen cabinets, butcher block counter tops, open shelves, finish painting, among many others...).  We were beyond elated; we celebrated by going out to dinner with my brother. The whole evening was a blur, I was so tired and relieved that we finally did it.

Click here for more on this.   


Finally We Move in the Furniture

I can't believe it's taken us an entire year to get back to the cabin and furnish it, but we did it... here are a few photos of us getting stuff put in place.  More photos of the finished cabin to arrive soon...


Thanks for visiting!


***


Most likely linking to the following this week....


Tablescape Thursday at Between Naps on the Porch
Wonderful Wednesday Blog Hop at Ducks 'N a Row
Share Your Cup Thursday at Have a Daily Cup of Mrs. Olson
Happiness is Homemade at Ducks 'N a Row
DIY Salvaged Junk Projects at Funky Junk Interiors


Sunday, April 30, 2017

We Passed the Final Inspection!


Over the past several months I've been mulling over how to start blogging again after having completely fallen off the blogging wagon last summer.

So... I'll just start by saying that we passed our final inspection!  Last September.  However, our joy at finally reaching this huge milestone was completely overshadowed by the fact that both my husband and I each lost someone dear to us last year. 

Last year was a horrible year filled with illness in both our families, loss, my own health issues...so DDC and everything else went dark last fall when my mom passed away...

One of the last times I spoke with my mom was when I gave her a virtual tour of the cabin via my phone a few days before the final inspection.

I had so hoped to show her the finished  (even furnished) cabin in person.   

In a way, this post is just another virtual tour for my mom, because I know that somewhere she is looking on, laughing and commiserating with me over all the things, big and little, that my husband and I sweated bullets over, agonized over, cried over, fought over...All those little unique, custom ideas that we (mostly me) thought were so fabulous that gave my husband fits during installation.  The bathroom vanity sink that kept (and still does) leaking...the uncooperative sheets of corrugated metal destined for the shower...the galvanized metal tub-as-kitchen sink ...building the custom tile shower pan...converting the gas stove to propane...

So, mom, here it is...we still have a few little details to take care of, and some not so little (the deck) as well.  But we finally made it to the finish line.  I sure wish you were here to see it in person...

***

I took all these photos with my phone, so the quality isn't the greatest.  I was too exhausted at the time to drag out my camera, the tripod, etc. and make the effort to get nice photos.

Both my husband and I aren't talking about it, but we both know that the leaking bathroom sink has to be fixed.  But fix it we will, because I love the way this looks. 

I suspect that the base is too thick for the hardware and that we should have installed the vessel sink directly onto the original table top, or removed the original top and installed the new one (and put the sink on that).  I think my husband took this apart and re-assembled it a couple times, at least, in an effort to fix the leak.  In the end he stuffed a bunch of paper towels underneath and prayed the inspector wouldn't catch it.

By some miracle, the inspector didn't look at the sink at all and missed the fact that it leaks.


Installing the corrugated metal sheets as shower walls was definitely a seat-of-our-pants enterprise.  I found lots of examples of showers finished with corrugated metal on the Internet (mostly Pinterest) but neither my husband or I could ever find any posts or videos that explained how to do it.

I'm happy with the way it looks (it will look even better once I get a shower curtain up), but I'm a little nervous about keeping it clean...


I'm pretty thrilled with our mini pantry. My husband scoffed at the idea of having so much storage, but I've seen how he shops at the grocery store, so I know better... Plus, in our California home, we presently have every small kitchen appliance known to mankind, and I have no reason to expect things to be different at the cabin.


The bi-fold doors are perfect for this small, constrained space.


Still need a few finishing touches in the kitchen: cabinet hardware, more open shelves at the far end, perhaps some kind of rustic corbel under the counter overhang by the door. But it is a fully functioning kitchen (-ette) at this point.


I was so worried that the inspector would ding us for not finishing this corner between the pantry and the closet.  He didn't even look at it. Something else that still needs to be done however.


We installed the kitchen sink and its base first (making sure it was centered under the window) and then placed the cabinets and counter top afterward.  Installing the kitchen faucet and butcher block counter around the tub/sink was harder than we ever dreamt.   But my husband figured it out. And so far, it doesn't leak.


There is R2-D2 (a.k.a. the big shop vacuum) lurking in the background, slyly waiting for the next opportunity to break more toes (I kicked it in a fit of irritation over paint colors a few years ago). 

I love the light and the views in this room.


Yes, I know the switch plates are notched into the door casings.  Thanks to an initial design boo-boo, we lost a few inches all around when we had to switch from 2x4 framing to 2x6 framing during construction to accommodate insulation that had the code-compliant R-factor. That meant that the extra wide door casings that I had originally included in the design now overlapped the switch plates.  And we didn't catch this until after the electrician had roughed in the electrical. The other solution would have been to use narrow, dinky door and window casings.  

I hate narrow, dinky casings.  I had specifically designed the cabin to have beefy, rustic looking casings that would nicely offset all that white-painted tongue-and-groove panelling.  

So we have switch plates notched into the door casings.  I'm calling it quirky.


So, there it is.  Finally a livable cabin.  Next on the list is the few finishing touches, the deck (click here for my ideas on that), and, most importantly, furnishing it (click here and here for a look at some of the things that I plan on using in the cabin). 

Here is a sneak peek of two other projects that languished for a long time before I finally finished them.  More on this to come...


***

This post is dedicated to my mom, because, I owe, among many other things, my decorating style, my love of old vintage things and antiques with character, and my approach to creating a home to her and the home I grew up in.  


In loving memory.


I need also to thank my wonderful husband.  He did all the finish work inside himself and did an amazing job.


Thanks for visiting!

***


Most likely linking to the following this week....


Tablescape Thursday at Between Naps on the Porch
Bouquet of Talent at Life on Lakeshore Drive
Home Sweet Home at The Charm of Home
The Inspiration Board Creative Party at Carolyn's Homework
Five Star Frou-Frou at a Tray of Bliss
Share It One More Time at Everyday Home Blog


I was featured at...

Amaze Me Monday #213 at Dwellings
Wow US Wednesdays #325 at Savvy Southern Style
Sweet Inspiration #56 at The Boondocks Blog


Picture