
I'm slowly working my way through all the photos I took at the cabin over Thanksgiving, however this effort has been hijacked by major renovation efforts currently happening in my office. In fact, I have no office right now: my desk and bookshelves are scattered in pieces across several rooms upstairs, and my computer is hiding under a dropcloth, along with the WiFi, so neither gets covered with all the dust from the sanding going on in my office... so it's a little hard for me to make any headway on photo editing.
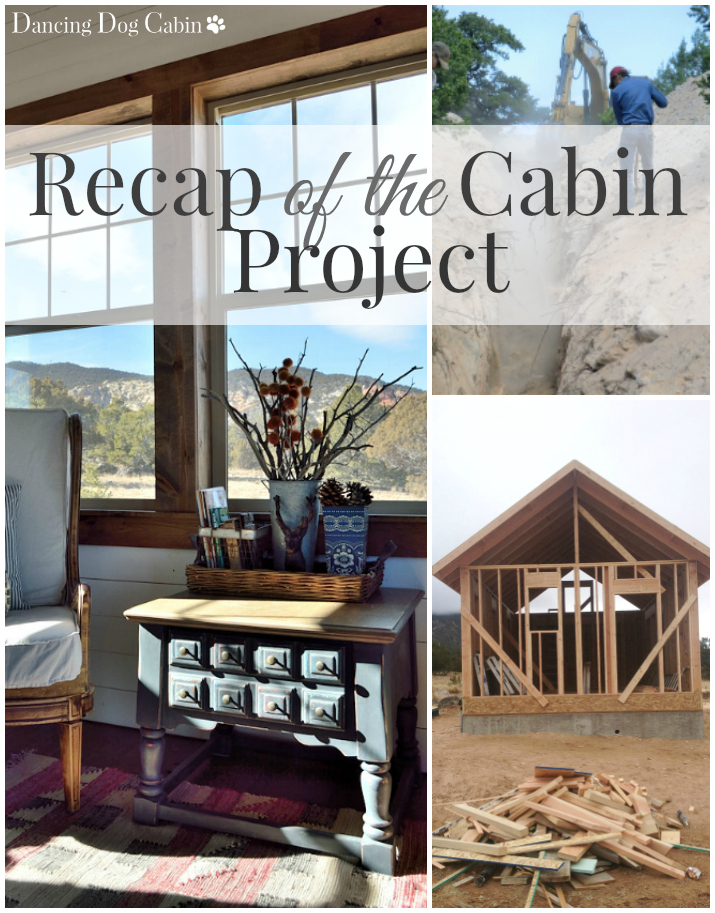
So in the meantime, I thought I would give you a recap of the cabin journey from start to finish.
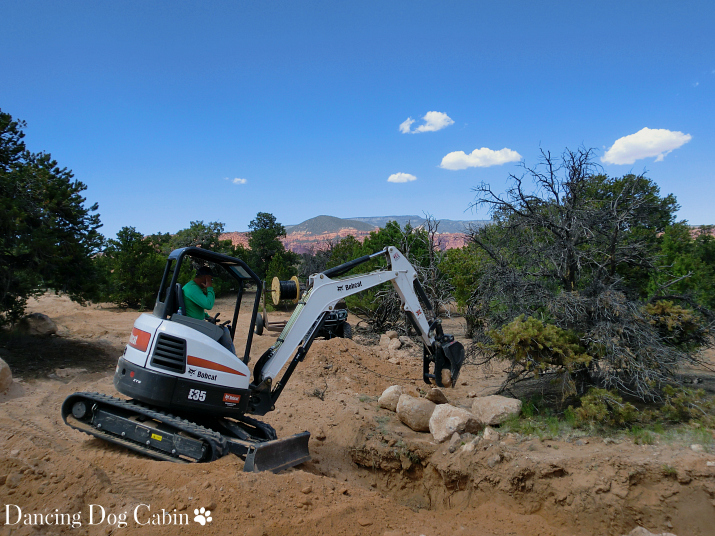
Water and Power
Our property had no water or power, so we had to bring it in from the main road a half mile away. I'm still amazed that we managed to dig a half-mile long trench, get all the pipe and utility lines in place, get it inspected and approved, bury everything, and actually end up with running water on our property in one week.
For more information on the first step of what has been an incredible journey for my husband and I, click here (this is also the very first post of this blog).
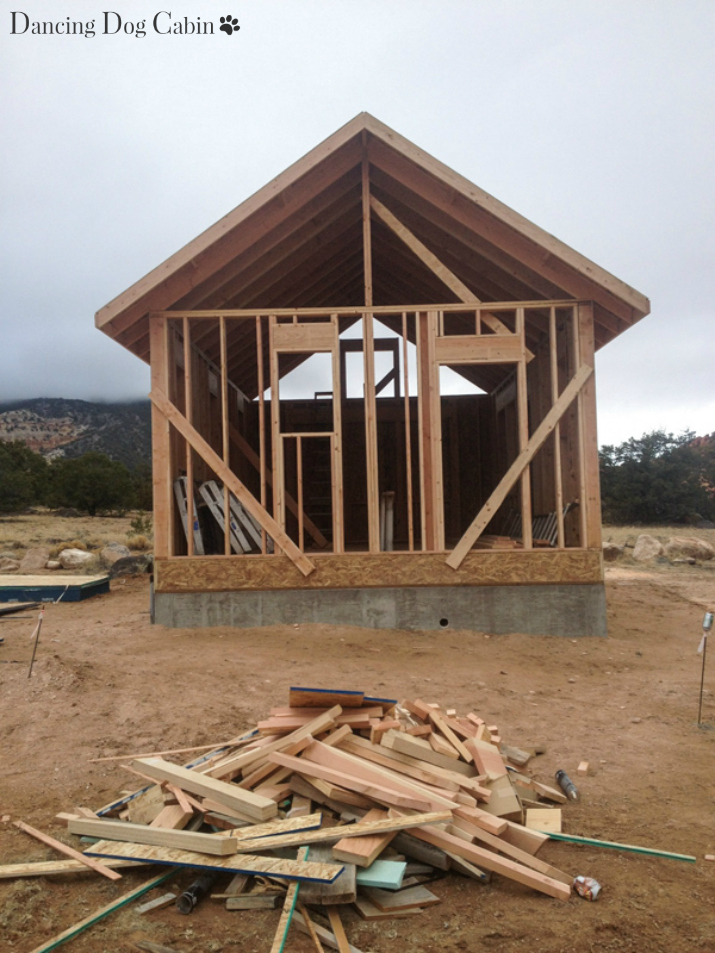
Weather-Tight Cabin
Originally my husband had wanted to build the cabin structure himself, but luckily the voice of reason prevailed and we hired a contractor to build the finished shell.
For more on foundation building and framing fun (courtesy of our contractor), click here.
Septic and Water System and Starting on the Interior
Once the weather-tight cabin was finished, it was our turn to step in and get to work on finishing the interior and installing the septic system and water tank and pump. This was two years ago-- I can't believe I actually thought we were 'almost done'!
For more on this, click here.

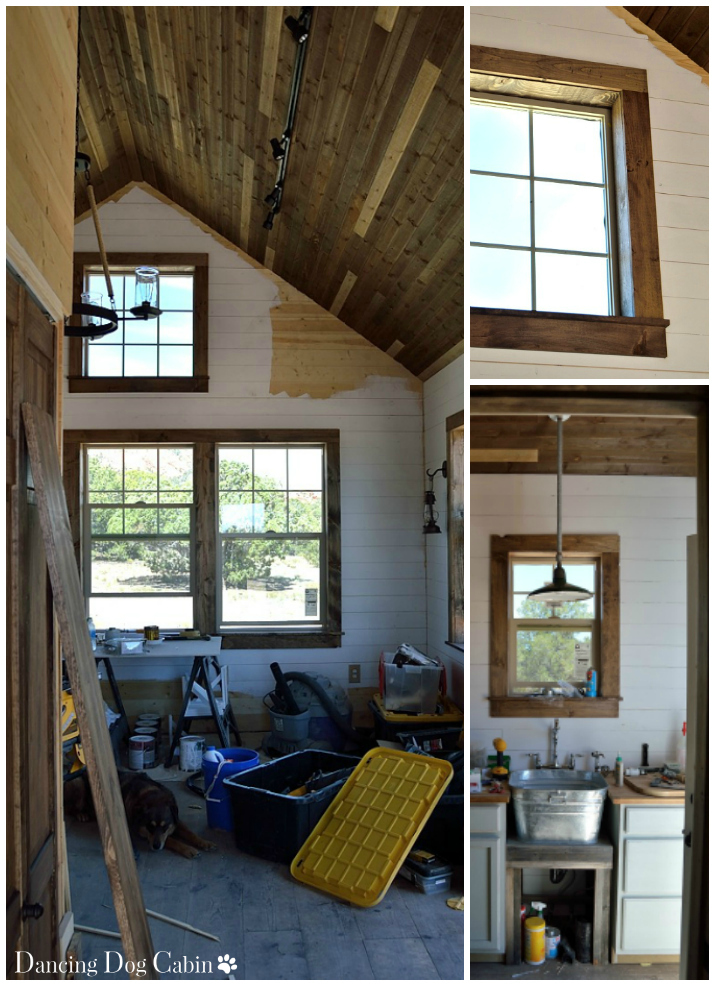
More Work on the Interior
We had to go back several more times to get the interior finished (my husband made several more trips than I did). Finish work not only included installing the 'salvaged' wood ceilings and floors, but also installing and painting the tongue and groove ('shiplap') walls, staining and installing the window and door trim, installing the custom shower and converted vanity sink, the galvanized feed tub kitchen sink...
Click here to see more on this.
Passing the Final Inpsection
Last September we passed the final inspection. The week before we took care of some final details (including installing the kitchen cabinets, butcher block counter tops, open shelves, finish painting, among many others...). We were beyond elated; we celebrated by going out to dinner with my brother. The whole evening was a blur, I was so tired and relieved that we finally did it.
Click here for more on this.

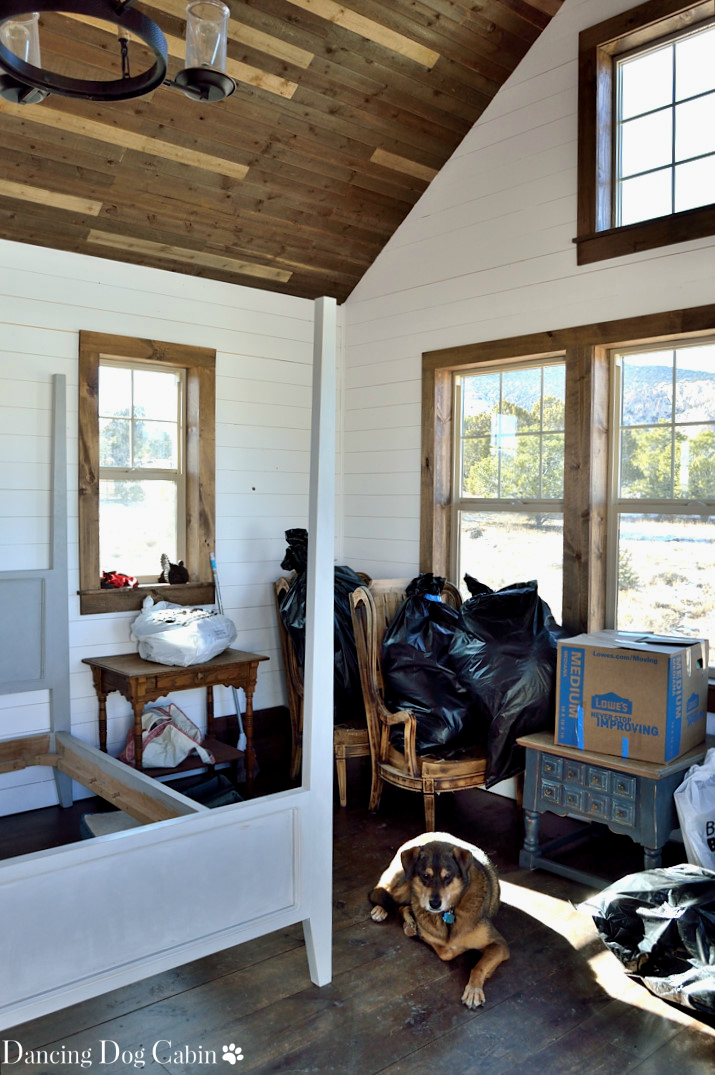
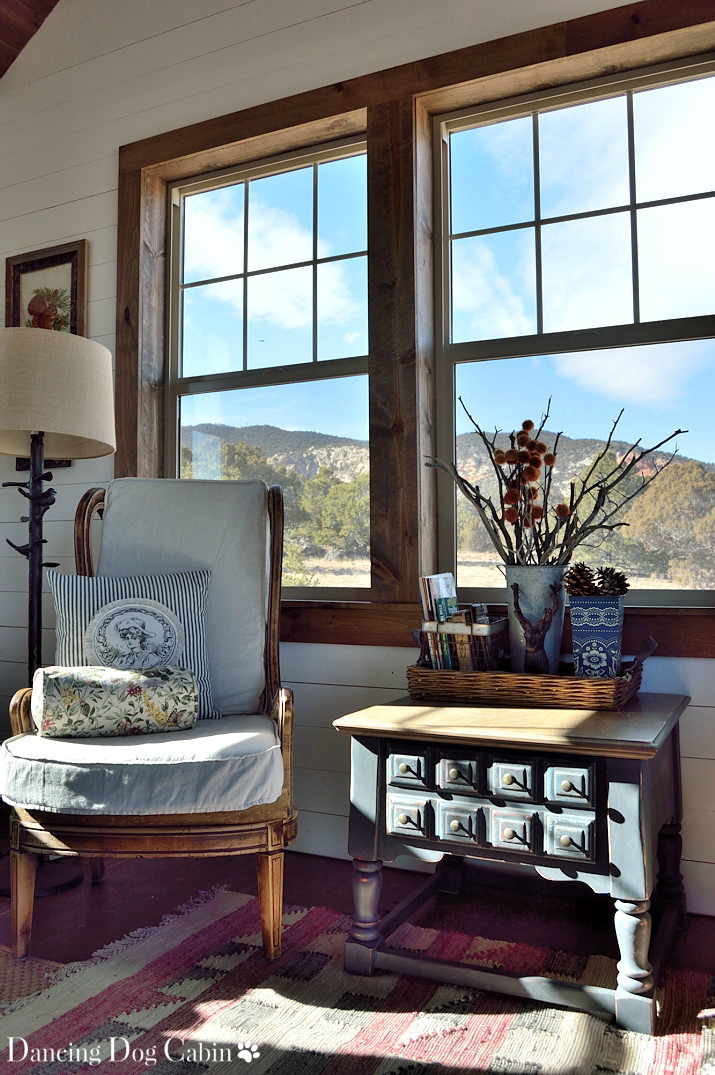
Finally We Move in the Furniture
I can't believe it's taken us an entire year to get back to the cabin and furnish it, but we did it... here are a few photos of us getting stuff put in place. More photos of the finished cabin to arrive soon...
Thanks for visiting!
***
Most likely linking to the following this week....
Tablescape Thursday at Between Naps on the Porch
Wonderful Wednesday Blog Hop at Ducks 'N a Row
Share Your Cup Thursday at Have a Daily Cup of Mrs. Olson
Happiness is Homemade at Ducks 'N a Row
DIY Salvaged Junk Projects at Funky Junk Interiors


Oh my, it's AMAZING!!! I am so happy for you and can't wait to see more...
ReplyThanks so much for sharing at AMAZE ME MONDAY!
Blessings,
Cindy
Thanks Cindy!
Love your cabin! What a journey. Can't wait to see more photos of the finished spaces. Now I'm off to read more about the journey.
ReplyThanks Cecilia! It has definitely been an amazing journey.
Your cabin is wonderful and I'm enjoying watching the progress! Thanks for sharing at Vintage Charm!
ReplyThank you!
Your cabin looks fantastic. Thank you for sharing at Share Your Style!
ReplyThank you Carol!