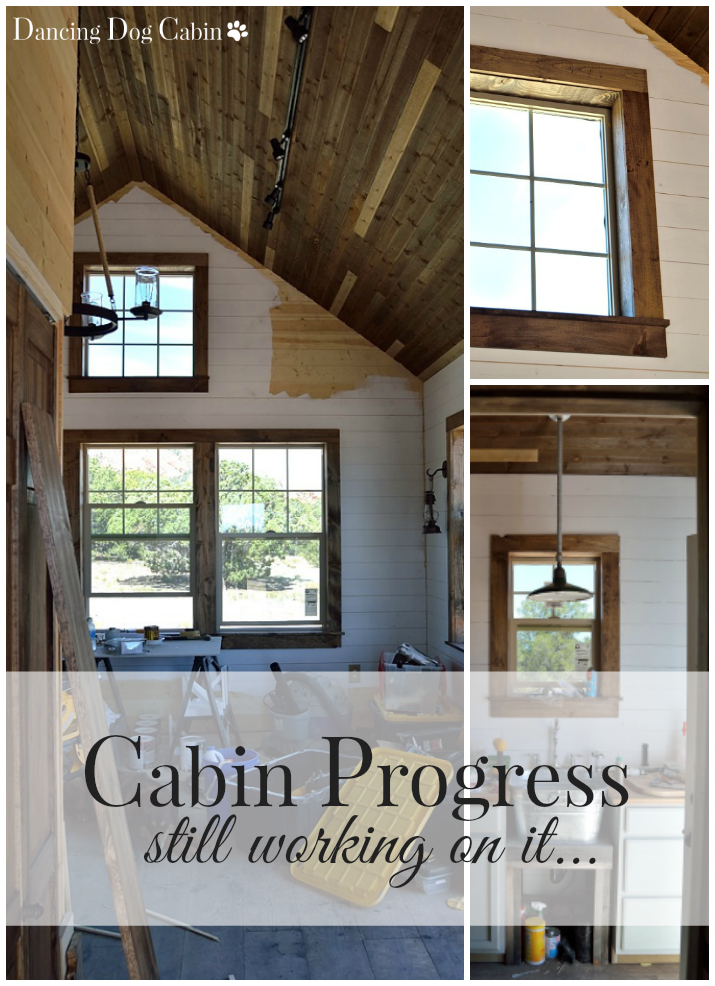
I'm starting to sound like a broken record, aren't I? In almost every cabin-related post I've said something like---'cabin progress trudging along', 'slowly getting to the finish line', and 'almost done'. Well..... we're still working on it.
My husband thinks we can wrap it up in just a few more days next time we visit the cabin. But I'm skeptical after all our gross miscalculations regarding our construction schedule.
We'll see...
Here are some highlights and a few milestones from our last trip back to the cabin.
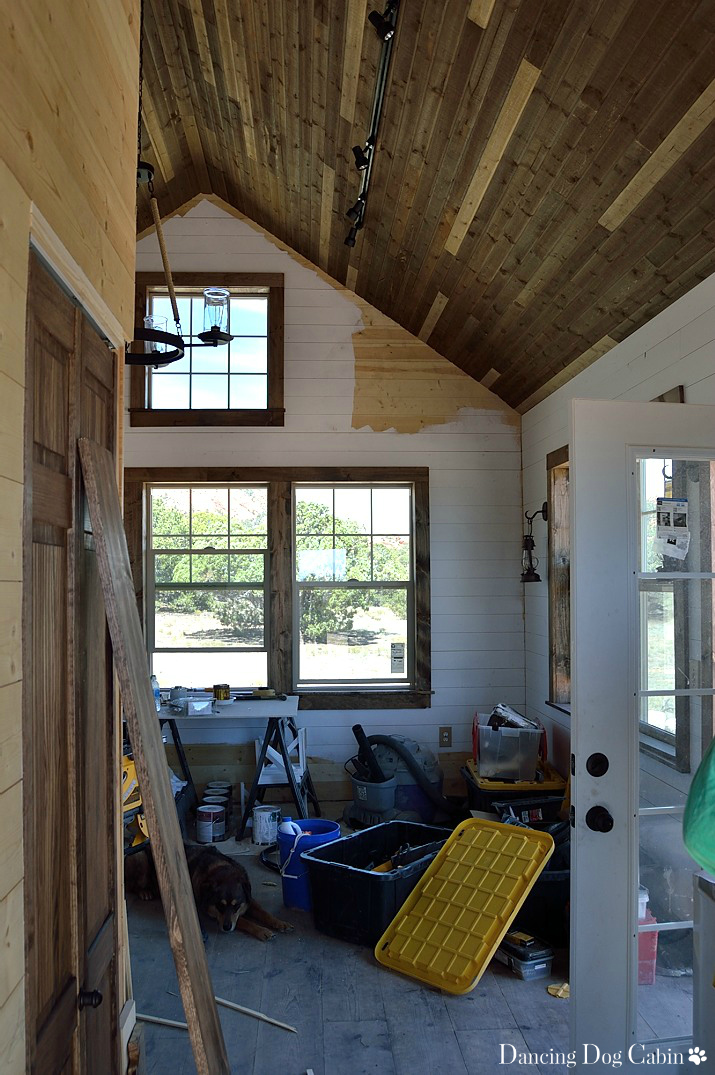
I'm pretty ecstatic with the way the window and door casings turned out. I wanted the cabin to have a strong rustic flair without being overwhelmed with too much unpainted and dark wood. Painting the tongue-and-groove plank walls white helped to balance things out and really showcase the nice and beefy stained window and door casings, the salvaged-wood look ceiling, and the floors (granted the floors are filthy in these photos, so you can't see what they look like...but some day they will be clean and pretty again).

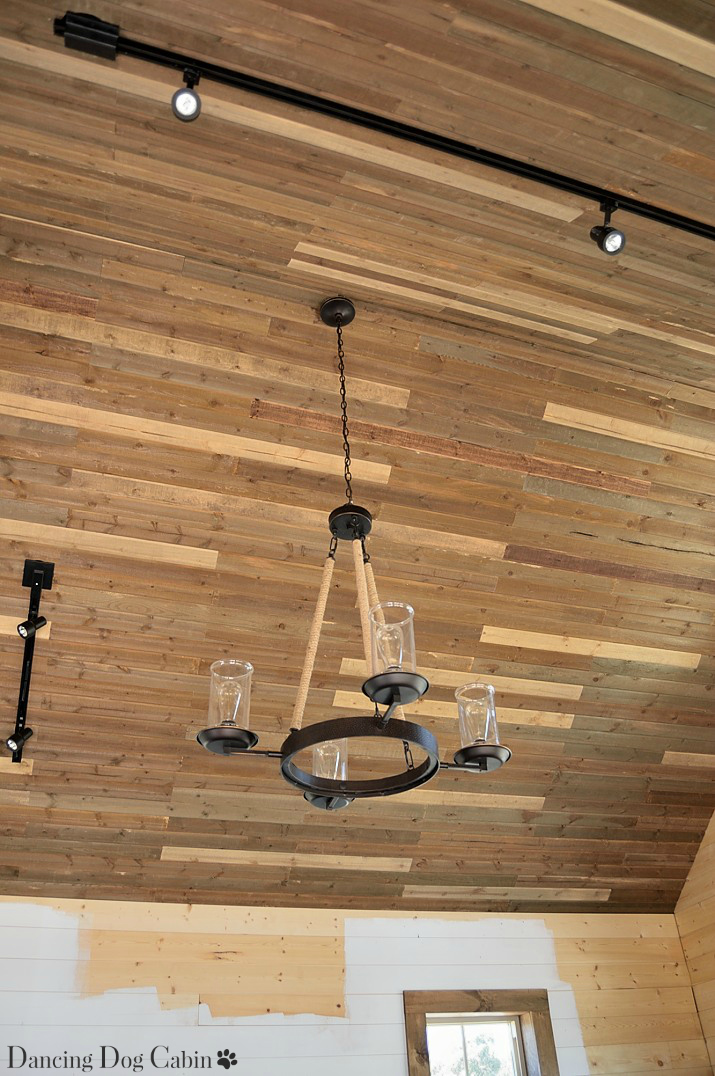
I love the way the ceiling turned out. Since we wanted the look of salvaged wood up there without the outrageous expense, we bought new, 4-inch tongue-and-groove pine planks and aged them using steel wool, vinegar, and a tea solution. On-site wood-aging factory shown below....
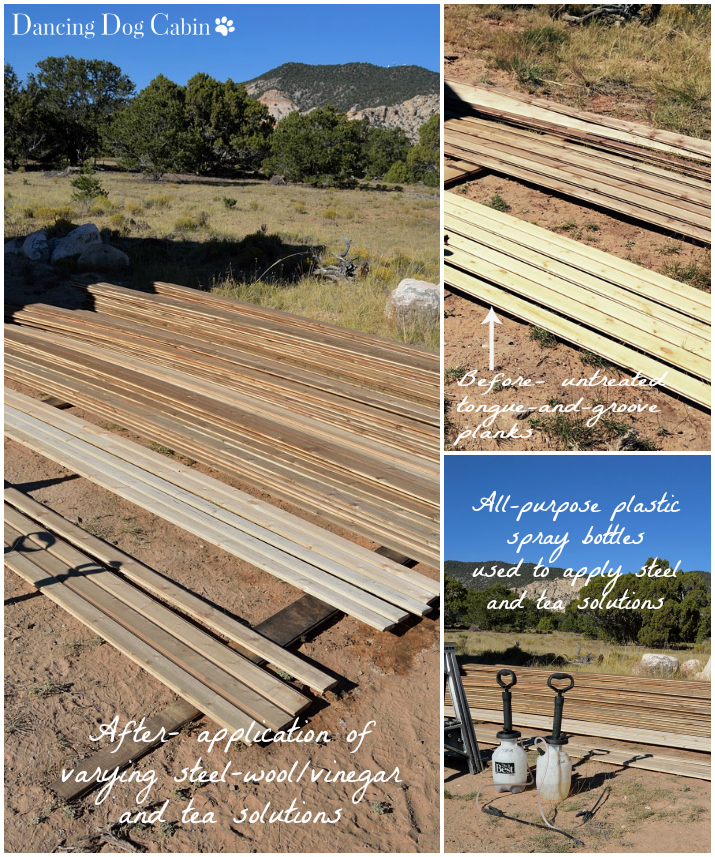
Click here to for a detailed tutorial on how to age wood, and here for a quick overview of how I aged the ceiling planks shown below in my 'wood-aging factory'. The floor planks got the same treatment.
We had the electrician who did the initial rough-in work come back and install all the lighting and electrical fixtures. We're both over the moon about the rustic chandelier with its mason jar-like globes.
I wish we had gone with recessed lighting, since I think the track lights stand out like a sore thumb on our nice ceiling. I'm thinking they will need to come down at some point so I can spray paint them a rust color so that they aren't so obtrusive.
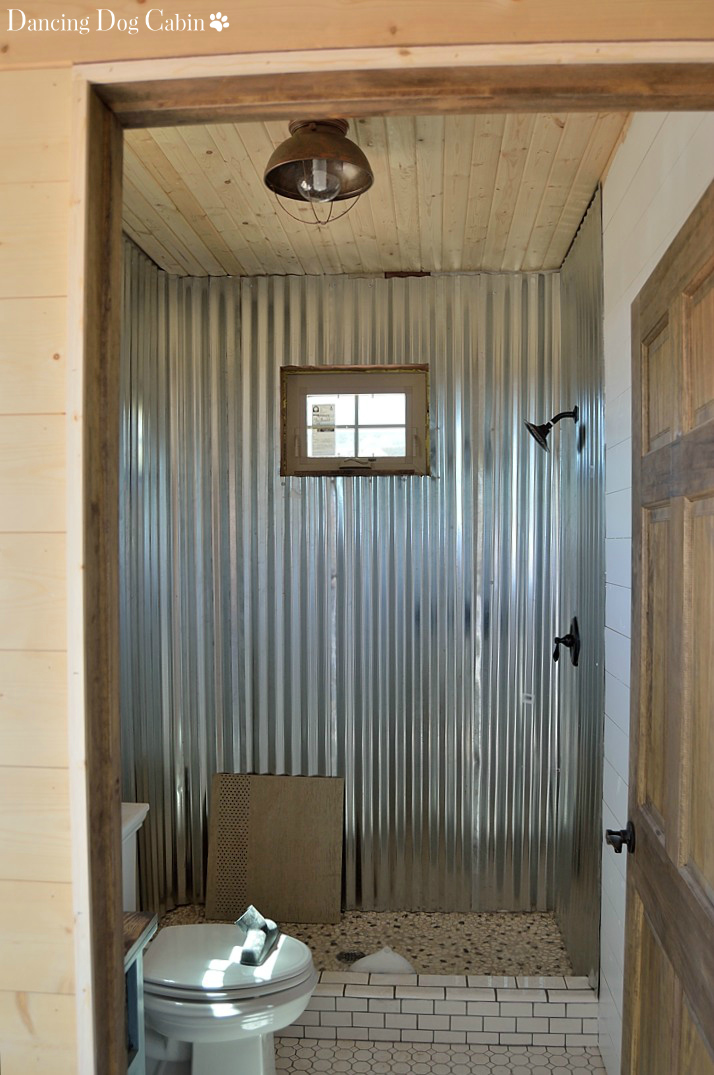
According to the description for the flush-mount ceiling light shown below, it's supposed to 'bring a feel of a maritime port' to any room. However, I think it works just fine in a rustic bathroom in a mountain cabin very far from the ocean.
Ugh, those galvanized metal panels in the shower! There was certainly a lot of harsh language flying around when my husband was wrestling with them during the installation. Still need to add stained wood trim pieces. Love the pebble shower floor.
By the way, the official name of the toilet is 'Stately Memoirs' (according to the packaging). Who thinks up these names??


Finally being able to turn on the kitchen tap and have CLEAN water come out was a huge milestone.

A few days before I took the photo above, we discovered that some chipmunks and their field mice friends decided to crawl into the outflow pipe for our water tank. They crawled all the way through the pipe and fell into the tank, where, unfortunately for them and for us, they drowned, making a terrible, smelly mess (think several months of decomposition).
My husband had to crawl down into the tank and clean out all that disgusting water one bucket at a time. You can see him down there in the photo below, sitting in the filthy, pestilential water. And see that rope attached to the bucket? That allowed me to pull up each bucket and dump the contents (complete with little, bloated corpses) in an area far from the water tank. It was awful, awful, awful.
It took lots of Clorox and several hours of flushing water through the system to get to the clear, clean water shown above.

To speed things up, we decided to wait to install the deck shown in the rendering below until after we pass our final inspection. Click here for more on the deck.
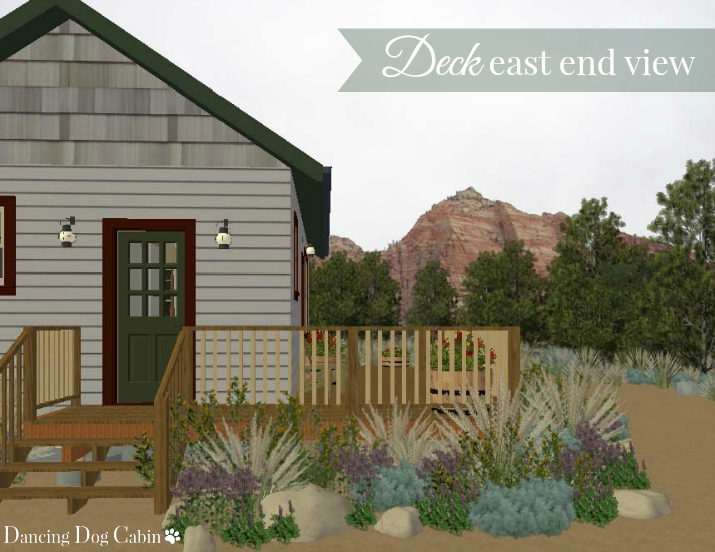
All we need right now is a set of stairs at each door to pass.

I'm going to end with some photos of the gorgeous surrounding country (and my dog), since I don't have any pretty photos of the finished cabin...yet.
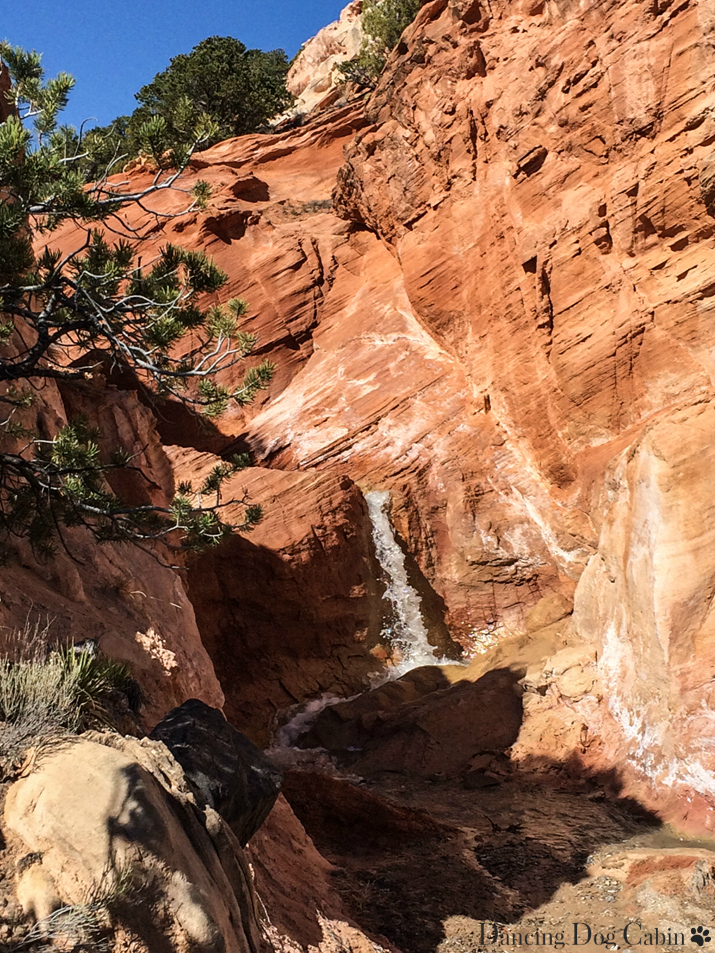
Waterfall in a slot canyon near the cabin.
Capitol Reef pasture in the morning...

***
***
I'm pretty ecstatic with the way the window and door casings turned out. I wanted the cabin to have a strong rustic flair without being overwhelmed with too much unpainted and dark wood. Painting the tongue-and-groove plank walls white helped to balance things out and really showcase the nice and beefy stained window and door casings, the salvaged-wood look ceiling, and the floors (granted the floors are filthy in these photos, so you can't see what they look like...but some day they will be clean and pretty again).
I love the way the ceiling turned out. Since we wanted the look of salvaged wood up there without the outrageous expense, we bought new, 4-inch tongue-and-groove pine planks and aged them using steel wool, vinegar, and a tea solution. On-site wood-aging factory shown below....
Click here to for a detailed tutorial on how to age wood, and here for a quick overview of how I aged the ceiling planks shown below in my 'wood-aging factory'. The floor planks got the same treatment.
We had the electrician who did the initial rough-in work come back and install all the lighting and electrical fixtures. We're both over the moon about the rustic chandelier with its mason jar-like globes.
I wish we had gone with recessed lighting, since I think the track lights stand out like a sore thumb on our nice ceiling. I'm thinking they will need to come down at some point so I can spray paint them a rust color so that they aren't so obtrusive.
According to the description for the flush-mount ceiling light shown below, it's supposed to 'bring a feel of a maritime port' to any room. However, I think it works just fine in a rustic bathroom in a mountain cabin very far from the ocean.
Ugh, those galvanized metal panels in the shower! There was certainly a lot of harsh language flying around when my husband was wrestling with them during the installation. Still need to add stained wood trim pieces. Love the pebble shower floor.
By the way, the official name of the toilet is 'Stately Memoirs' (according to the packaging). Who thinks up these names??
Here it is installed over the kitchen sink...
Finally being able to turn on the kitchen tap and have CLEAN water come out was a huge milestone.
A few days before I took the photo above, we discovered that some chipmunks and their field mice friends decided to crawl into the outflow pipe for our water tank. They crawled all the way through the pipe and fell into the tank, where, unfortunately for them and for us, they drowned, making a terrible, smelly mess (think several months of decomposition).
My husband had to crawl down into the tank and clean out all that disgusting water one bucket at a time. You can see him down there in the photo below, sitting in the filthy, pestilential water. And see that rope attached to the bucket? That allowed me to pull up each bucket and dump the contents (complete with little, bloated corpses) in an area far from the water tank. It was awful, awful, awful.
It took lots of Clorox and several hours of flushing water through the system to get to the clear, clean water shown above.
To speed things up, we decided to wait to install the deck shown in the rendering below until after we pass our final inspection. Click here for more on the deck.
All we need right now is a set of stairs at each door to pass.
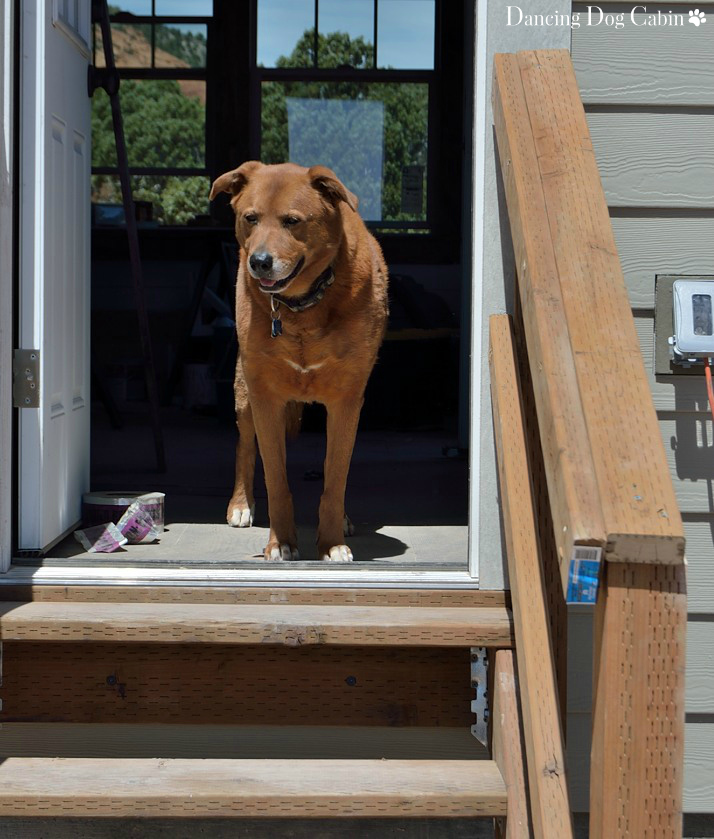
I'm going to end with some photos of the gorgeous surrounding country (and my dog), since I don't have any pretty photos of the finished cabin...yet.
Rosie Bear supervises...
Waterfall in a slot canyon near the cabin.
Capitol Reef pasture in the morning...
***
Thanks for visiting!
***
Most likely linking to the following this week....
Roses of Inspiration Linkup at The Enchanting Rose
Inspire Me Monday at My Uncommon Slice of Suburbia
Tablescape Thursday at Between Naps on the Porch
Party in Your PJs at the Cookie Puzzle
Show and Tell Friday at My Romantic Home
Five Star Frou-Frou at a Tray of Bliss
Share It One More Time at DesignThusiasm
I've been featured at:
Wow Us Wednesdays #286 at Savvy Southern Style
Home Sweet Home #284 at The Charm of Home
I've been featured at:
Wow Us Wednesdays #286 at Savvy Southern Style
Home Sweet Home #284 at The Charm of Home
Best of the Weekend at Ms. Toody Goo Shoes