Sunday, April 26, 2015

Red Roses for Sunday


Spending some time with visiting family.....but wanted to share these pretty red roses.


Thanks for stopping by!

Sunday, April 19, 2015

Does Your Dog Love Peanut Butter?


I've yet to meet a dog that doesn't love peanut butter, and mine are no exception-- they take after their mommy! I'll bet yours are just the same as mine-- as soon as the peanut butter jar comes out, they're right there, ears pricked, looking hopefully up at you with big, doleful eyes.

I like to make doggy treats, since that's one way of ensuring that my babies get a healthy treat that doesn't have a lot of outlandish and questionable ingredients.   There are plenty of doggy treat recipes out there, including many with peanut butter as the starring ingredient.... irresistible for dogs who love peanut butter!


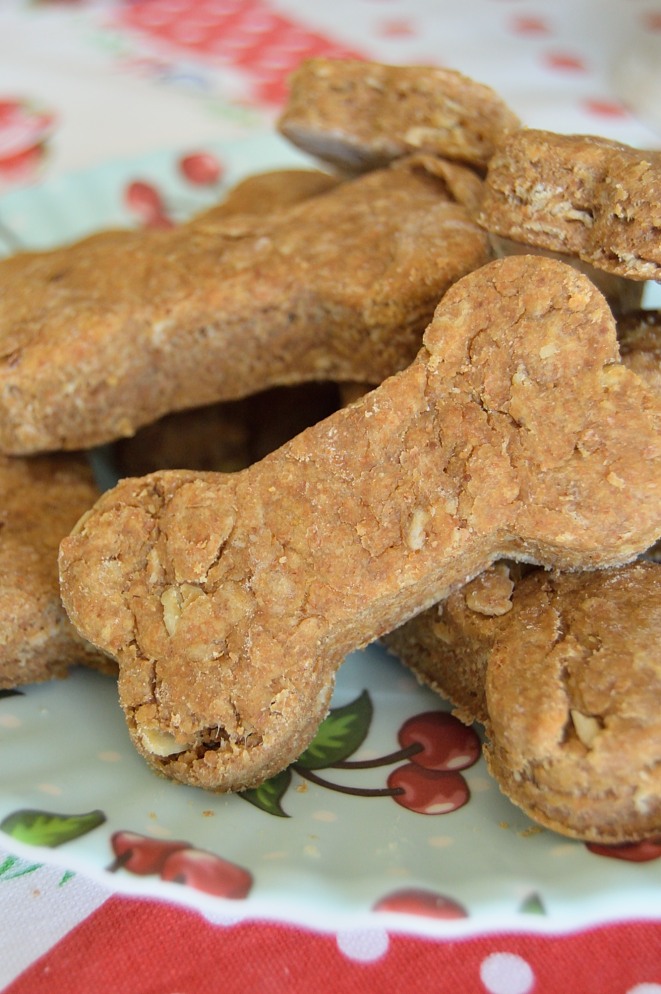
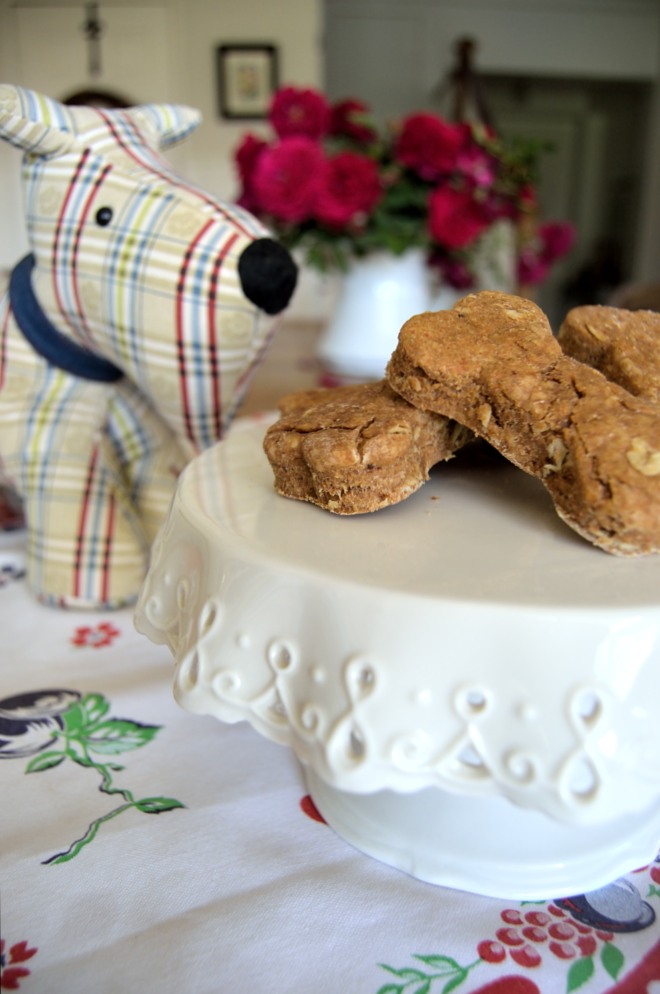
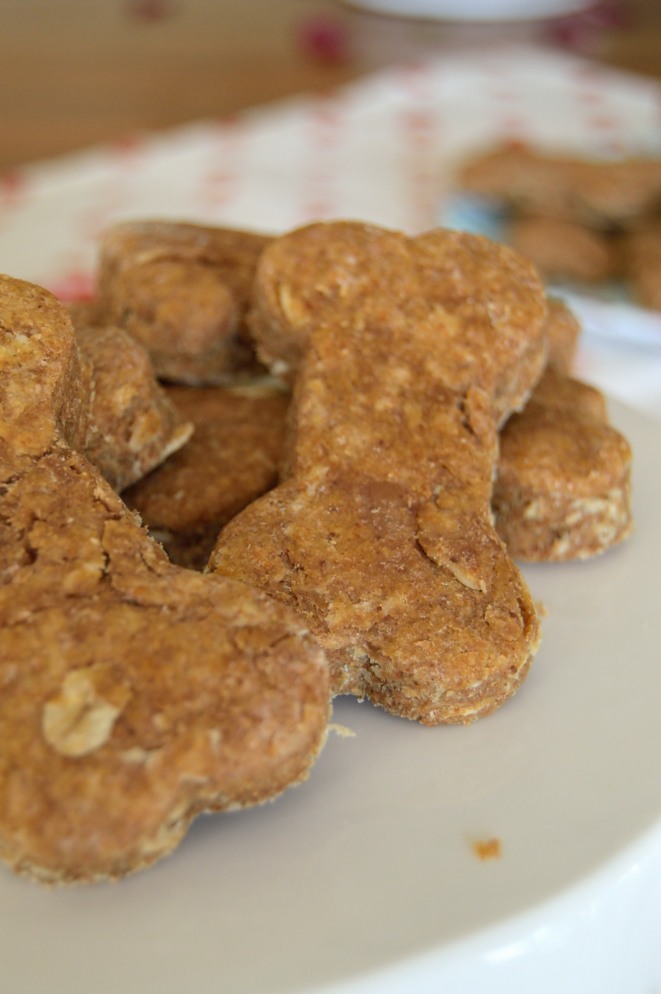
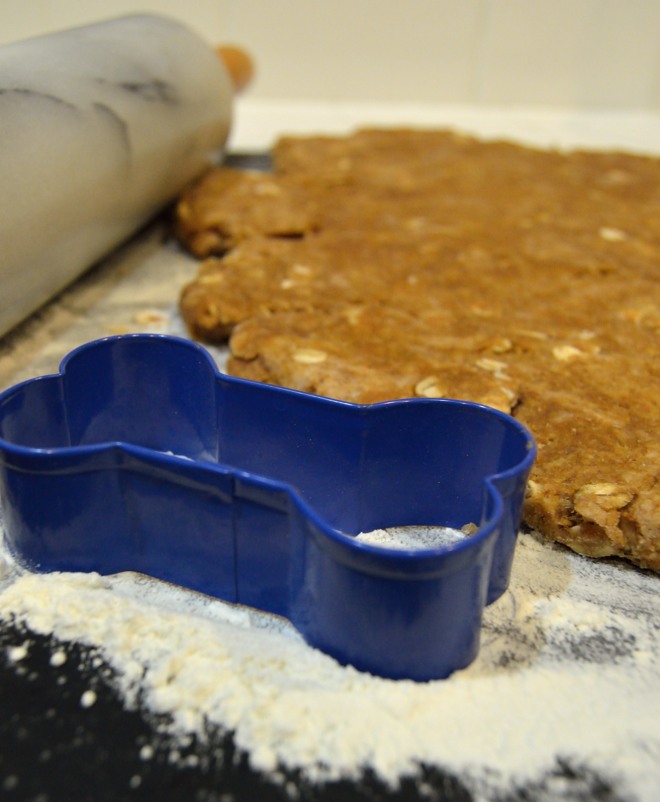
You can have a lot of fun making all kinds of uniquely shaped dog treats-- dinosaurs, little -'peanut butter' men (as opposed to gingerbread men), Halloween characters, Christmas characters....there is no lack of variety when it  comes to cookie cutters. I used a simple dog bone shape here to create a classic dog-bone shaped treat, using a dog-biscuit recipe that is an adaptation of several different recipes I found online.  


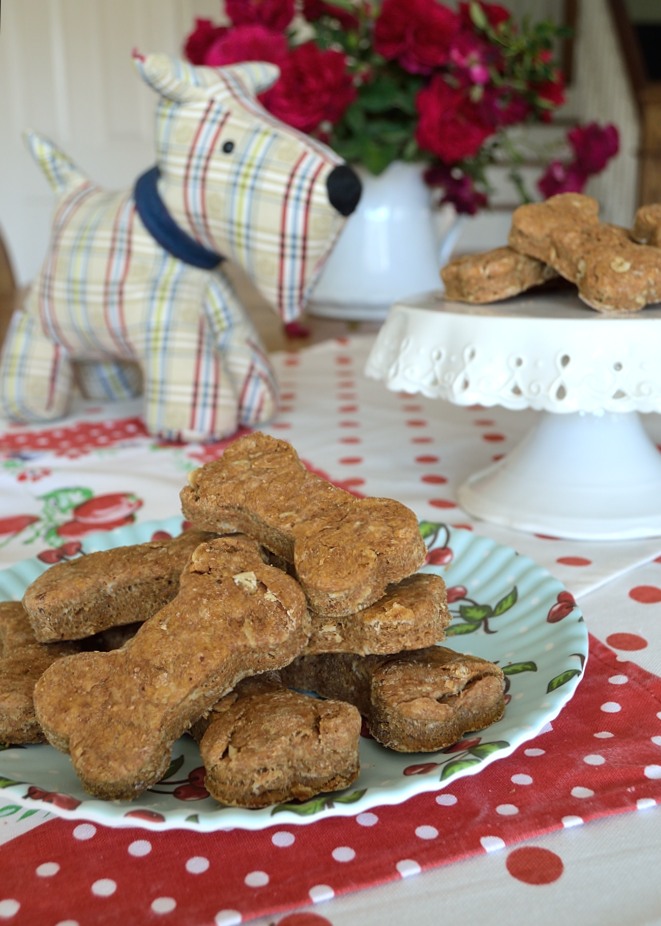
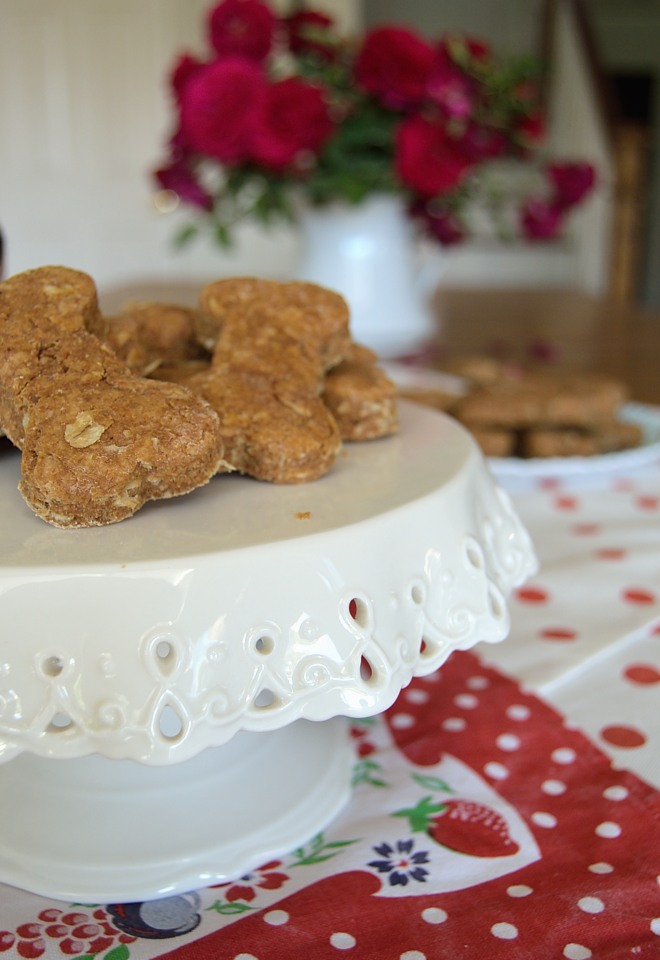
I had a lot of fun playing around with these little rustic-looking doggy bone biscuits and some new cherry-patterned melamine 'paper plates' that I recently bought.....


.....as well as some pretty retro-themed napkins that I found in one of my fabric bins (I have enough decorator fabric on hand to start a yardage store, but that can be a future post....).


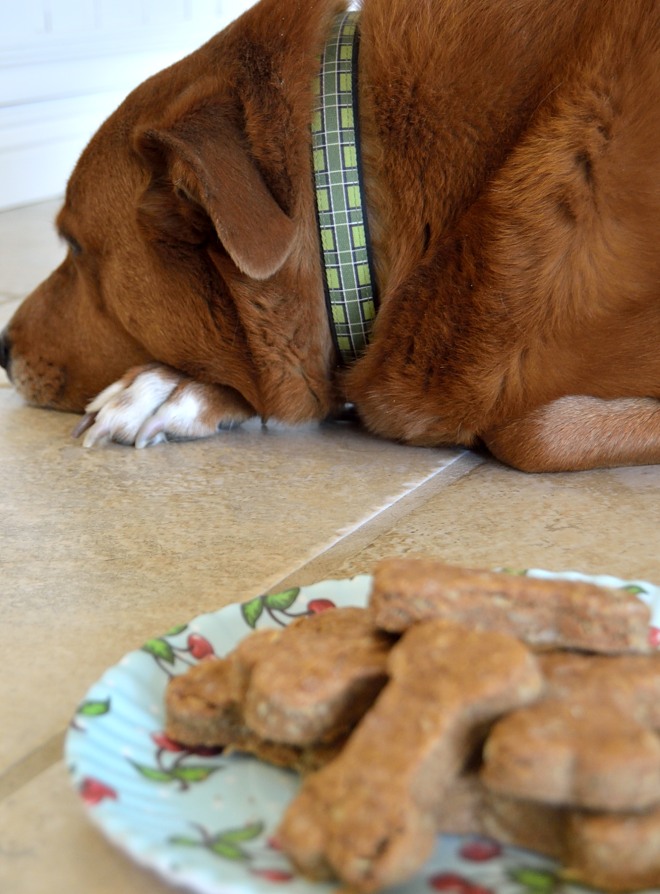
Mr. Door-Stop Doggy got in on the fun...


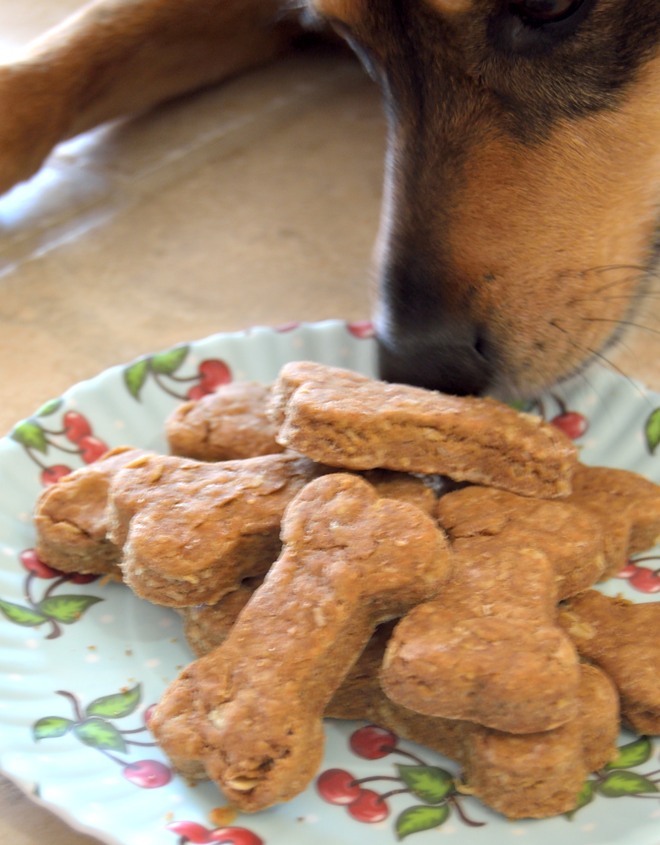
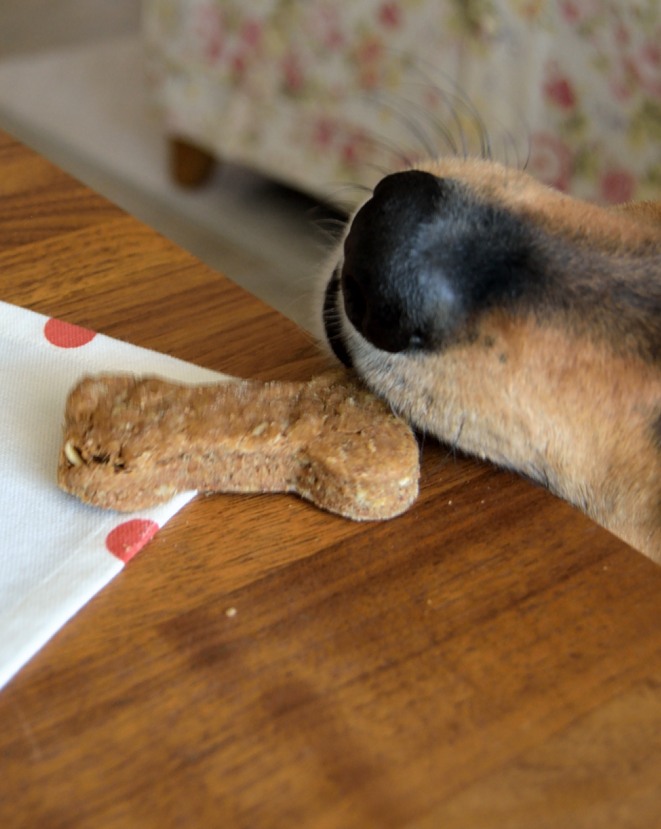
Someone else wanted to get in on the fun too...


...so I took my little photo shoot down to floor-level....


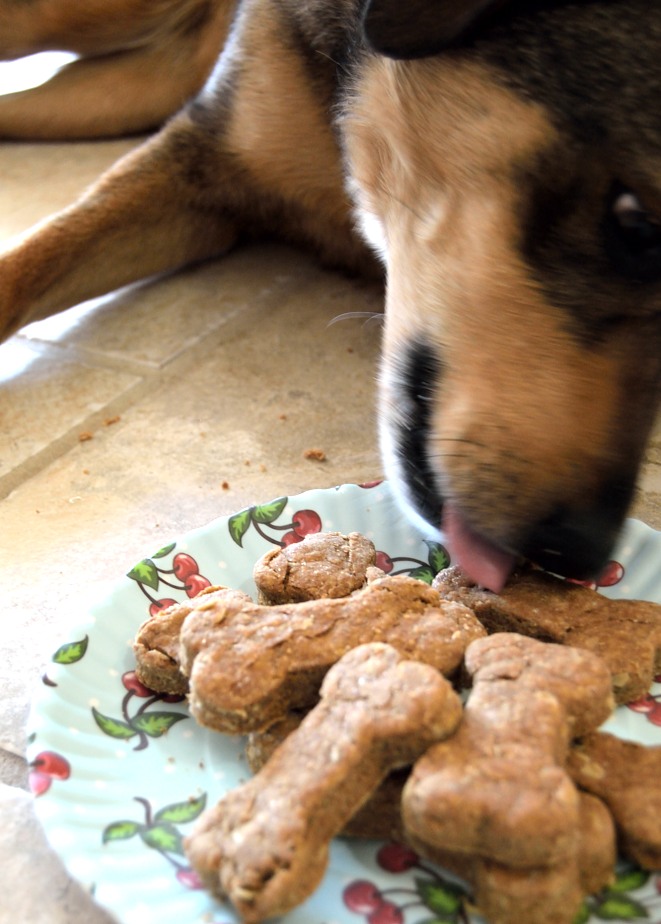
This is Dolly, my naughty little clown....


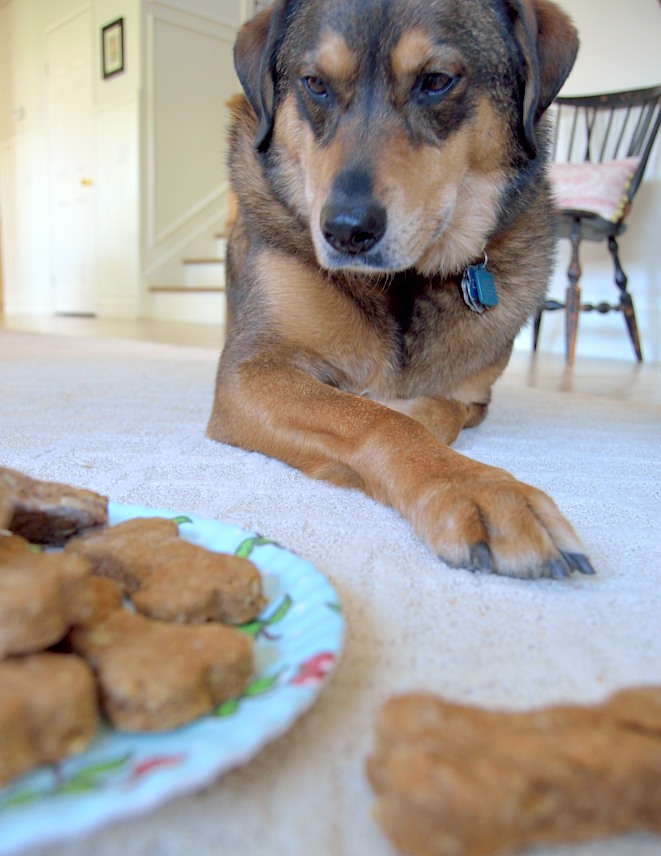
She tried awfully hard to be good and not pounce on the plate of yummy, peanut buttery-smelling treats right under her nose.....Mommy lying flat on her stomach on the floor with her face obscured by a funny black thing that made odd clicking sounds was probably intimidating enough to deter her for a while.....


But in the end she couldn't resist and inched closer and closer to the pile of treats  (she'd already had a sample earlier, so she knew what these little guys were), until she was close enough to nab one!


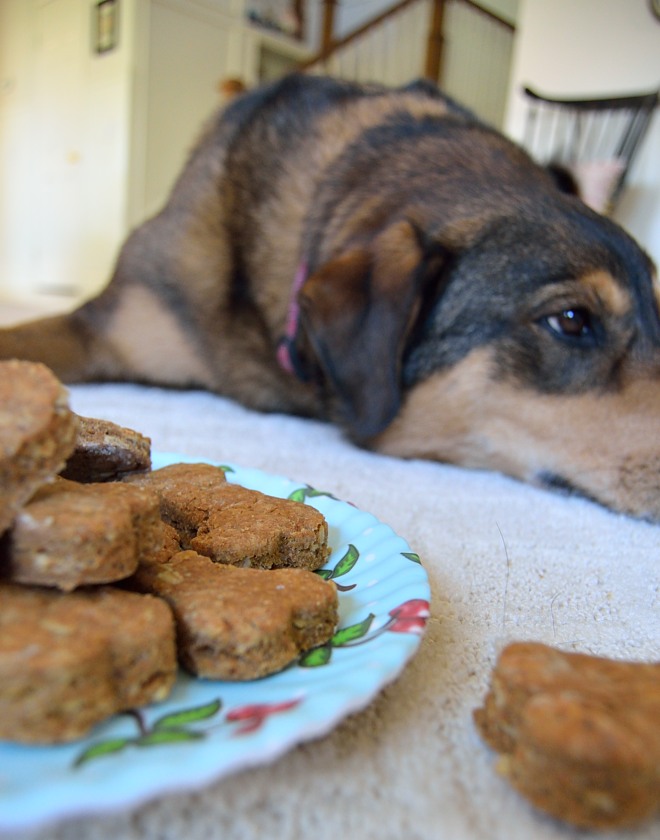
My Rosie-Bear is a little camera shy.... she totally ignored the plate of doggy biscuits.


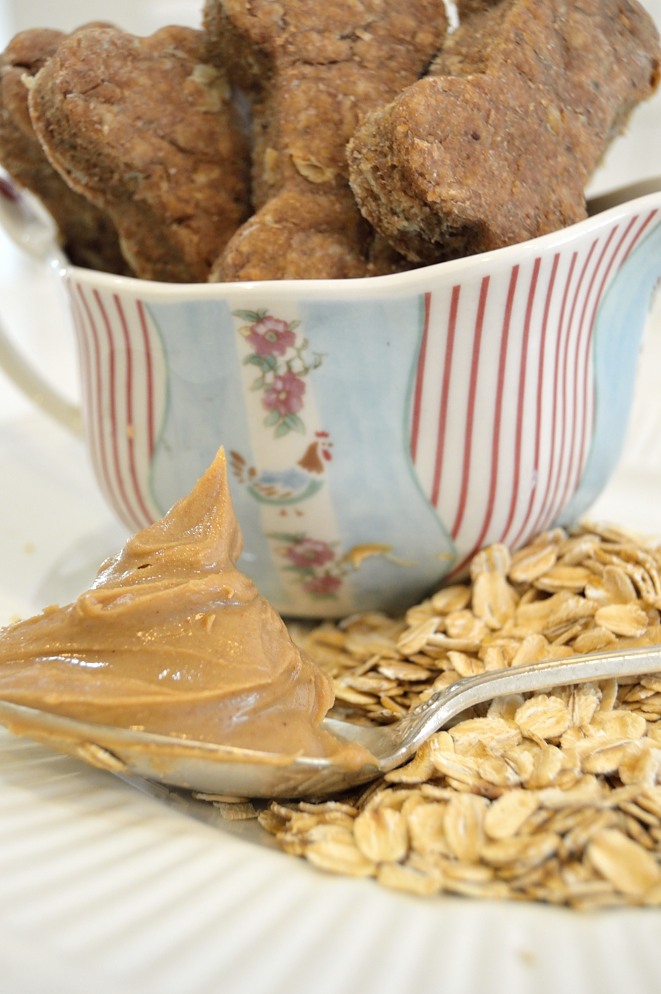
On to the recipe.....This is an easy recipe with simple, wholesome ingredients, which include, in addition to peanut butter, oats, wheat flower and a broth (chicken or beef).   


I used old fashioned oatmeal for a rustic, robust-looking texture (not that dogs care about texture).


Since my dogs are big girls, I used a three-inch dog bone cookie cutter.  If you have a small dog, use a smaller cookie cutter or use a knife to cut the rolled dough into small bite-sized pieces.


This recipe makes a nice, stiff dough that holds its shape and doesn't spread in the oven-- probably because there is no butter or shortening.  I actually sampled a small piece and they don't taste too bad from a human standpoint, although they have an odd, flat after-taste (probably from the lack of any shortening and the peanut butter-chicken broth mixture). But my dogs love these things, so that is all that matters! 

After rolling out the dough and cutting the cookie shapes, you can gather up the remaining dough, roll it out again, and cut out some more biscuits.  Gather up the last remaining pieces and roll into a rough cylinder and cut little bite-sized treats.  This is one time when you don't need to worry about over working the dough and creating tough cookies----as I note above, dogs don't seem to concern themselves too much with texture.


Peanut Butter Dog Biscuits

2 cups whole wheat flour
1/2 cup old fashioned oats
1 tablespoon baking powder
1 cup of chicken or beef broth
1 cup old fashioned peanut butter (such as Laura Scudder's)

Preheat oven to 375 degrees F.  Line a cookie sheet with parchment paper.

In a large bowl, combine the dry ingredients. Stir in the broth and peanut butter until the flour mixture is incorporated and the dough is  crumbly.  Using your hands, form a ball. 

Kneed the dough for about 30 seconds on a lightly floured work surface until the dough holds together.  Roll the dough into a 10-inch circle, at about 1/2 inch thick.  Using a cookie cutter, cut out the 'bones' and place on the prepared cookie sheet.  Gather up the remaining scraps and form another ball, which can then be rolled out for more cookies.  Or, roll the remaining dough into a cylinder shape and cut little bite-sized treats.  

Bake until golden, about 20 minutes.  Bake a few minutes longer for more crispy treats.  Transfer to a wire rack and cool completely.  These doggy biscuits can be stored in an airtight container for up to one week--- but your doggies will want to gobble these up long before then!


Thanks for visiting!


Linking to....

Best of the Weekend at Ms. Toody Goo Shoes
That DIY Party at DIY Showoff
The Scoop #167 at Confessions of a Plate Addict
Amaze Me Mondays at Dwellings
Metamorphosis Monday at Between Naps on the Porch
Inspire Me Tuesday at A Stroll Thru Life
at Savvy Southern Style
Bouquet of Talent at Life on Lakeshore Drive
Party in Your PJs at the Cookie Puzzle
Lou Lou Girls Fabulous Party at Lou Lou Girls
Share Your Style at Common Ground
Tweak It Tuesday at Cozy Little House
Wonderful Wednesday Blog Hop at Ducks 'N a Row
Foodie Friday & Everything Else at Rattlebridge Farm
Feathered Nest Friday at French Country Cottage
Home Sweet Home at The Charm of Home
Your Turn to Shine at Canary Street Crafts
Idea Box Thursday at Mila's Little Things
Show and Tell Friday at My Romantic Home
Best of the Weekend at Ms. Toody Goo Shoes

Sunday, April 12, 2015

How To Age Wood


Do you love the look of old distressed, re-purposed wood but are rather horrified by how expensive it can be?  I'm specifically talking about using wood from old farm outbuildings and other old structures for flooring and other interior finishes---which, because this is such hot trend right now, can be pretty pricey. 

While both my husband and I love the idea of using a piece of patinaed history in our cabin project, we're trying to keep costs down-- so my husband did some research into alternate ways of getting the 'aged' look.

It turns out to be so easy to do this. All you need is tea, water, steel wool, and vinegar.  


From these four things you create two solutions with which to create 'aged' looking wood: tea solution created from teabags placed in hot water, and a rust solution created from soaking the steel wool in vinegar. You can use a paint brush to apply the solution, although for easier application and larger projects you can use a plastic spray bottle.


The end result depends on how long the solution is allowed to sit and the type of wood used--a darker stain will be achieved with softer woods such as pine. Sanding the wood before treating it with the solution will also produce a deeper, richer color.


Here are the results of our experiments with this process. We treated a section of pine planking with the steel wool/vinegar mixture, and then tried several combinations with a tea solution and a flat polyurethane finish. We used black tea. Using the tea and poly gave us the richest color.  No tea rendered a lighter gray color.  We also found that the longer both solutions sat, the darker the final stain.  Both solutions used on the pieces shown in the next two photos sat for a week before we used them.  


Using sections of tongue and groove pine planks, we applied a gray wood stain, along with the tea and rust/vinegar solutions, and then varied the combination and order of application- results below.  Again, using the tea solution produced the darkest stain. Varying the order didn't make much of a difference.


We're both pretty happy with the results and are especially happy with the variations that can be achieved using different application methods.  We plan on using this 'aging' process to both treat the pine flooring in our cabin as well as the pine planking for the vaulted ceilings-- can't wait to try it out and see the final results in the cabin!  

In addition to using cut up pieces of tongue and groove planks (our 'flooring' and 'ceiling'), I had some fun with pine wood letters I bought at Target....


Here they are after the aging treatment. The '&' got the steel wool/vinegar solution only; the 'M' and 'B' got both tea and steel wool/vinegar solution, which, by the time I got around to this phase of the project, had sat for three weeks


I also tried this out with this wooden tray I got at a craft store.


I used tea and wool/vinegar solutions to age the tray, and then applied a vintage label found at the graphicsfairy.com using a transfer gel.


Scraping off much of the transferred image yielded something that looks truly old and worn.


I then proceeded to have fun decorating our new mantel and fireplace with these new 'old' pieces...


Thanks for stopping by!

Linking to...

Best of the Weekend at Ms. Toody Goo Shoes
Inspire Me Tuesday at A Stroll Thru Life  
Amaze Me Monday at Dwellings
The Scoop at Stone Gable
at Savvy Southern Style
That DIY Party at DIY ShowOff
Share Your Style at Common Ground
Your Turn To Shine at Canary Street Crafts
Home Sweet Home at The Charm of Home
Feathered Nest Friday at French Country Cottage
Idea Box Thursday at Mila's Little Things
Inspiration at Live Laugh Rowe
Show and Tell Friday at My Romantic Home
Party Junk at Funky Junk Interiors


Monday, April 6, 2015

Fireplace Reveal


Does anyone ever over-estimate how long it will take to complete a home improvement project?  I'd be curious to know.....  We certainly do not.  We usually miss our target date by several orders of magnitude.  In the case of our fireplace re-do adventure, we're about 4 months overdue. 

"Let's do the fireplace now (we'd been talking about it for years)-- do you think we can get it done by Christmas?", I asked my husband last November, visions of charming Christmas-themed mantel-scapes dancing through my head.  "Yeah, I think we could get it done by then" was his answer.  Ha!  As I write this, we have just finished celebrating Easter. 


So, without further ado..... here are the before, during, and after photos.....and the before is pretty ugly.  Below is the ho-hum fireplace that came with our house.  Pretty unimpressive.


Ripping the fireplace and drywall out.  My husband has been longing to do this and I have longed to see him do it.  Get rid of that yucky fireplace please!


Something else we underestimated.  My husband thought he could get away with just removing the lower drywall surround and mantle and not have to remove the wall above the old mantle and the crown molding (and then go through the frustrating and tedious crown molding-finishing process).  It didn't work out that way....we had to rip it all out in order to reconfigure the fireplace box and chimney on top of the new raised hearth.


We tend to tweak and modify our plans as we go along....which caused some problems when the pilasters finally arrived (they were back ordered for several weeks) and we found that they were too short for the final mantle height (see below). 


After a few deep breaths, we solved that problem by turning our lovely solid red oak pilasters into chunky, robust corbels by cutting out the center section and gluing/bolting the two remaining pieces back together.


I love the way they turned out..... even unfinished, the corbels and extra thick mantle have a visual presence that the old mantle did not have.....


Finished finally! Just in time for Easter, although there are still a few little details to take care of, such as re-doing the glass fire screens (see the before photo) and then re-attaching them.


The bunny gang has arrived to help inaugurate our new fireplace's maiden holiday voyage. 


I think this one brought my husband's Easter basket full of chocolate goodies....I'm sure he meant for my husband to share with me ;-)


We used one recessed light to provide accent lighting for the niche above the fireplace.  Almost endless possibilities for display here...I plan on hanging a picture or some kind of piece of art here, but for right now I'm experimenting with this pretty, empty frame with its decorative flourishes and my white horse picture.


Mr. Piggy has decided to park himself on the newly raised hearth and contemplate these luscious roses.  I plan on sitting here on cold winter days, sipping hot chocolate and warming my back in front of the fire.


To recap.... here is what we started with....and what we finished with.  For more on fireplace styles that inspired this renovation, please click here.


One more giant step away from cookie-cutter home blandness!  


Thanks for visiting!

Linking to....

Idea Box Thursday Link Party #4 at Mila's Little Things
Best of the Weekend at Little Miss Celebration
That DIY Party at DIY Showoff
Inspire Me Tuesday at A Stroll Thru Life
The Scoop #165 at Confessions of a Plate Addict
Amaze Me Monday at Dwellings
Wow Us Wednesdays #216 at Savvy Southern Style
at No Minimalist Here
Your Turn to Shine at Canary Street Crafts
Feathered Nest Friday at French Country Cottage
Show and Tell Friday at My Romantic Home
Home and Garden Thursday at A Delightsome Life
Inspiration at Live Laugh Rowe
Home Sweet Home at The Charm of Home