Sunday, October 26, 2014

Halloween Creatures

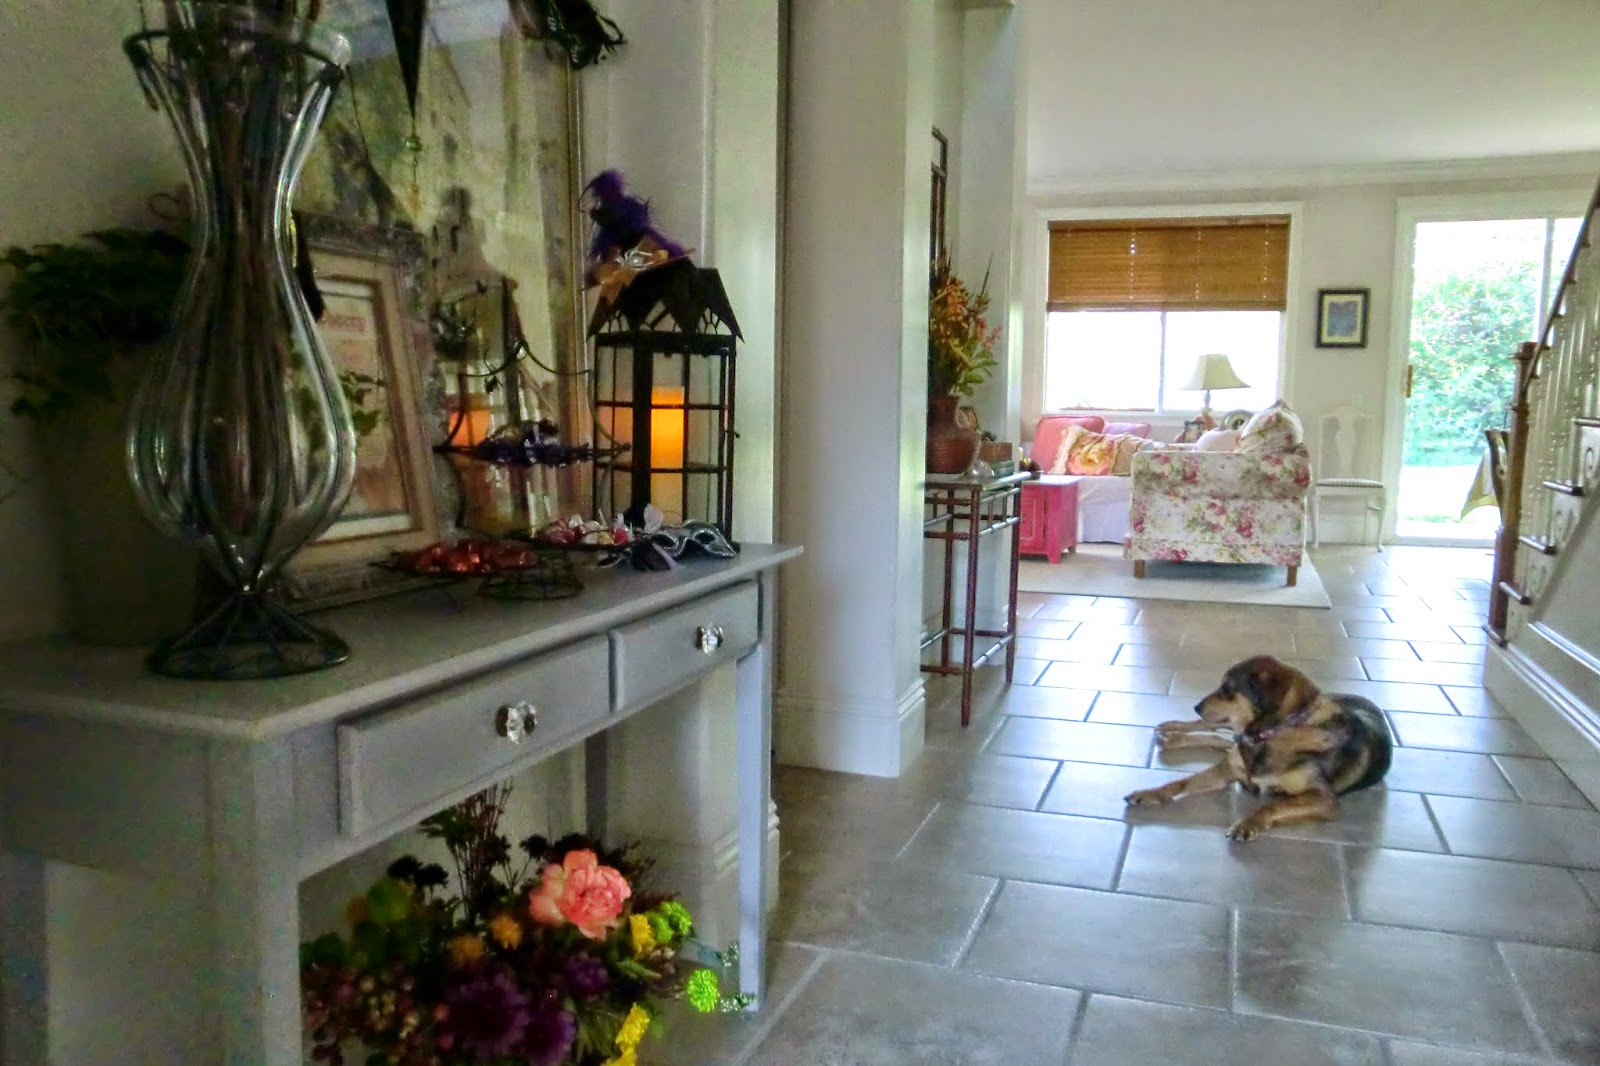
I think I'm done with Halloween... decorating, that is.  Although you never know.  It isn't over 'till it's over---and until I stop wandering around my house, adjusting, fiddling, fussing, moving things so that they are just-so.


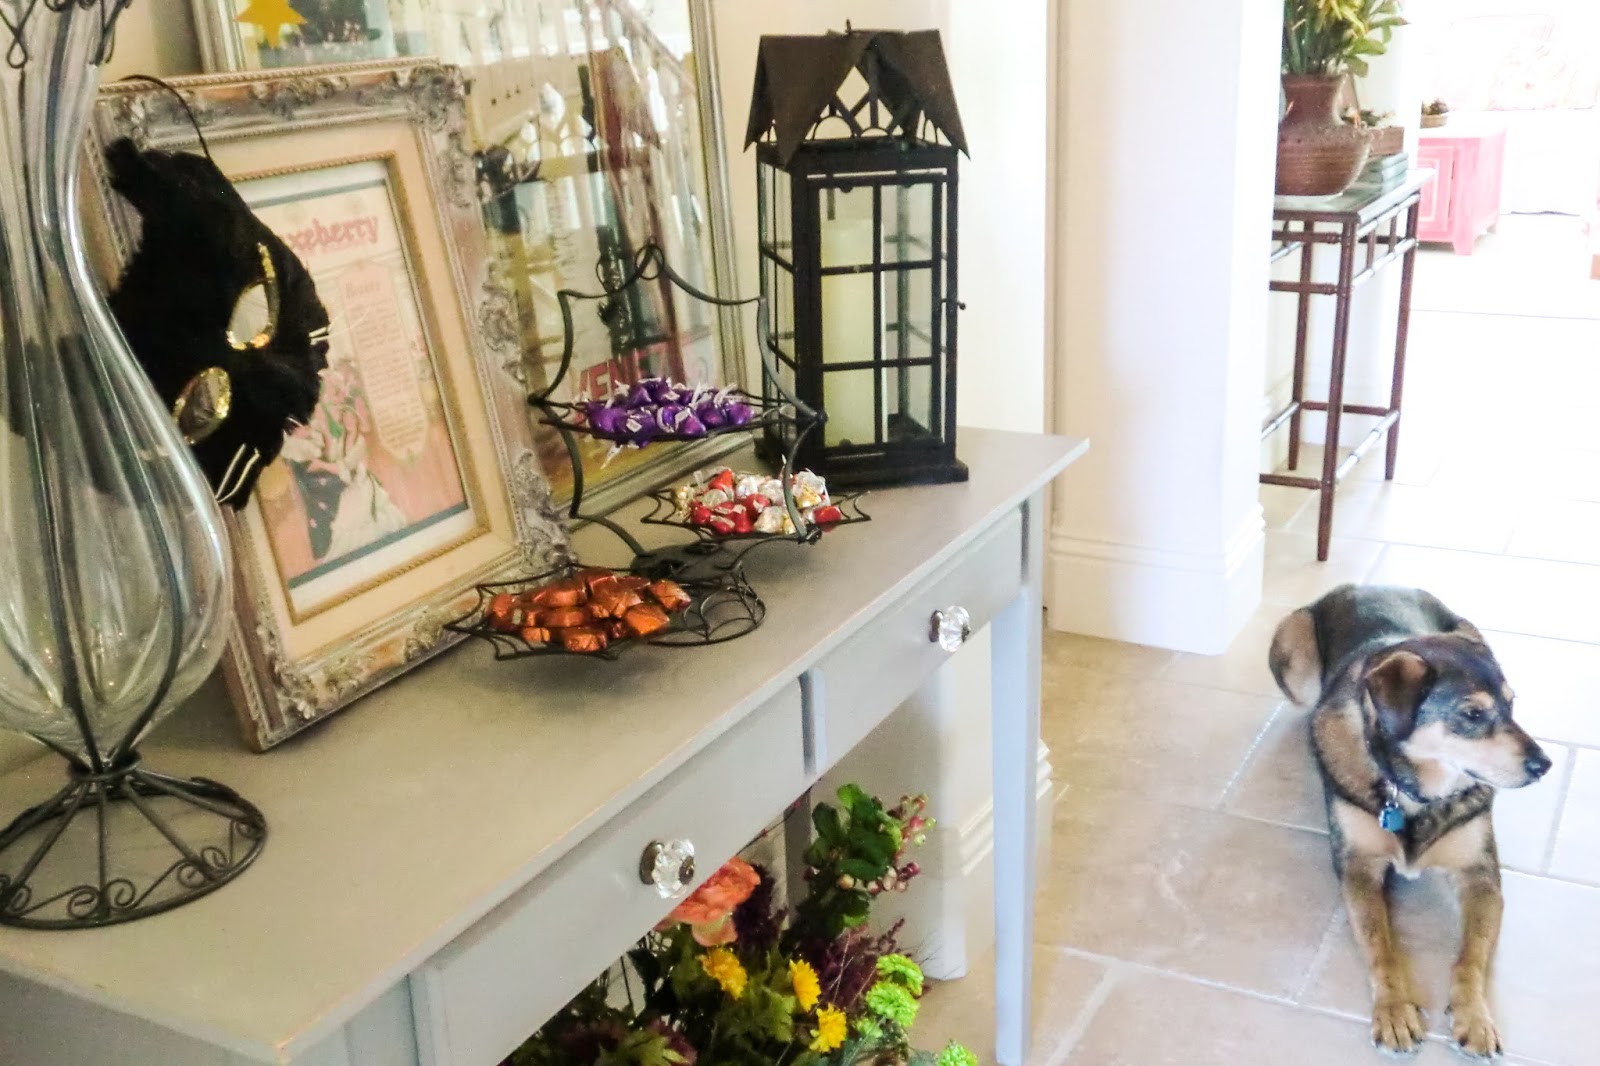
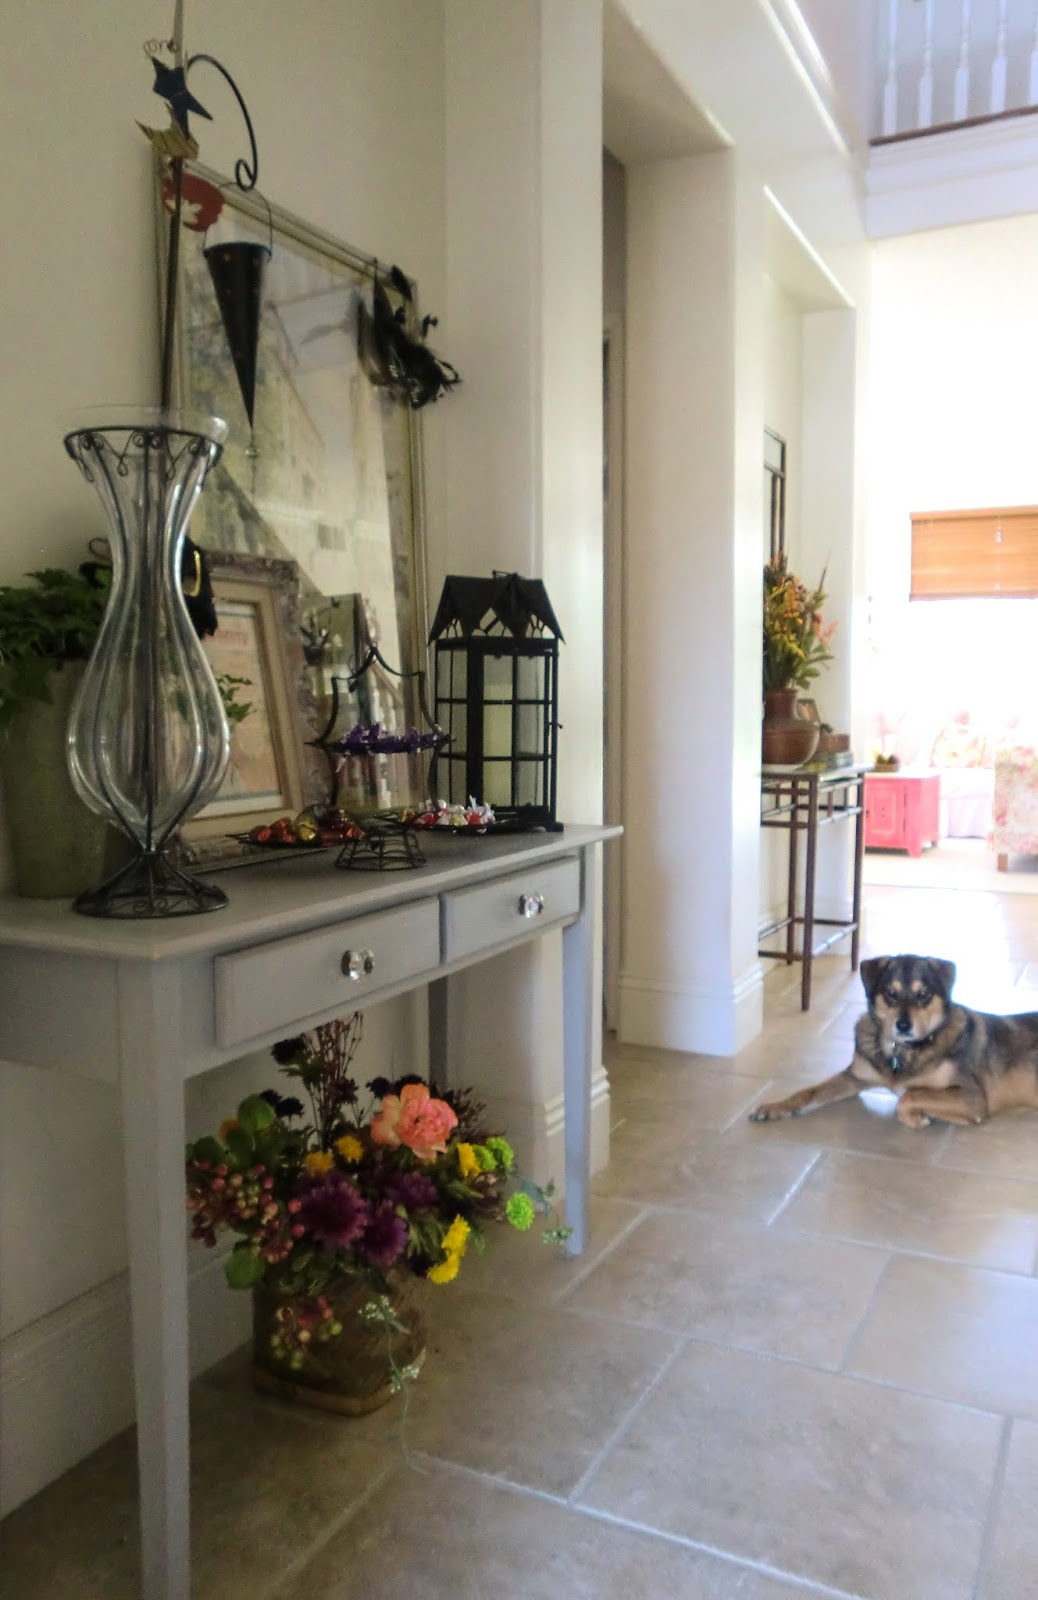
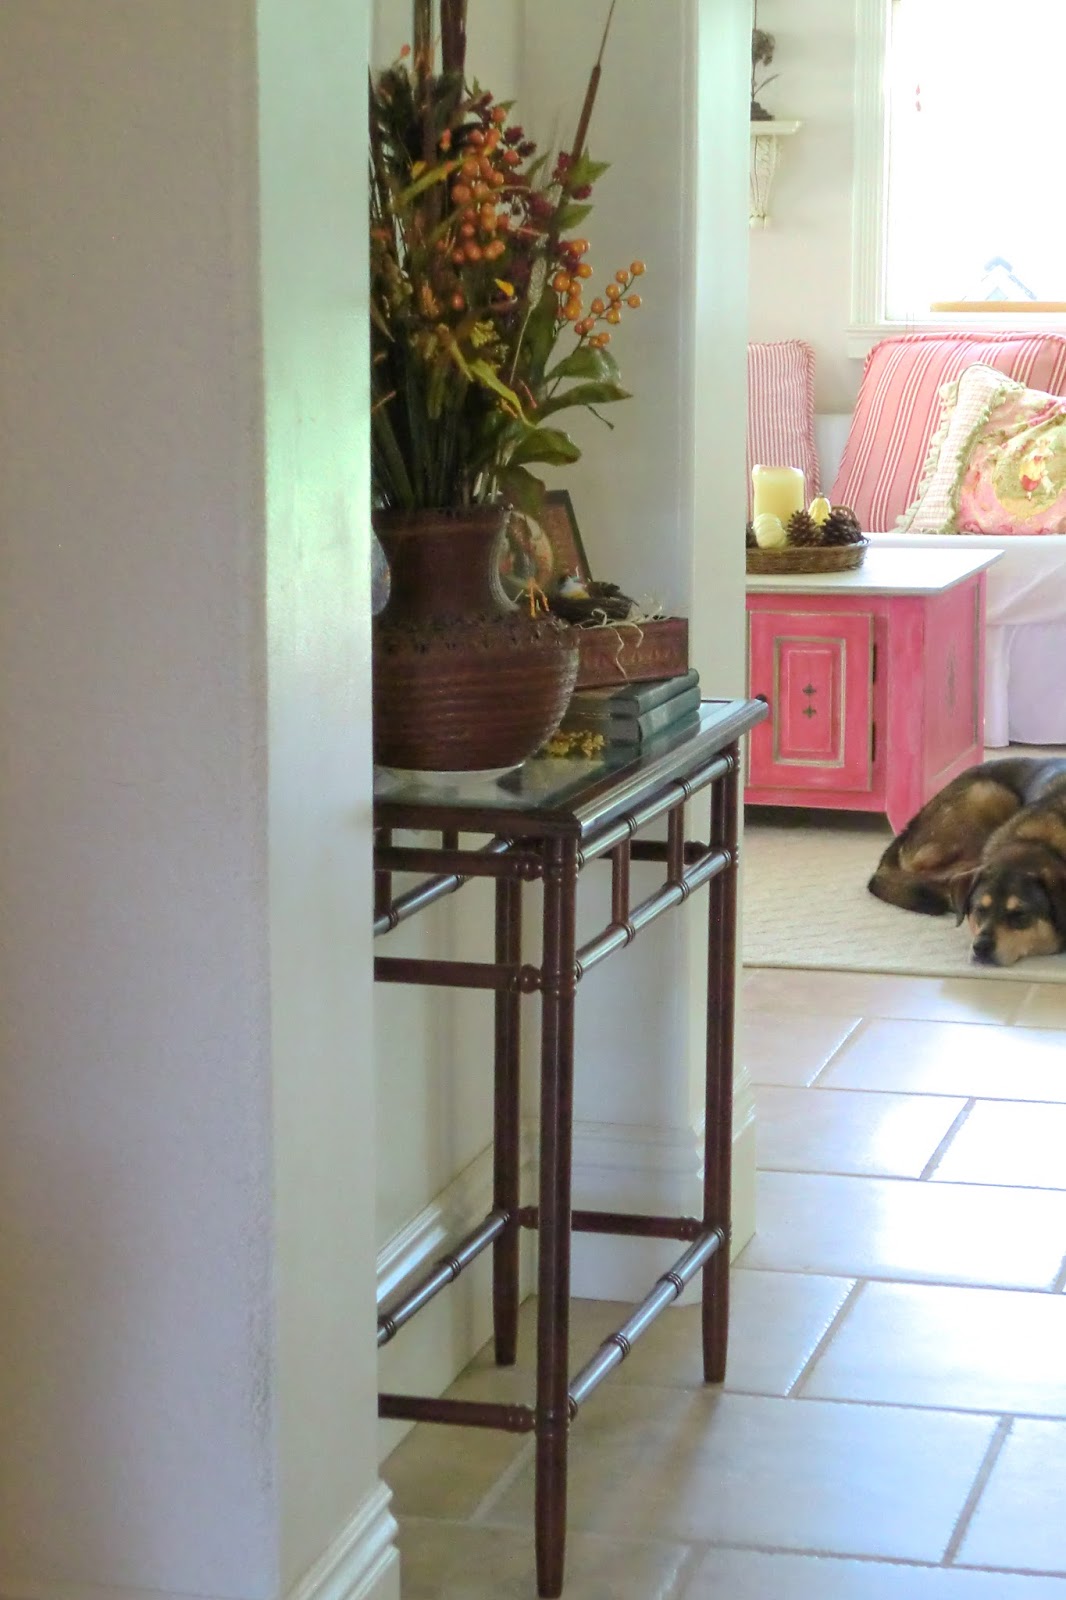
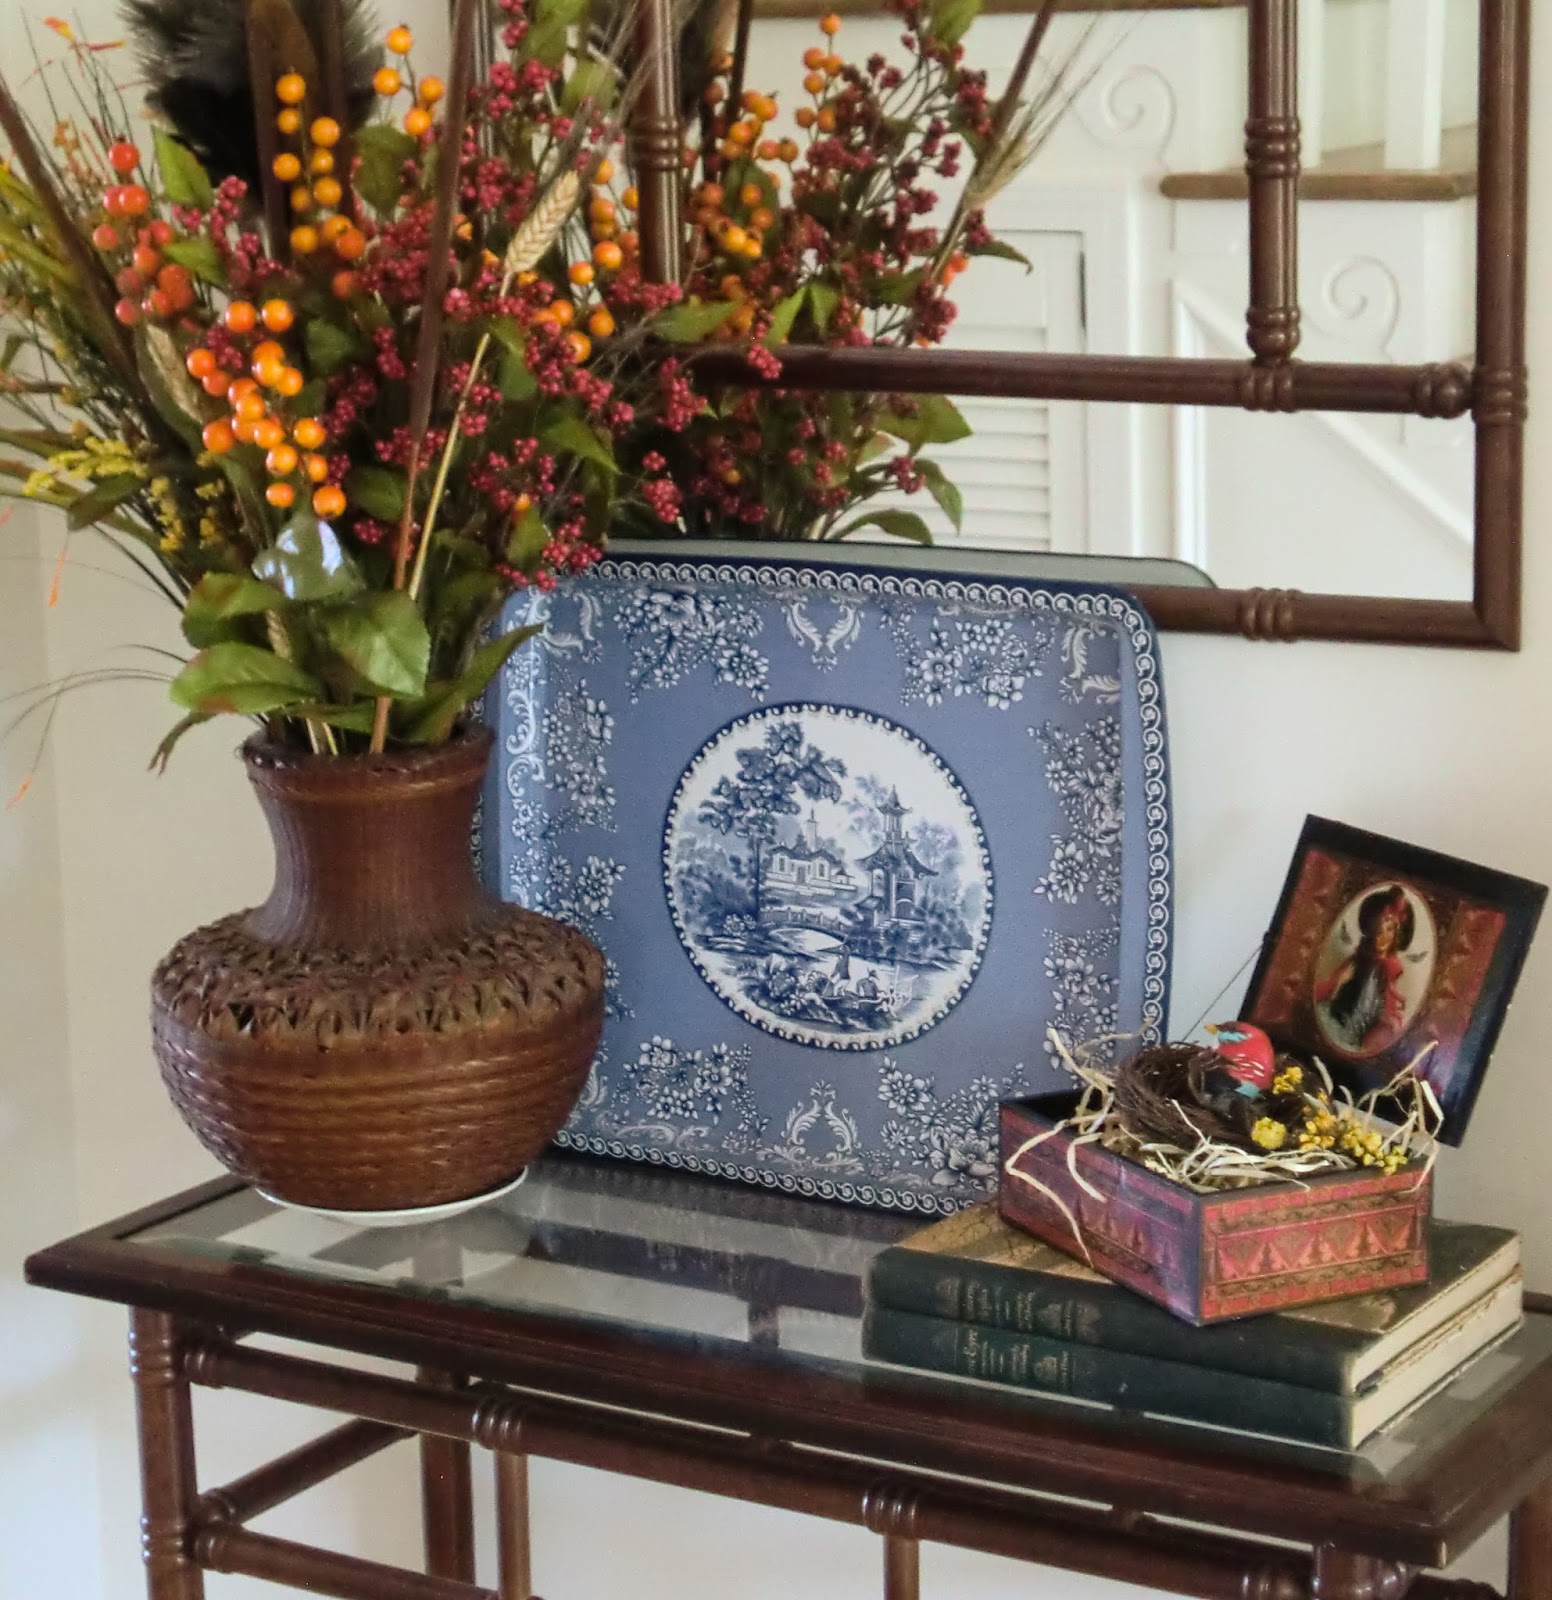
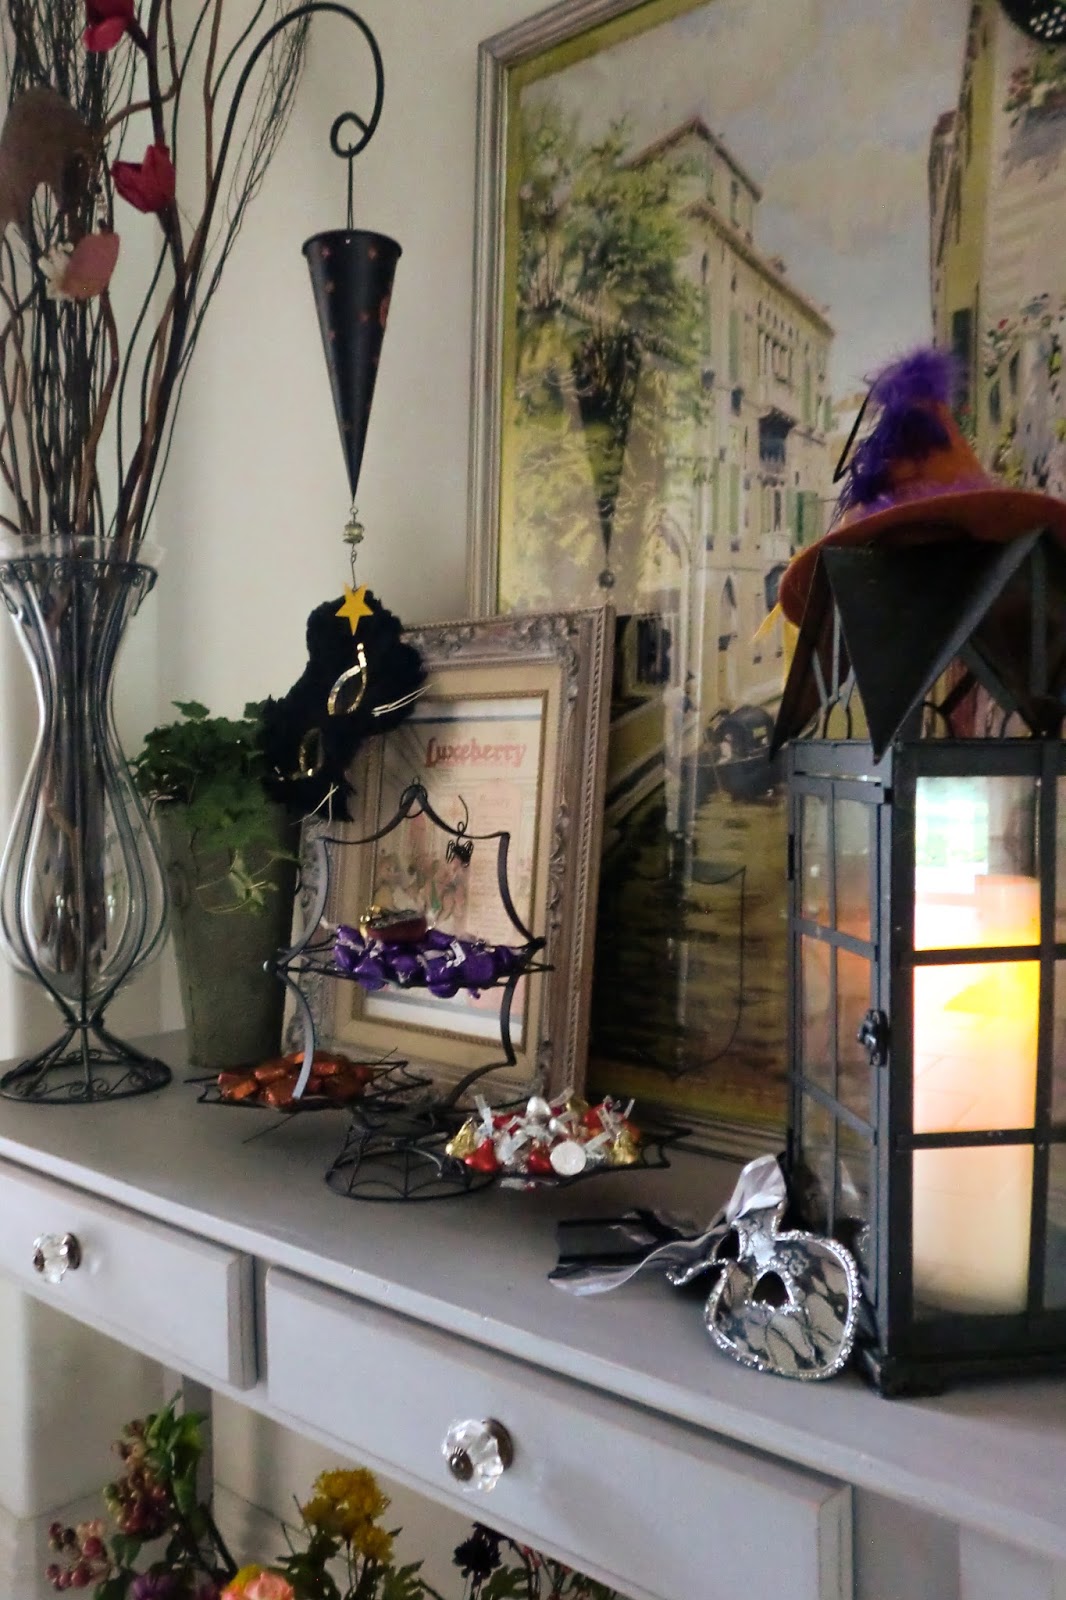
Over the years I've decided that it is better from a visual standpoint, and easier from a logistical standpoint (theoretically), to incorporate a few holiday things into my existing design scheme, instead of a whole-sale replacement of every-day decor with massive amounts of holiday items throughout the house.  


Easier to integrate a few choice things with what you already have, yes?  So you would think.  


'Editing' is a lot harder than it sounds or maybe I'm just impaired by an overwhelming desire to pile it all on and layer, layer, layer.  


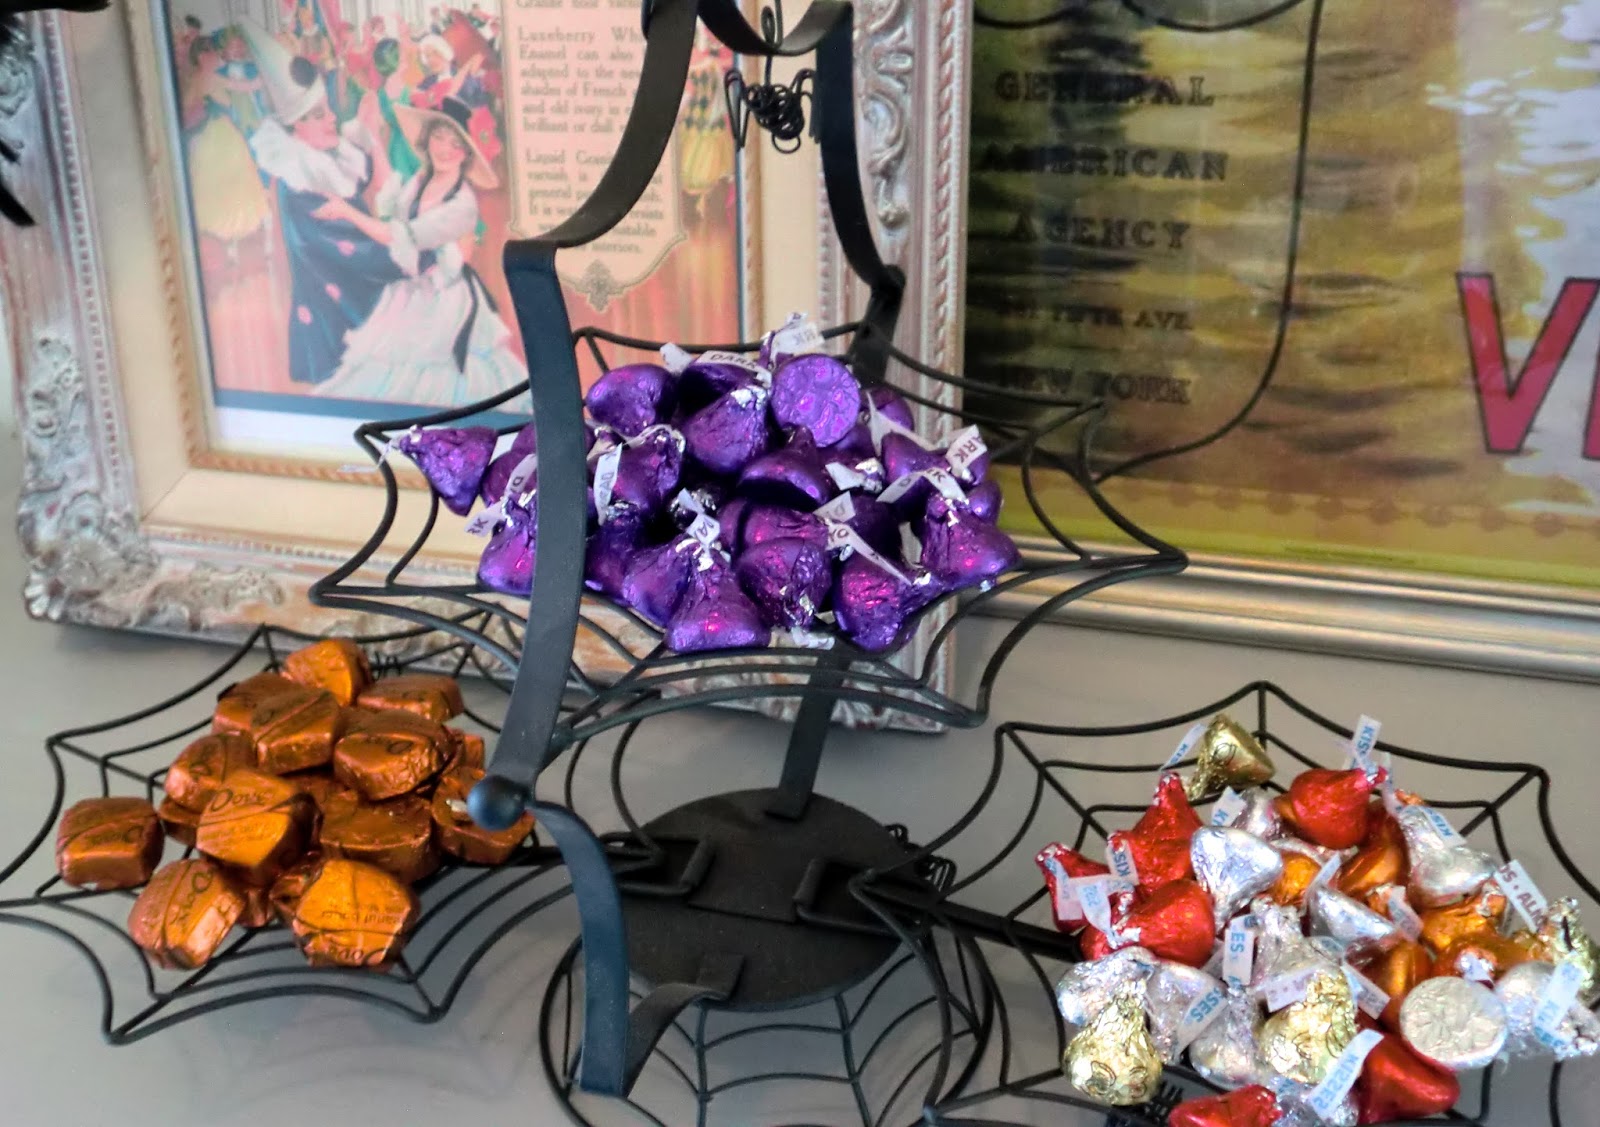
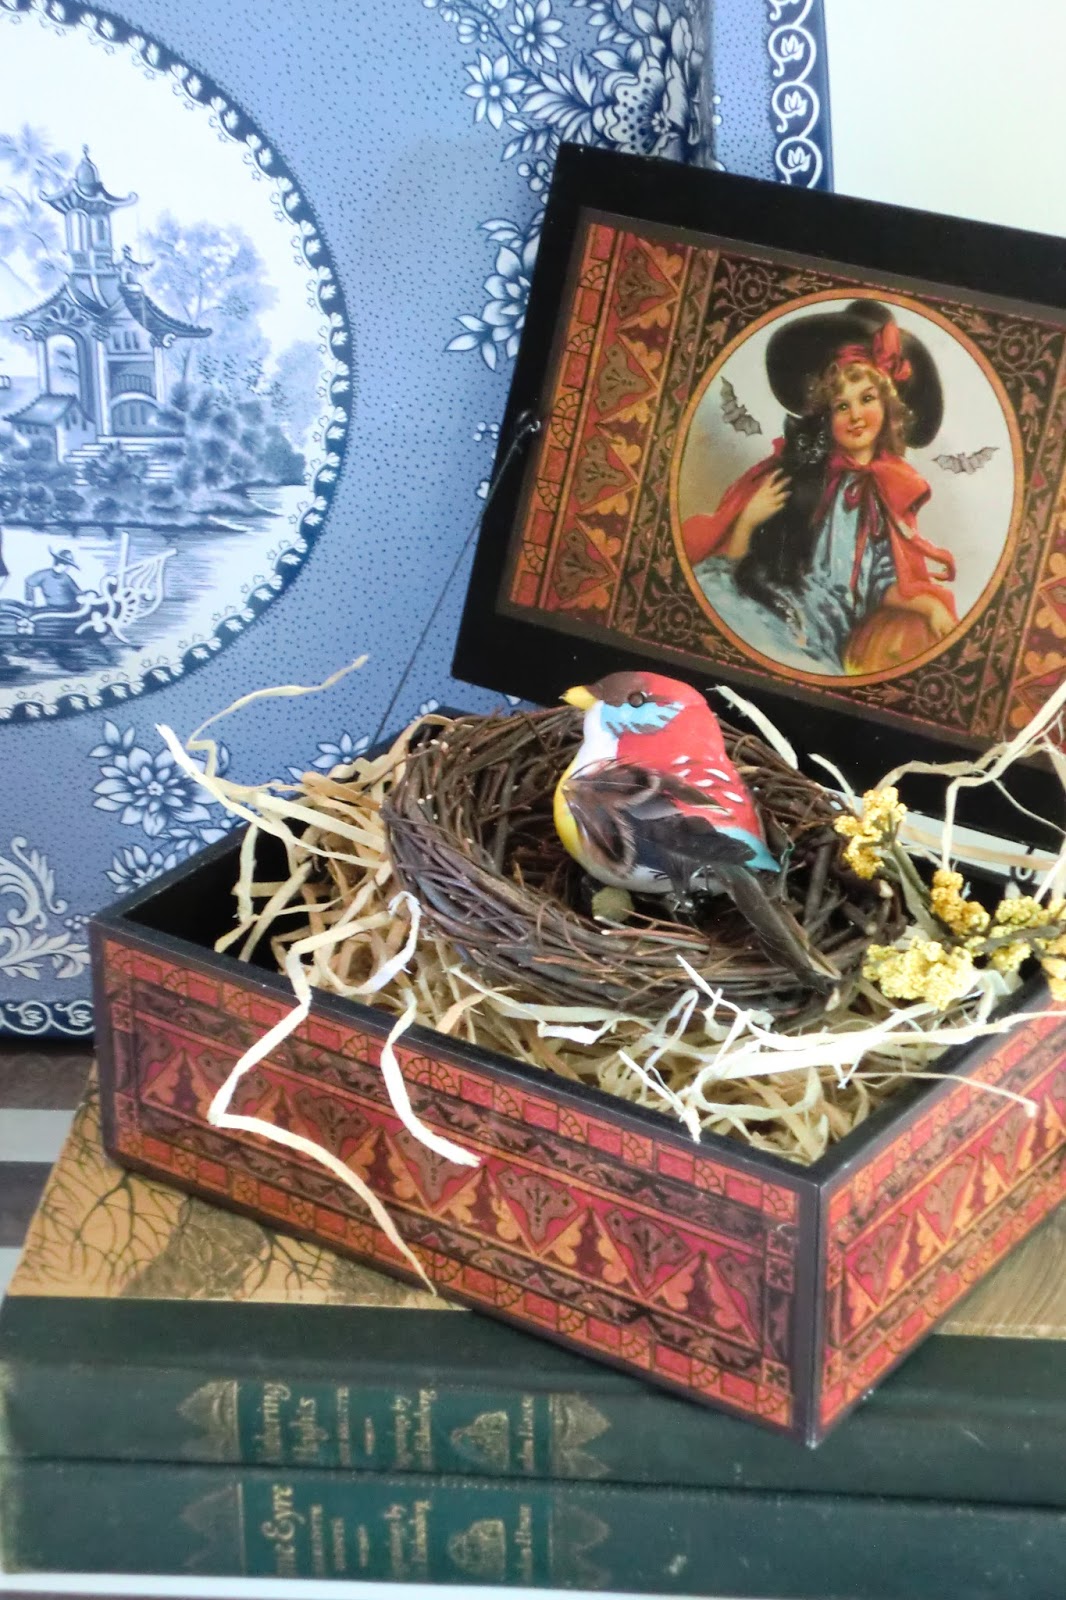
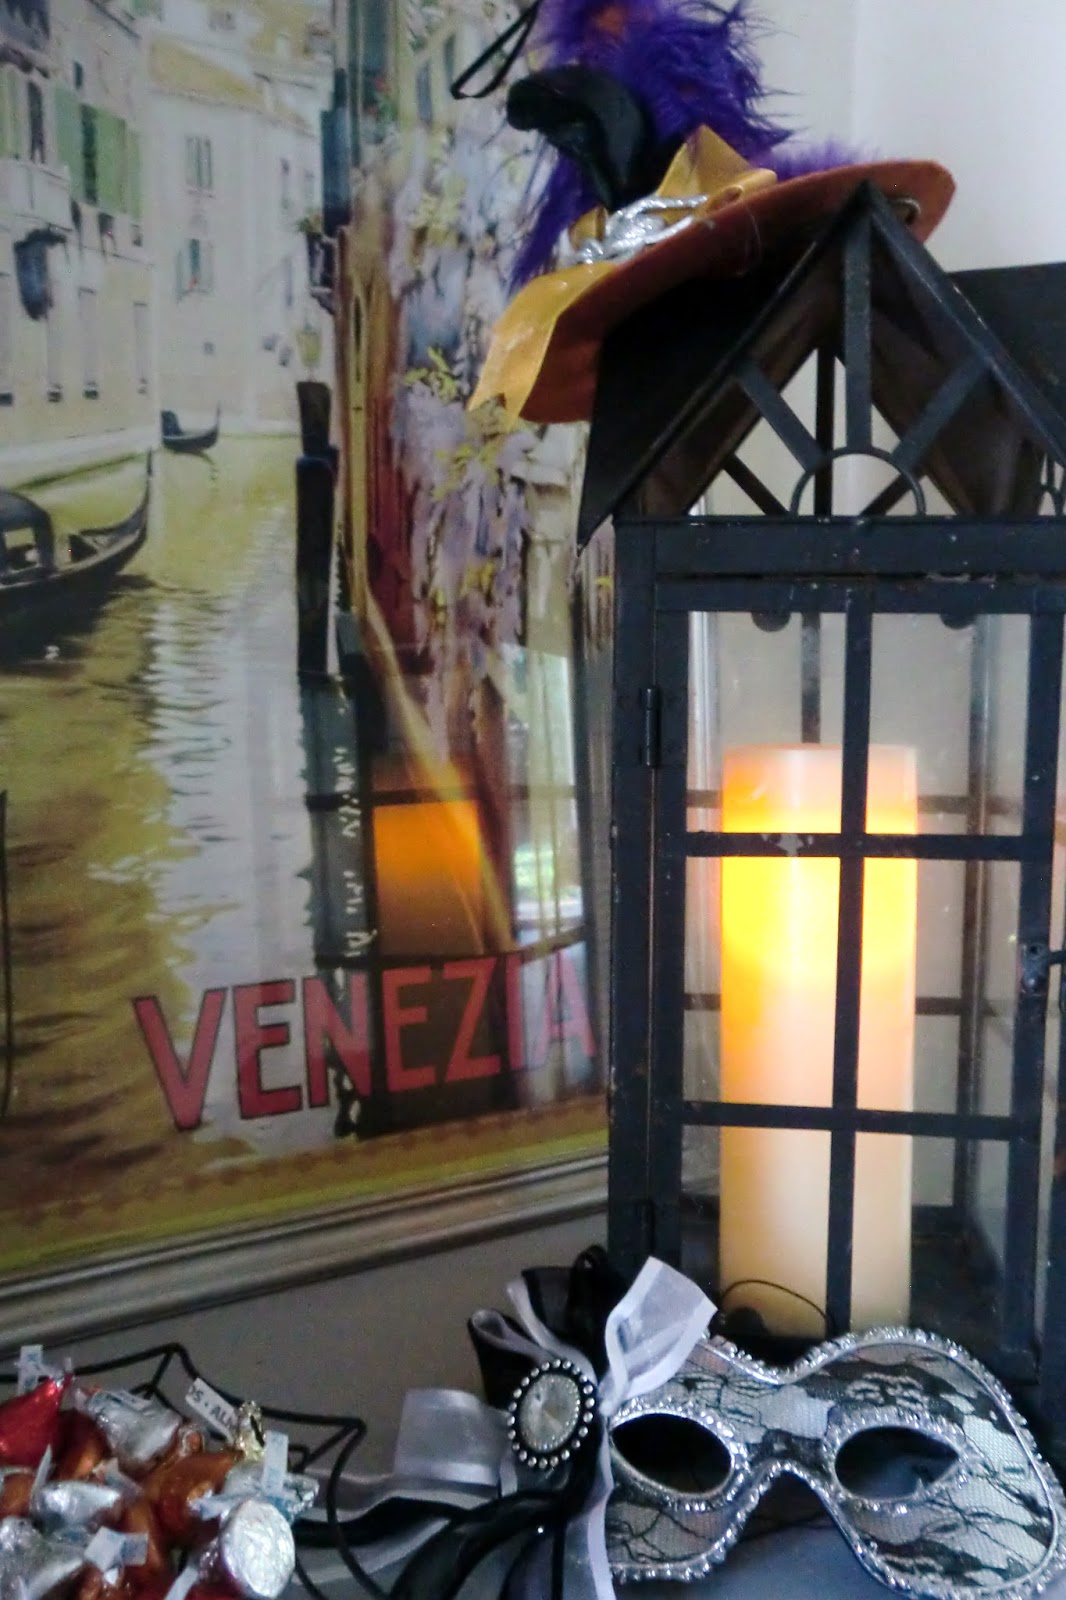
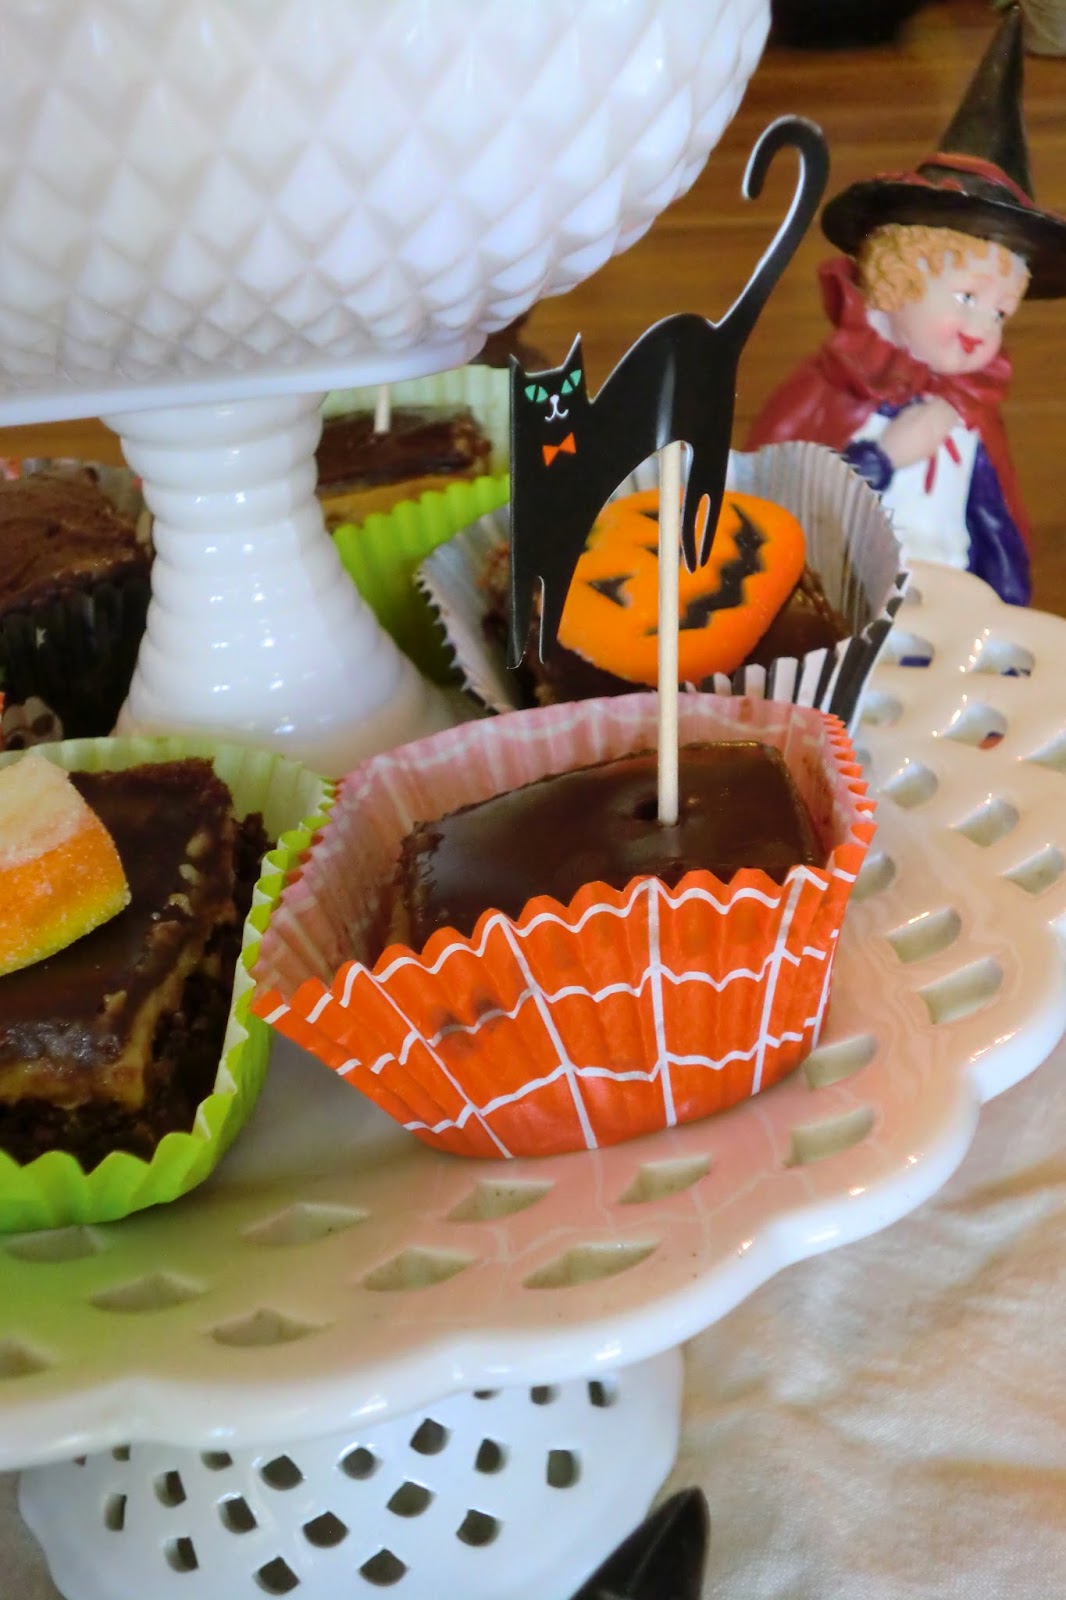
And of course I'm hopelessly attracted to fun, playful, quirky, creative, and, especially, vintage (or vintage-style) Halloween goodies and collectibles.  


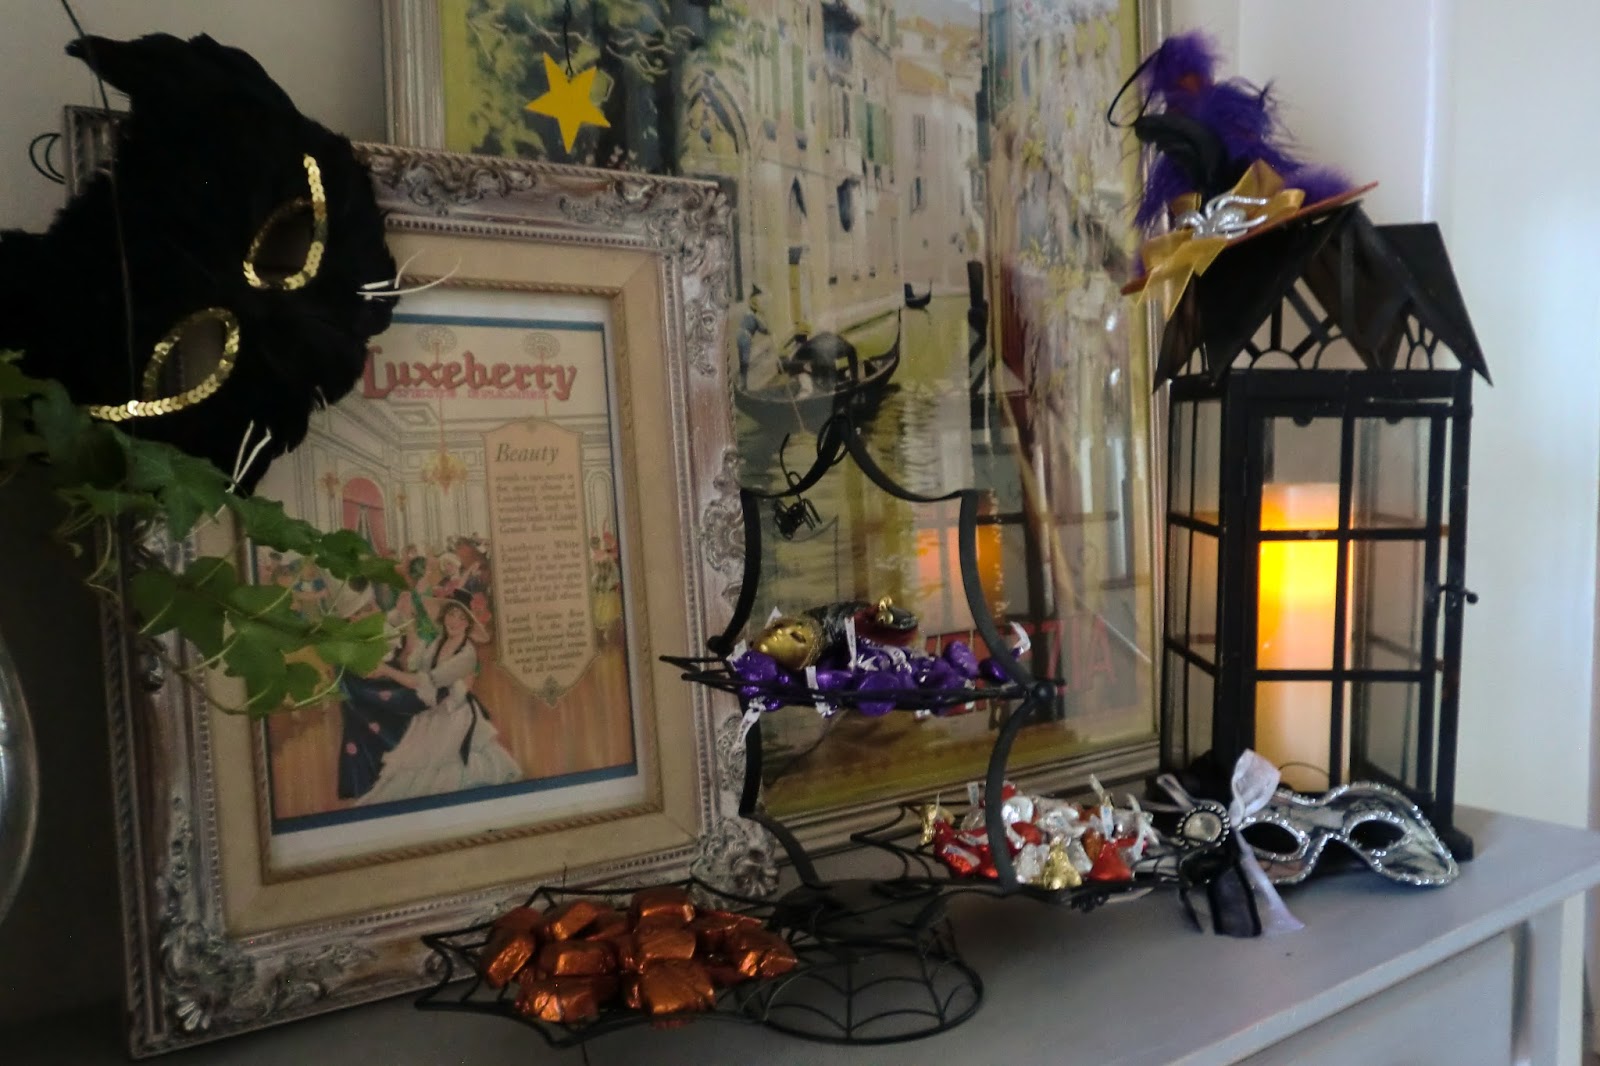
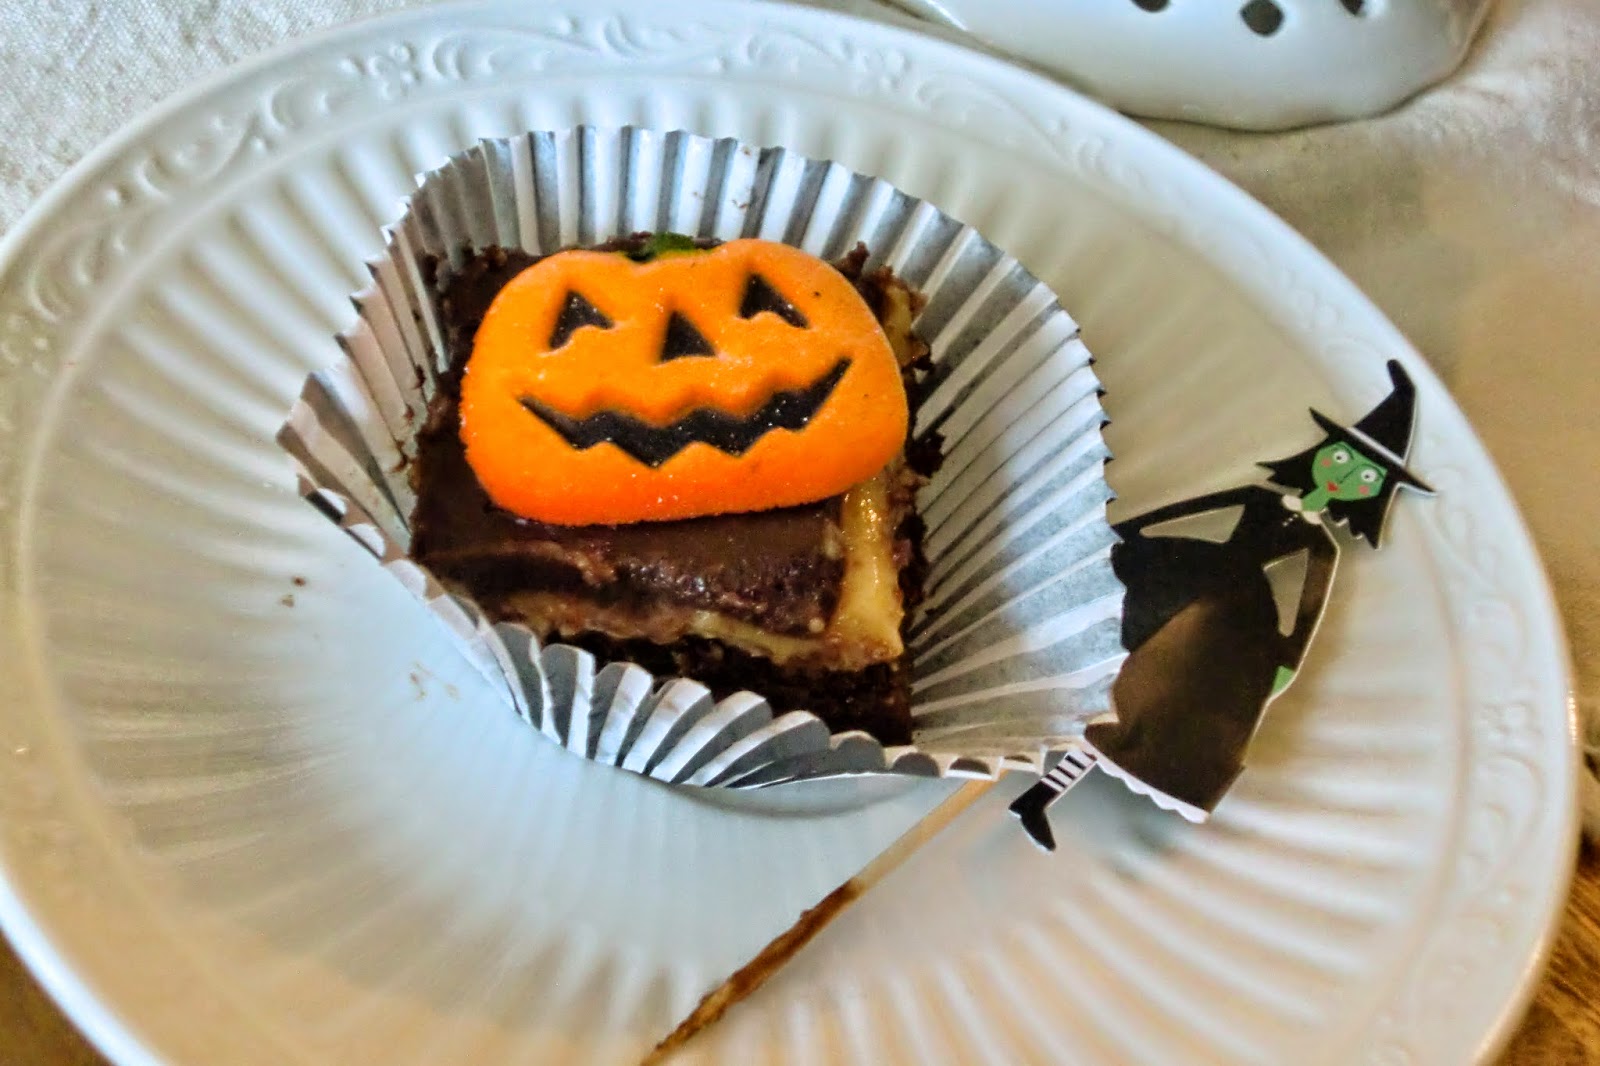
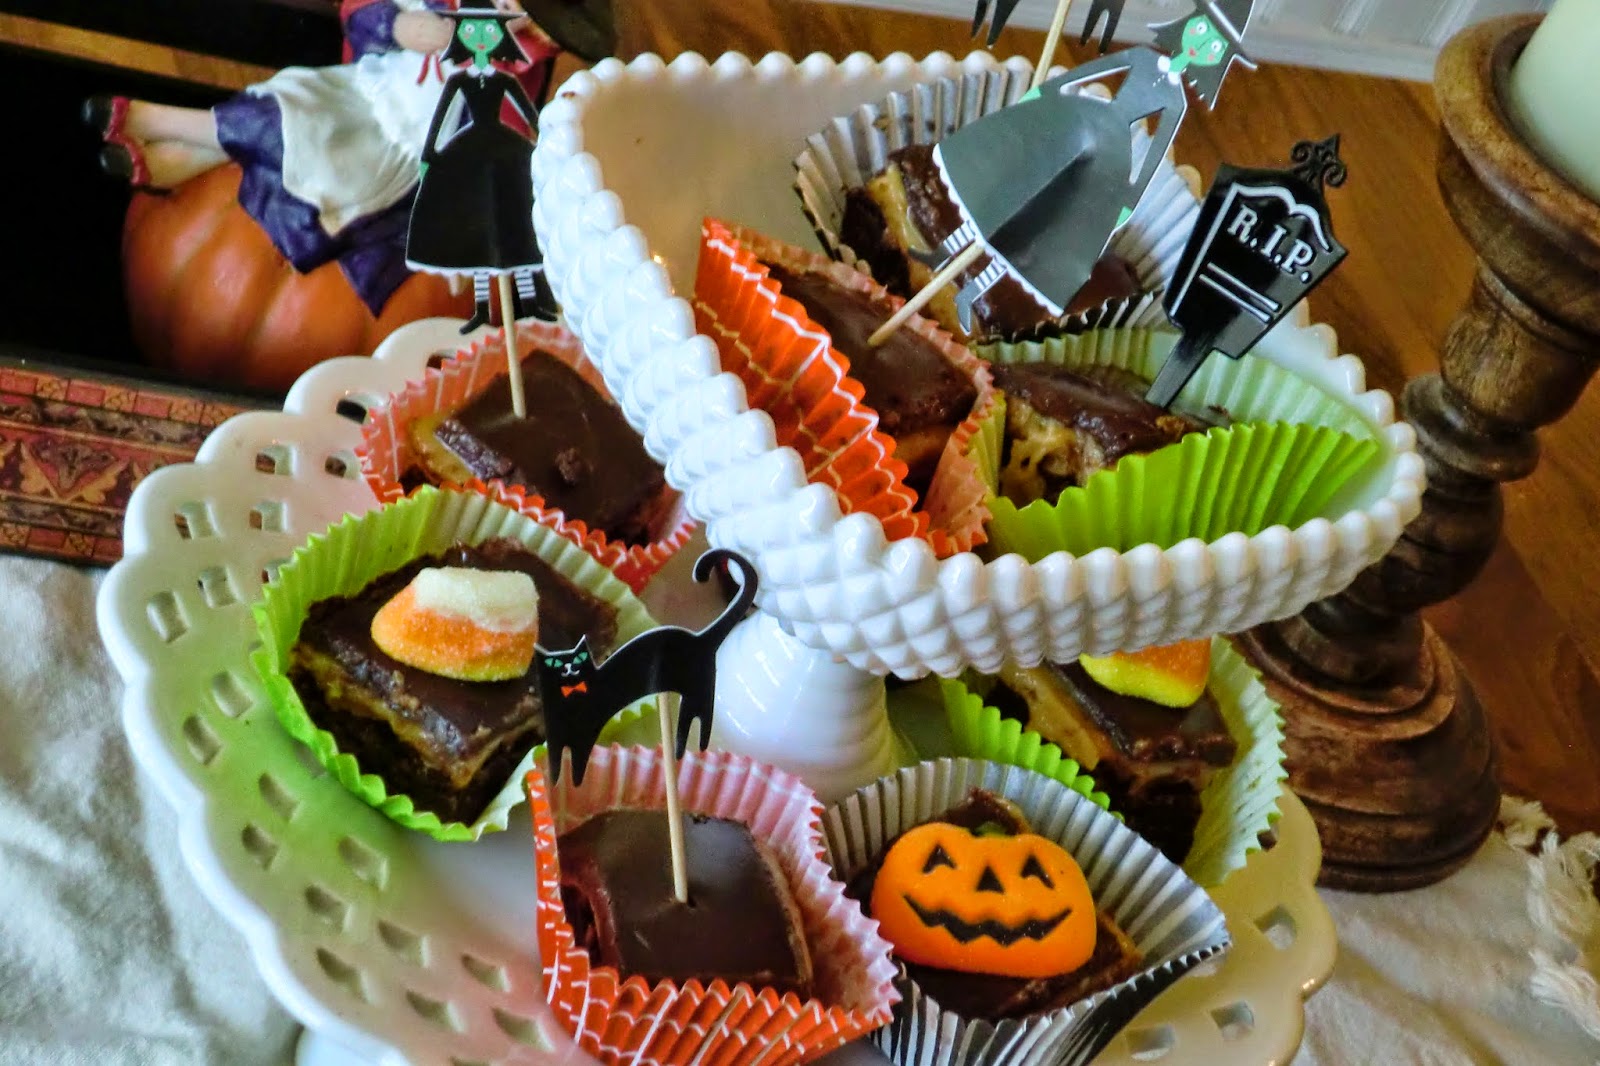
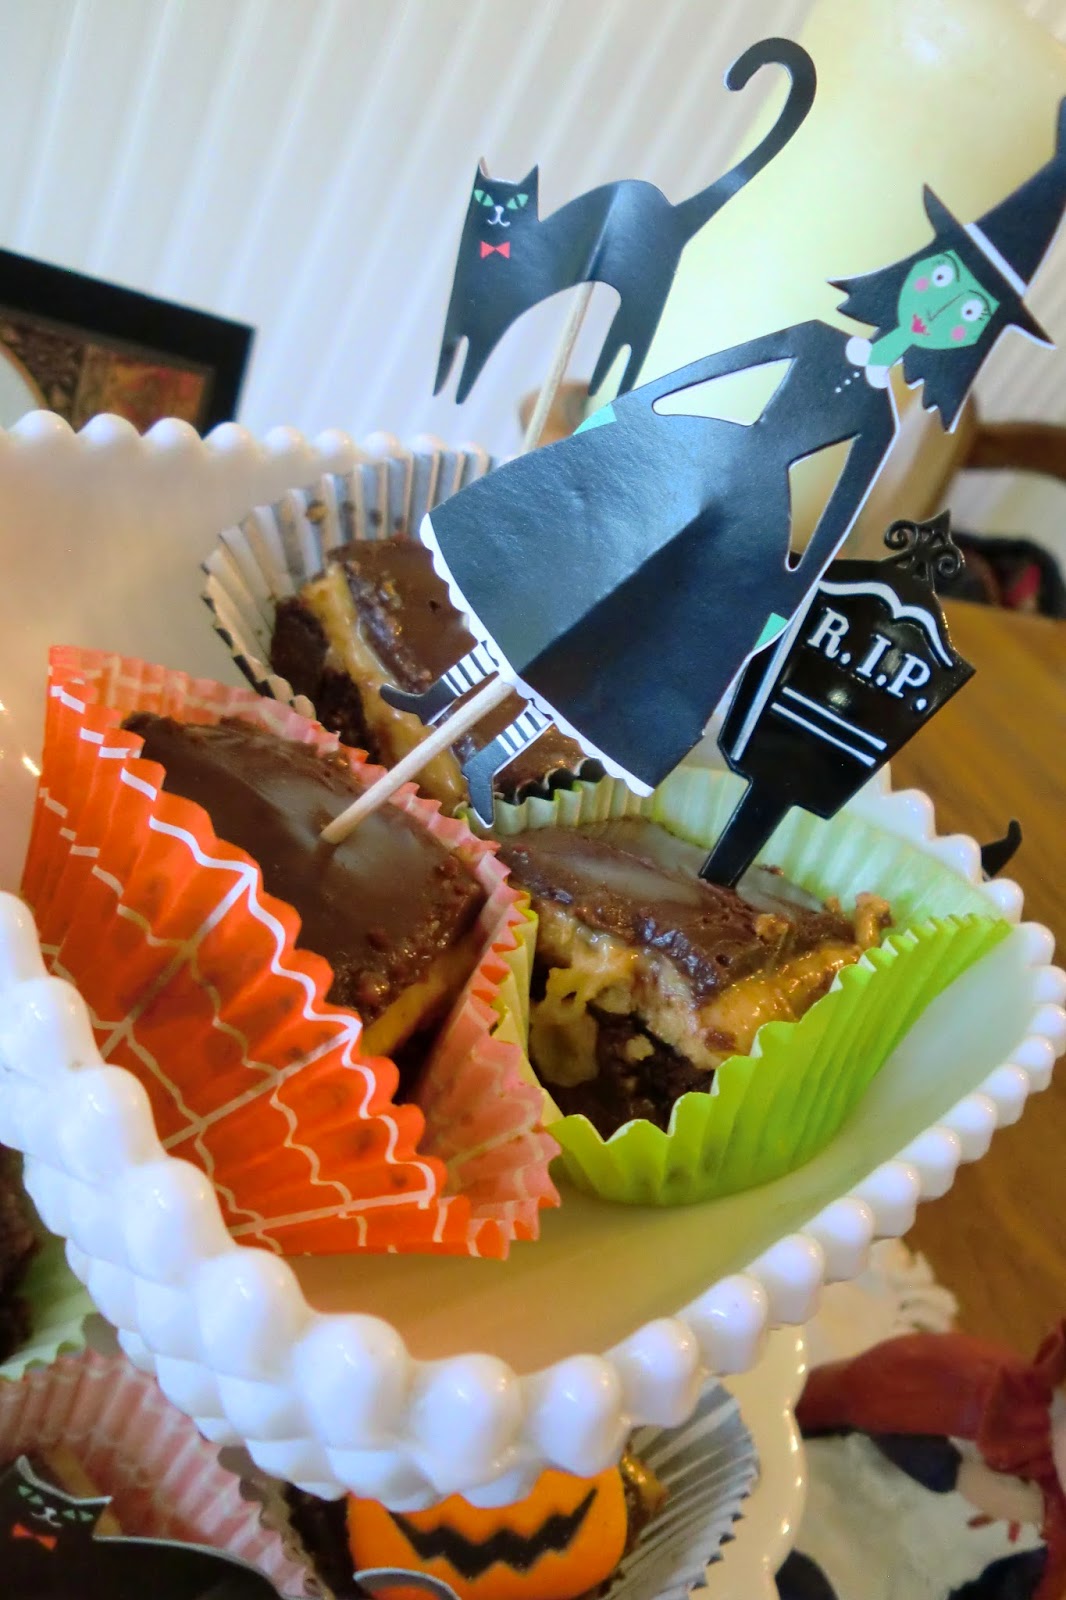
My favorite things are jack-o-lanterns, cats.....


........vintage Halloween costumes ..... and witches.  Here is adorable Ms. Franken-witch going for a ride on Mr. Pig.


I think the witches thing goes back to a childhood fascination with the idea of flying around on a broomstick.  


What could be more fun than flying through the velvety-dark night, perched on a magical broomstick, your cat perched on your shoulder, dressed in an elegant, stylish outfit like the one worn by this lady?  (When I was about 12 I had a cat named Heathcliff who liked to drape himself across my shoulders).


Just loved this colorful hat with the faux candy attached to the brim.... so Halloween-ish and so perfect for someone who has a major sweet-tooth.  Note it is not a real hat for wearing on your head--- much to heavy and uncomfortable and apt to slide off. Purely decorative.


Linking to at Cedar Hill Farmhouse and at French Country Cottage.

Sunday, October 19, 2014

Incorporating the spirit of Halloween into your house

Halloween gives you permission to indulge your inner child, alter ego, sweet tooth-- to step into a world of fun and whimsy, and a little (or a lot, depending on your tastes) of scary.  I suppose that is why it's a favorite holiday for many people.  

I'm not a fan of dark, disturbing, and ultra-creepy Halloween when it comes to decorating my home.   I enjoy it to a certain extent in movies and at amusement parks and haunted house attractions, but tend to veer more towards a charming, vintage, pretty, elegant variety of Halloween for bringing the holiday into my house. 

This works well for incorporating Halloween into my house as it is in the every-day. I have boxes and boxes of Halloween stuff, but these days, since I don't exactly have loads of free time, I like to focus on putting just a few things out in a way that complements the every-day decor of my house.


I started in my entry hall and used the large poster of Venice that sits on the table by the front door as a starting point.


Think masquerade balls, lovely glass objects, glorious architecture, beautiful colors and light, great art---


----of course I have no great art, the glass here is mass-produced, and the decorative things you see here I picked up at various antique malls, favorite nearby shops, craft stores, even Target. 


I take every opportunity to include my dogs in photos.  Dolly especially poses so nicely...


I've collected decorative masks over the years for various Halloween costumes (again, mostly craft store finds).  You'll see them throughout this post.


I don't remember where I got this wonderful spider-web treat/candy caddy.  In spite of the little metal spiders (not my favorite thing), I love it. Perfect for candy, cookies, brownies, cupcakes.


This is a table and mirror that belonged to my Mom.  I believe she got this at the Bombay Company when they used to have brick-and-mortar stores.  


Got this pretty little witch-box at last year.  A fantastic store; if you like little shops full of intriguing and beautiful objects old and new, and are ever in Claremont, CA, I highly recommend it.


Here is everything in the early evening.  More shadows....I've turned the candle on (another flame-less candle).  I thought the table by the front door needed a little something else-- so I picked a few things up and set them out.


Linking to at Cedar Hill Farmhouse.

Sunday, October 12, 2014

Halloween Recipe: Decadent Chocolate Peanut Butter Bars

For me, Halloween is all about chocolate.  Well, all holidays and special occasions shout chocolate at me, but Halloween seems to shout the loudest.  All that sinfully dark, chocolaty-brown goodness contrasts so beautifully with all the bright oranges, yellows, greens, and purples of Halloween, and is very much in keeping with the spirit of fun indulgence that prevails at this time of year.  

When I was little, I would pick out all the chocolate from my bag of treats after trick-or-treating and let everything else go stale and uneaten.  Some time after Valentines Day my mom would throw out the untouched liquorice, nougat bars, bubble gum, rice-crispy treats.....  Now that I'm all grown up, I can buy as many chocolate goodies as I want, thank you, as well as bake them too. 


This recipe combines my two favorite things in the world: chocolate and peanut butter.  This is a decadent, intensely chocolaty brownie bar that needs to be cut into fairly small little squares because it is so rich, even for me.  


Little squares work just fine with the festive cupcake cups I like to use to dress up bars and brownies.  I rarely make cupcakes since I don't have the patience to fuss with filling each cup, frost and decorate each cupcake.... 


.....but I still love all the adorable, clever cupcake papers and decorations you see everywhere.  Plus the little decorations-on-a-toothpick insert very nicely into brownies and bar cookies.


So I use them when I want to make brownies and cookies look especially pretty for guests and special occasions.  I especially love all the Halloween things that are out there... these cupcake decorations that I found at Sur la Table work especially well with these deadly little chocolate peanut butter bars. 


Decadent Chocolate Peanut Butter Bars

Bars
1 cup all-purpose flour
¾ teaspoon of salt
½ teaspoon baking soda
1 cup unsalted butter, cut into 8 pieces
6 ounces of good semisweet chocolate (e.g. Ghirardelli Semi-Sweet Chocolate Premium Baking Bar)
3 ounces of good unsweetened chocolate, chopped (e.g. Scharffen Berger unsweetened dark chocolate, 99% cacao)
1 ½ cup granulated sugar
1/3 cup packed light brown sugar
2 teaspoons real vanilla
4 eggs
6 ounces of Ghirardelli 60% Cacao Bittersweet Chocolate, chopped into ¼ to ½ inch chunks

Peanut Butter Frosting
2/3 cup plus 4 tablespoons natural peanut butter
¼ unsalted butter, softened
4 cups powdered sugar
¼ to ½ cup milk

Chocolate Ganache Glaze
1 cup heavy whipping cream
8 ounces of Ghirardelli 60% Cacao Bittersweet Chocolate, broken up


Make the Bars

1. Preheat oven to 325 degree F.

2. Heat a large saucepan of water on low heat (do not allow to boil).  In a large, heat-proof bowl, combine the 1 cup butter, the 6 ounces of semisweet chocolate, and the 3 ounces of unsweetened chocolate and set bowl on top of the saucepan of hot water.  Stir chocolate and butter until melted and smooth.  Remove bowl from hot water and allow to cool to room temperature.

3. Line a 15x10x1-inch baking pan with foil, using enough so that about 2 inches of extra foil hangs over each end. Grease the foil with butter.

4. Stir together the flour, salt, and baking soda in a medium bowl; I like to use a whisk to incorporate all the dry ingredients and remove any lumps and clumps


5. Add granulated sugar, brown sugar, and vanilla to cooled chocolate/butter mixture, beating well with a hand mixer.  The mixture should look like very dark, gritty, chocolaty sludge.


    6. Add eggs to the chocolate mixture one at a time, beating well after each egg.  It’s important to beat the mixture thoroughly; after the fourth egg, the mixture should be significantly lighter in color.


    7. Chop up the 6 ounce bittersweet chocolate bar into ¼ to ½ inch chunks.


    8. Stir flour mixture into chocolate/butter/sugar/egg mixture until barely combined; you should still see a moderate amount of unincorporated flour.


    8. Add the 6 ounces of chopped bittersweet chocolate bar and stir until just combined and all flour is incorporated.  Do not over-stir or the bars will be tough.

    9. Spread the batter evenly in the foil-lined pan and bake for 20 to 25 minutes or until a toothpick inserted in the center comes out with a few moist crumbs.  Cool in the pan on a wire rack.


Make the Peanut Butter Frosting

    10. Combine peanut butter and the ¼ cup of softened butter in a large bowl, beating with an electric mixer until combined and smooth. 

    11. Add 2 cups of the powdered sugar, beat until combined. Beat in a couple tablespoons of milk and add the remaining 2 cups of powdered sugar.  The mixture will be very stiff.   Beat in enough of the remaining milk so that the frosting is still fairly stiff, but spreadable. This is something where you need to adjust the amount of milk so that the frosting isn't too thin, yet you can still spread the frosting without tearing up the brownie bars.

    12. Spread frosting over cooled bars while still in the pan.


Make the Chocolate Ganache Glaze

    13. Place the broken up 8 ounces of bittersweet chocolate into a medium bowl.  Bring the 1 cup of whipping cream just to a boil and then add to the bowl of chocolate and let stand for 5 minutes.  Whisk the chocolate until smooth and shiny. 


  14. Let the glaze cool for 30 minutes and pour over the bars, tilting the pan to spread the glaze evenly.  Chill the bars in the refrigerator until the glaze is set and then remove the bars from the pan, using the overhanging foil to lift out.  Cut the bars using a large, sharp knife or pastry cutter. Store at room temperature or in the refrigerator, based on your preference.  I prefer room-temperature brownies and cookies since I find that chilling inhibits the flavor.


Enjoy!

Linking to:

Sunday, October 5, 2014

Autumn on my stairs

Back from our quick trip to Utah to discuss the cabin with our contractor.  The year is advancing and its time to bring some fall into my house here in California.  We recently renovated our front hall and stairs to open the whole area up and add some architectural detail.  Lots of gleaming white molding and millwork-- my favorite thing-- so light and bright and airy after the original dark, dim, mine-shaft of a hall that came with the house.  And so fun to decorate for everyday, for the season, for holidays.....


We incorporated some shelving and display areas into the new design.  My husband wasn't crazy about this idea, but I love the quirkiness of a bookshelf on the stairs.


I like to sit on the stairs when I talk on the phone or when I just want to look out into our living room or out to the backyard....or when I want to glance through one of the books that I keep here (although not the most comfortable place to read a book long term).


The landing is a favorite place for the dogs.  A strategic location that allows them to survey the back yard and watch for any marauding neighbor cats that dare to trespass on their territory.  They're both happily unaware of the complete inappropriateness of mixing dogs and stairs.... when both of them sprawl out together on the landing they make quite a trip hazard!


I got this bird at a shop near the Mission Inn in downtown Riverside.  Lots of nice little shops, an extensive and labyrinthine antique mall, great restaurants....  Love the little acorn cap he's wearing....


I like doing something unexpected like setting this tiny pumpkin into this old, celadon creamer to add interest and a pop of pretty, contrasting color.


I love the combination of the practical and whimsy here.... a clock and a crouching bulldog.  I got it at a local antique shop-- don't think it's particularly old (just a used item that someone got rid of), but I love it anyway.


Early evening adds more shadow and mystery on the stairs, a different effect when photographing....


I was surprised at how realistic the flameless candle is, and how much I like it....like the convenience especially, since it has a timer that can be set.  Perfect, since this is located in a rather hard-to-reach location. No need to worry about lighting and extinguishing the candle every day, it just does it's thing at the same time each day.


My most favorite stair decorations of all (in spite of the trip hazard)......


Linking to: