
We've been back to the cabin several times over the past few months to work on a few lingering projects and to actually have a relaxing, do-nothing vacation in our recently completed cabin.
Although the first trip in July had less do-nothing and more project work than I would have liked.
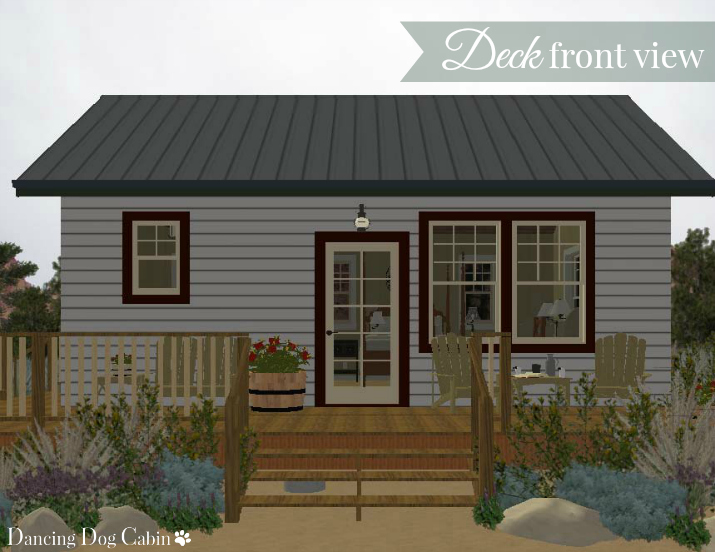
One of the last major tasks we needed to complete (or I should say my husband needed to complete) was the deck. I talked about the deck design here in this post.
The original design included a wrap around section that extended to the kitchen door on the south end of the cabin.

We decided to eliminate that when we got into the actual deck construction since ultimately the rest of the larger house will connect to our little cabin at the south end-- so it seemed that, when we finally got to it, building a section of deck at that end of the cabin would be a waste of money and time.
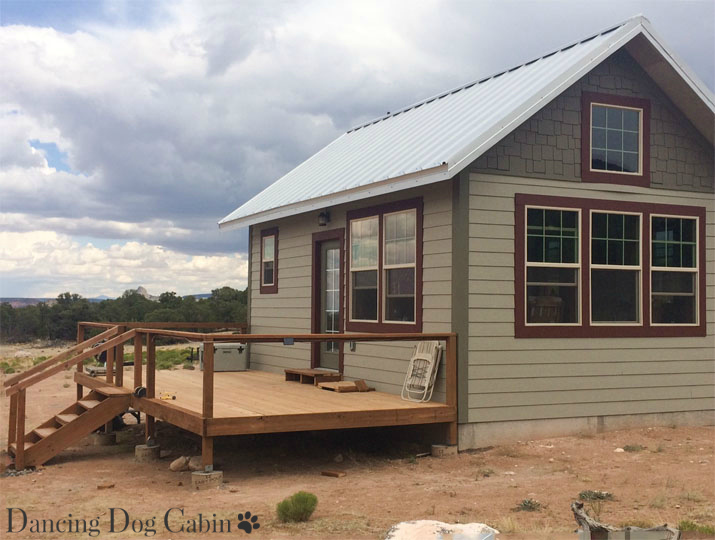
Here is a photo of the mostly finished deck-- for some reason, I didn't get any photos of the construction process.
The original illustrative rendering of the deck sported rather boring spindles for the deck railing (the design software didn't offer a lot of options for spindles)-- and no railing on the west end.
I had originally proposed to my husband that we use tree branches from our property to form the spindles for the deck railing (see what this looks like here). He was most unenthusiastic about this idea because of the large amount of custom fitting and installation required by using random, free-form tree branches.
We arrived at a happy compromise when we found these nice aspen poles at a local hardware store. The branches were uniform enough to make installation quite easy, but rustic enough to give the deck character.
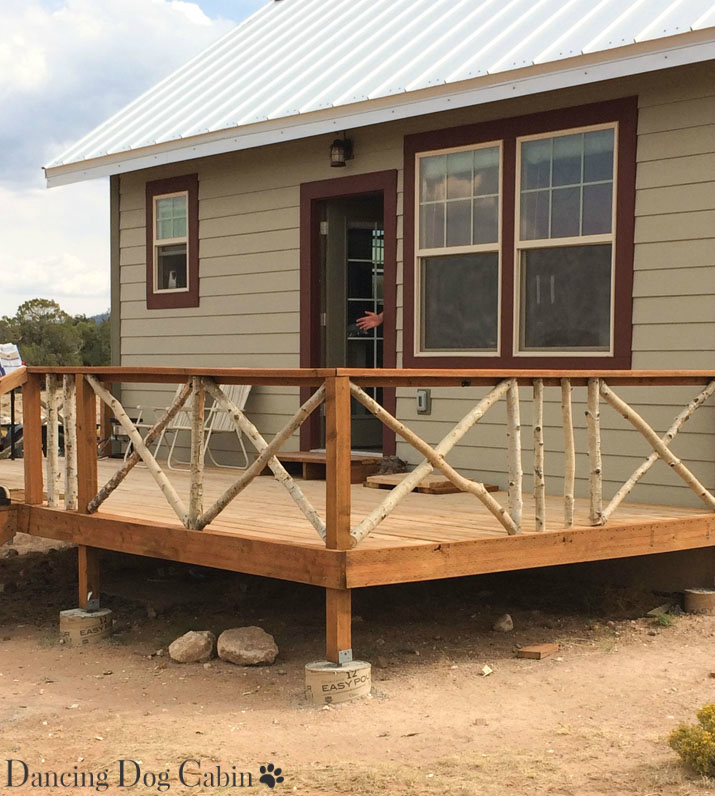
We are both very happy with the results and I can't wait to complete the finishing touches, which include--
buying a shorter propane tank to replace the too-tall one that pops up above the deck surface,
finish the step into the cabin,
buy some nice outdoor furniture to replace the ugly plastic folding chairs,
create a nicer, more finished outdoor grill area to replace the Weber,
add a 'skirt' to hide the supporting piers and gaping space under the deck,
do some landscaping...

I may have gotten carried away with using all the fun plant symbols in my design program when creating the various renderings of the deck. I love the lushness of densely placed plants but am a little worried about the fire hazard of all those plants right next to the deck. So, perhaps more sparsely placed native plants around the deck, when we get around to it.
Adding a deck resulted in an amazing transformation-- We now have an outdoor living space that is almost as big as the interior of the cabin. We've already had a little impromptu family get-together out there and I now have a new cabin-habit of going out onto the deck with my coffee first thing in the morning and again just before bed at night (in my pajamas) to look at the view...

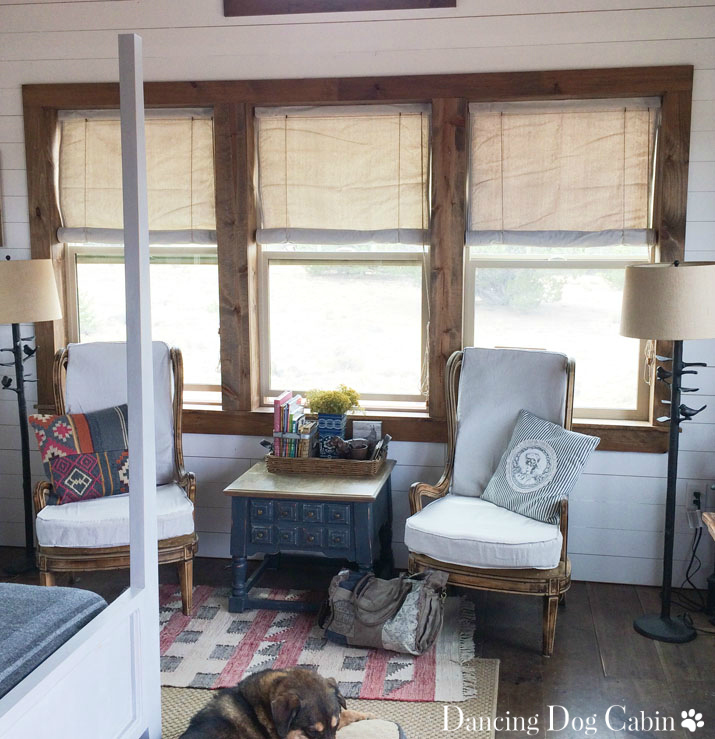
The other task that has been hanging over my head for the past few years was painting the outside window and door casings, as well as the trim on the cabin siding.
This was my job, and it was much scarier to climb way up there to get to the eaves than I ever dreamt it would be. In order to reach the window casings and trim pieces at the peak of the roof at each end of the cabin, we had to place that red ladder you see in the photo below onto our trailer (west end, with the triple windows) or Dodge tailgate (east end, with the door). Not fun. Not when a roaring wind is shaking the ladder like mad and nearby clouds are raining down thunder and lightening.

We also hung the Swedish blinds that I made. I'll talk more about what Swedish blinds are and how to make them in a future post, but for now I'll say that I am very pleased that they actually roll up quite smoothly when we pull on the cords...I was a little skeptical about the screw-eye arrangement shown in all the tutorials.
We introduced a vintage-style pig sign to the kitchen...

While we worked and sweated in the July heat, the dogs hung out in the bathroom where it was nice and cool. The pebble floor in the shower is a favorite spot for both dogs and usually Dolly crowds in with Rosie, who always manages to get in there first.
Little do either of them know that this is where Baths are going to happen.

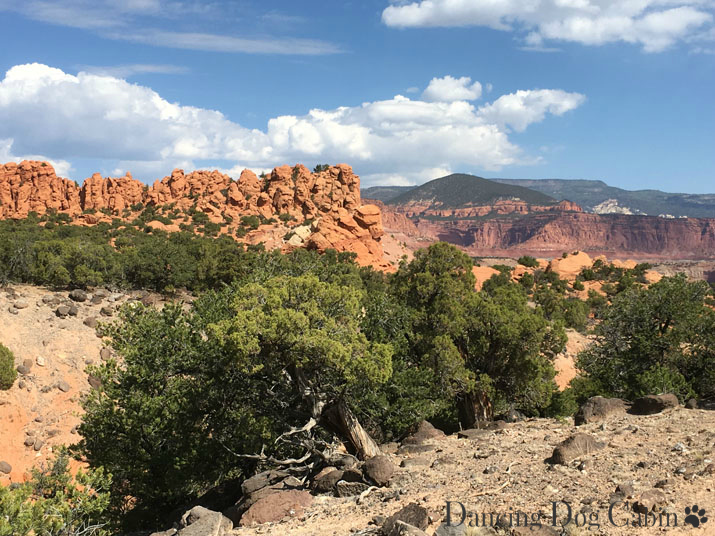
There was some relaxation and fun. We finally got to see the Fourth of July parade in Torrey-- every other visit to the cabin in July was strictly a working vacation. No time for fun stuff like parades.

We did some sightseeing in Capitol Reef National Park. This is the Fruita Schoolhouse, which was built in 1896 and served not only as a school for the children of the settlers in the area, but also, when needed, a community center and a church meeting house.

According to the interpretive sign, the last class was taught in 1941. As you can see in the photos in the sign below (and the photo above), the room was quite small. Imagine trying to concentrate on your lessons while all that rugged wilderness beckoned from the windows...

I picked some apricots with my sister in the historic orchards at Fruita in Capitol Reef National Park.
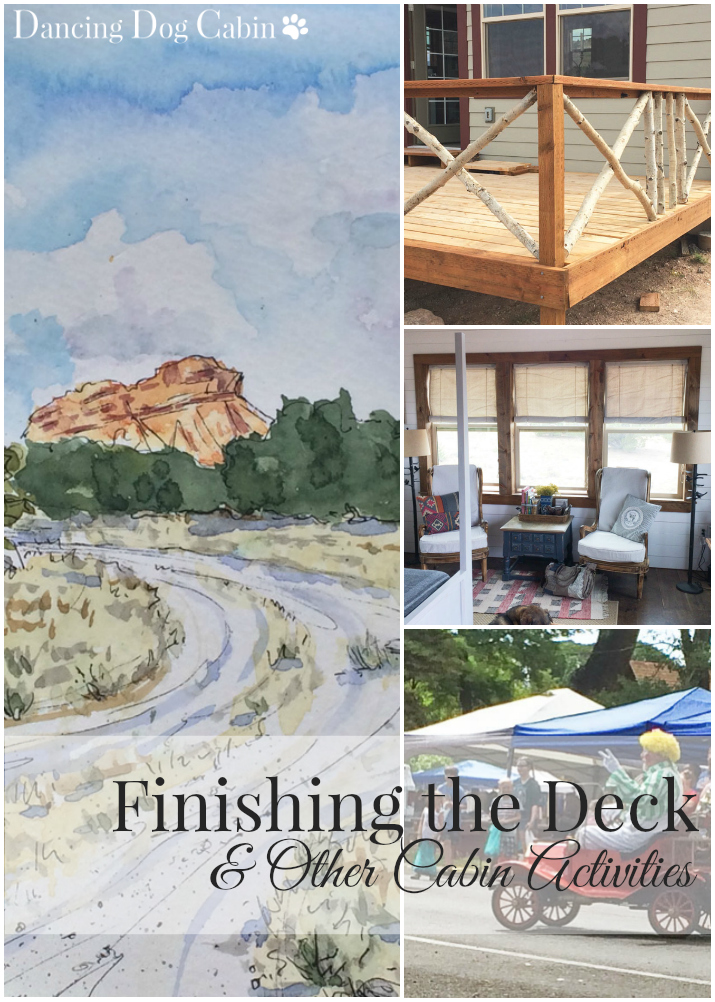
I also started a cabin-travel journal. I started an online watercolor course last year (still need to finish), and sketching in a journal is a great way to loosen up and practice...

That's it for now. I will be sharing more cabin-related posts in the coming months....I know its been a while since I posted anything.
***
Thanks for visiting!
***
Most likely linking to the following this week....
Inspire Me Monday at My Uncommon Slice of Suburbia
Sweet Inspiration at The Boondocks Blog and Art Decoration and Crafting
Tablescape Thursday at Between Naps on the Porch
Bouquet of Talent at Life on Lakeshore Drive
Share Your Cup Thursday at Have a Daily Cup of Mrs. Olson
Happiness is Homemade at Ducks 'N a Row
DIY Salvaged Junk Projects at Funky Junk Interiors
***
Amaze Me Monday at Dwellings

Vintage Charm Party at My Thrift Store Addiction and Our Hopeful Home