It's happened again. Summer has just rushed by and I'm already seeing back-to-school commercials on TV (and starting to dread impending back-to-school traffic on my daily commute).
But it's still blazing hot outside and the calendar does still say August... which means summer hasn't departed yet... which means easy fruit desserts are on my mind often.
A quick detour on the state of my mind with respect to dessert: I'm a total sugar addict and can't get through the day without thinking about eating and making some kind of yummy, decadent dessert. I know, you'd never know it by looking at my In The Kitchen page, which is sadly underpopulated. But I'm trying to watch what I eat and writing a lot of posts about desserts and dessert recipes means making (and eating) a lot of desserts. So, not so many dessert posts so far. How do food bloggers (especially those focused on desserts) do what they do and not gain a zillion pounds?

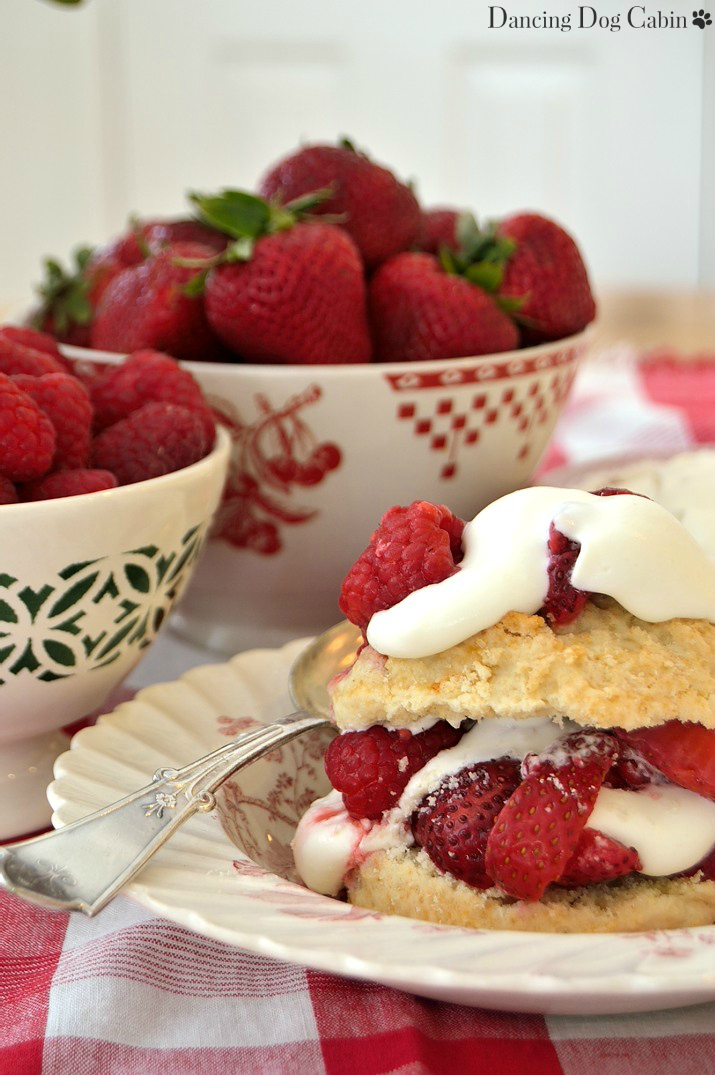
Anyway, back onto the topic of easy, summer desserts...and what is easier to throw together than berry shortcake?
All it takes is...
1. A quick and easy sweet biscuit
2. Berries of your choice with a little sugar
3. Sweetened and whipped cream.
2. Berries of your choice with a little sugar
3. Sweetened and whipped cream.
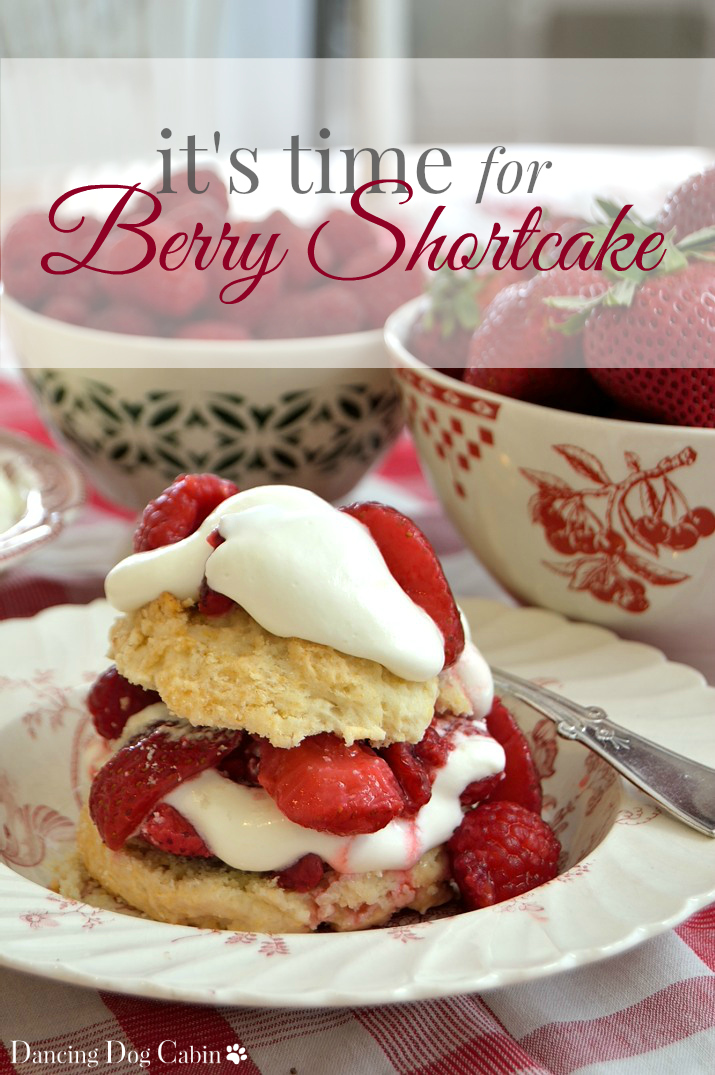
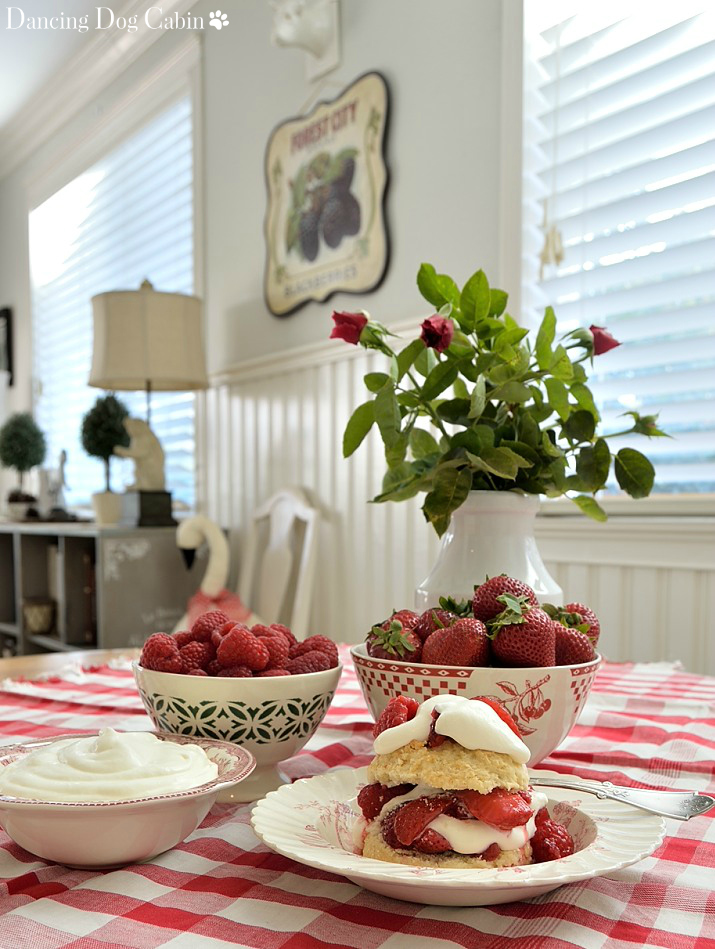
I used strawberries and raspberries here. I would have used blackberries as well, for the extra bit of contrasting tartness and color, but the grocery store was out.

Since fruit desserts tend to get better if they sit at least 12 hours, I think it's a good idea to macerate the berries with sugar the day before. This allow flavors to meld and intensify, and if needed, you can add a little more sugar to taste the next day before you assemble the dessert and eat it.
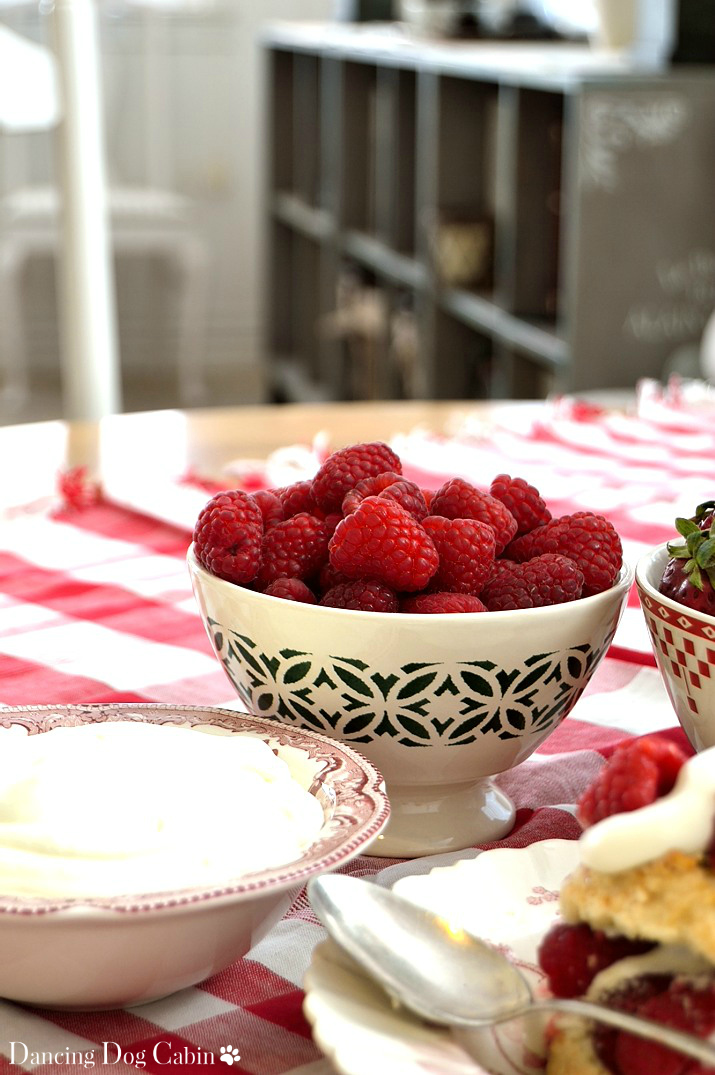
I like to whip the cream until just the soft peak stage...
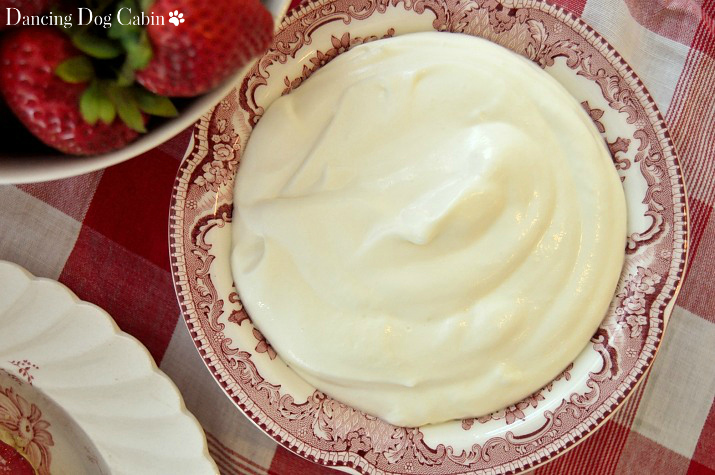
...so that it droops and drips very nicely around the berries and shortcake.

A yummy, crumbly shortcake adds just enough sweetness to complement the berries without competing with them.
Here is the recipe...
Berries
2 pints strawberries (hulled and sliced)
1 pint raspberries
1 pint blackberries
1/4 to 1/2 cup granulated sugar (or more, if needed)
Shortcake
2/3 cup (1 1/4 stick) ice-cold unsalted butter, cut into cubes
3 1/2 cup all-purpose flour
1/3 cup granulated sugar
2 tablespoons baking powder
1/2 teaspoon salt
2 large eggs
Since fruit desserts tend to get better if they sit at least 12 hours, I think it's a good idea to macerate the berries with sugar the day before. This allow flavors to meld and intensify, and if needed, you can add a little more sugar to taste the next day before you assemble the dessert and eat it.
I like to whip the cream until just the soft peak stage...
...so that it droops and drips very nicely around the berries and shortcake.
A yummy, crumbly shortcake adds just enough sweetness to complement the berries without competing with them.
***
Here is the recipe...
Berries
2 pints strawberries (hulled and sliced)
1 pint raspberries
1 pint blackberries
1/4 to 1/2 cup granulated sugar (or more, if needed)
Shortcake
2/3 cup (1 1/4 stick) ice-cold unsalted butter, cut into cubes
3 1/2 cup all-purpose flour
1/3 cup granulated sugar
2 tablespoons baking powder
1/2 teaspoon salt
2 large eggs
1/2 cup heavy whipping cream (plus extra for brushing)
1/2 cup buttermilk
turbinado sugar for dusting
Whipped Cream
2 cups heavy whipping cream
1/4 to 1/2 cup powdered sugar
1/4 to 1/2 teaspoon vanilla
Make the berry topping:
1. Combine the strawberries and sugar and toss gently. Let the berries sit for about 30 minutes until they release some of their juice and very gently stir in the other berries (be extra careful with the raspberries, which tend to fall apart easily). As I mention above, it's a good idea to prepare the berries one day in advance, since the flavor improves with age. Of course you can use whatever combination of berries you prefer (including blueberries). After the berry mixture has sat for at least 12 hours, you can adjust the sweetness by adding more sugar if needed. How much will depend on how sweet you like it, and how sweet and flavorful the berries were to begin with.
Make the shortcake:
Pre-heat the oven to 350 degrees F.
1. Place a piece of parchment paper on top of two cookie sheets (or butter and flour each sheet)
2. Sift together the flour, 1/3 cup of sugar, baking powder, and salt. Add the 2/3 cup of butter. Using an electric mixer set at medium speed, mix together until the mixture is crumbly (up to 3 minutes). Add the eggs, one at a time, beating well after each addition. Gradually add the 1/2 cup of cream and 1/2 cup of butter milk, beating on low speed until the liquid is incorporated and the mixture is soft and thick (and not too wet).
3. Use a 4-oz ice-cream scoop to form each shortcake. Pack the mixture so that it is even with the top of the scoop and release onto the prepared cookie sheet. Each shortcake should be about 2 inches apart on the cookie sheet. Brush the heavy whipping cream onto the tops of the shortcakes and sprinkle with the turbinado sugar.
4. Bake the shortcakes until a light golden brown on top, about 20 to 25 minutes. Remove the shortcakes from the oven and allow to cool on the cookie sheets set on wire racks for 5 minutes. Transfer the shortcakes to the wire racks and allow to cool completely before assembling the berry shortcake desserts.
Make the sweetened whipping cream:
1. Place the 2 cups of heavy whipping cream in a chilled bowl and beat with an electric beater, starting on the low setting and gradually increasing the speed.
2. When the cream starts to thicken, gradually add the powdered sugar until the cream is sweet enough for your liking. Add the vanilla, Beat until the mixture just reaches the soft peak stage. Chill the whipped cream until you are ready to assemble the berry shortcakes.
Assemble:
1. Cut the shortcakes in half.
2. Placing the bottom half in a bowl, top with the berry mixture and a dollop of whipped cream
3, Place the top half of the shortcake on the berry/cream mixture, top with another scoop of berries and another spoonful of whipped cream
The shortcakes can be stored at room temperature for a couple days in a plastic storage bag. The berry mixture and whipped cream should be stored in an airtight container in the refrigerator.
***
Thanks for visiting!
***
Most likely linking to the following this week....
That DIY Party at DIY Showoff
Tablescape Thursday at Between Naps on the Porch
Party in Your PJs at the Cookie Puzzle
Vintage Charm Party at My Thrift Store Addiction and Charm Bracelet Diva
Five Star Frou-Frou at a Tray of Bliss
Best of the Weekend at Hello Little Home and Little Miss Celebration
Bouquet of Talent #207 at Life on Lakeshore Drive