

I've added another horse to my walls. It's just taken a long time for him to get there since this project has been cooking along in the back of my head for several years while other projects took priority.
I was initially inspired to embark on a project like this by all the architectural-salvage-as-art and vintage signs that you see everywhere, as well as by frequent visits to Lowe's when we were adding crown moulding and baseboards to the house. After spending countless hours standing in the moulding aisle and staring at the wide selection of crown mouldings, window casings, chair railings, etc. it dawned on me that I could create my own architectural-salvage style wall art. I just needed a piece of art or a graphic for the focal point.
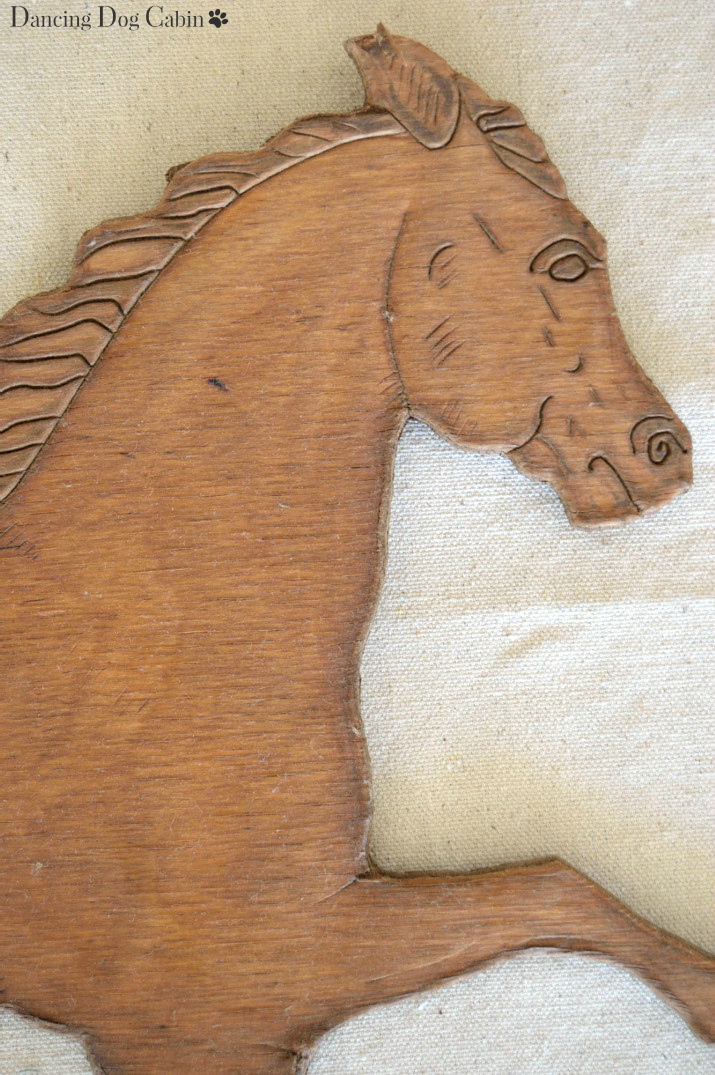
About the same time that I was wandering around in Home Depot and Lowe's most weekends, obsessing about crown moulding, I found this wonderful little horse at a local antique mall. After that, everything clicked...
A couple of crown mouldings and chair railings + a piece of plywood + the horse + some paint= highly personalized and unique wall art. At a fraction of what you would pay in a store or online (have you seen this wonderful vintage style by Ethan Allen? When it was still available, it sold for $262. This was also another source of inspiration for me).
So, with all that...here is how I brought to life the child of my latest brainwave.
***
First off, supplies:
- Wooden horse wall plaque
- Decorative mouldings in varying widths and patterns to create a series of frames
- 3/4 inch plywood sheet for the base
- Acrylic paints for details on the horse
- Annie Sloan chalk paint in Pure White, Paris Gray, Duck Egg, Graphite, Emperor's Silk, and Cream
- Minwax stain in Classic Gray
- Wood glue
- Painters tape
- Decorative stencil and stencil brushes
- Computer/printer for word transfer
- Wax paper for word transfer
- Heavy-duty hanging hardware for drywall
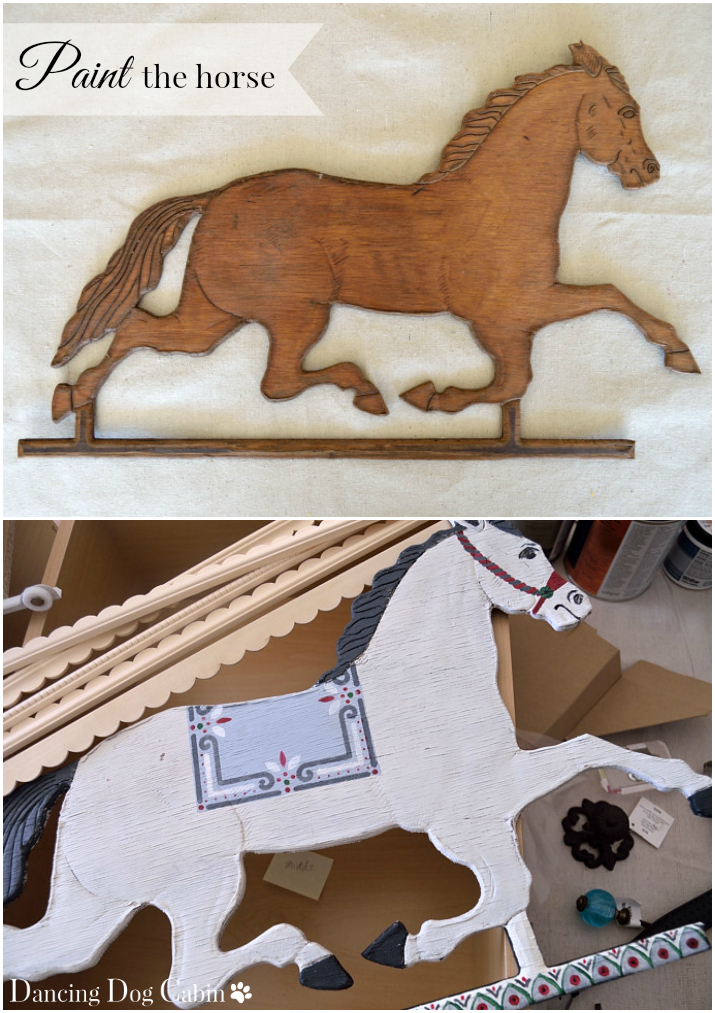
First Step: Paint the Horse
I'm sure this guy decorated some little boy's western-themed bedroom in his previous life, but I wanted something more Frenchified (but on the rustic side of French, nothing too fine and fancy). I also wanted something reminiscent of the circus, but in a vintage way.
I used these clip art images from The Graphics Fairy as my inspiration for transforming the horse from Old West to Fanciful Circus.

I used both chalk paint for the overall color and acrylic paint for the saddle, bridle, and the strip of wood below the horse.
Because I want to incorporate more touches of black throughout the living room (hasn't happened yet), I used touches of soft black (Graphite chalk paint) throughout this piece, starting with the mane and tail on the horse. Pure White mixed with a touch of Paris Gray for the body; Paris Gray for the saddle. I used a stencil to add some simple decoration to the saddle.
Second Step: Prepare the Plywood Base
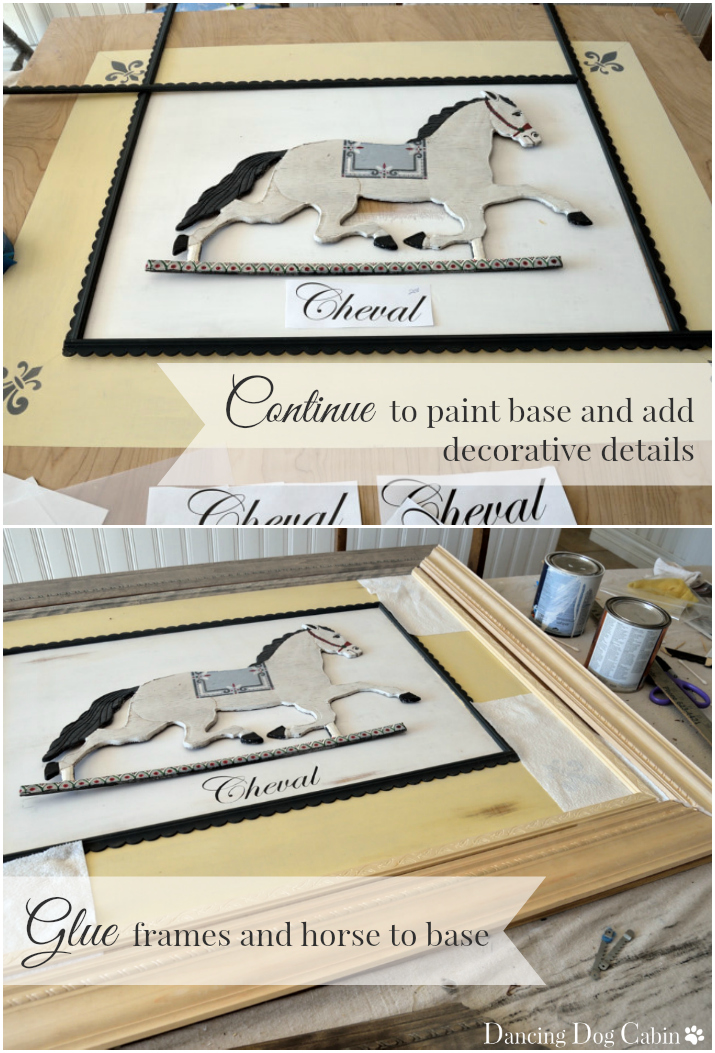
I marked the location of each frame on the plywood base using a pencil and painters tape. I painted the plywood with Cream (really, more of an ivory yellow) chalk paint, Pure White chalk paint, and a thin strip of Emperor's Silk chalk paint on the outer edge, and added some additional fleur-de-lis details in the outer corners (acrylic paint).
I completed all the painting and detailing (including the word transfer, see below) on the plywood before gluing down the frames (and the horse) so that I didn't have to work around the glued pieces. Also lightly distressed the painted plywood with a fine grit sandpaper to give it an aged, worn appearance.

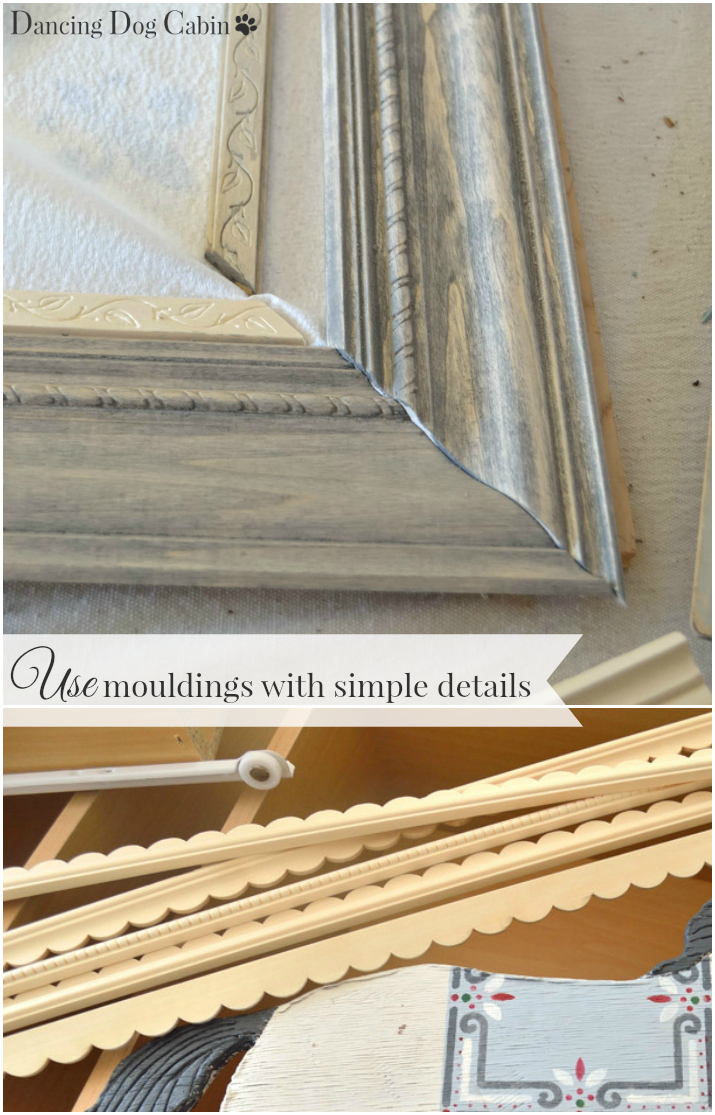
Third Step: Paint the Frames and Glue Them In Place
I chose three moulding pieces in varying widths to create a series of frames, including a small crown moulding for the outside frame. I used pieces with fairly simple decorative details-- I didn't want anything too lavish or overpowering-- remember, 'Rustic French'.
I found it easiest to build the frames before gluing them down. This consisted of:
- Cutting the end of each piece at a 45 degree angle (as I note above, my husband took care of this step).
- Staining and painting the mouldings of each frame: Classic Gray stain for the outer/crown moulding frame, Duck Egg chalk paint for the next floral frame, and Graphite chalk paint for the inner scalloped frame.
- Gluing the 4 pieces of each moulding type together at the corners to create the final three frames.
I piled a lot of big, heavy books on top of each frame once they were glued in place to ensure full contact between the frame and the plywood sheet and to prevent any warping.
Fourth Step: Word Transfer
To reinforce the Frenchiness of the whole thing, I added the word 'cheval' under the horse using the wax paper transfer process explained here. This also added to this piece the graphic element that I really love in old, vintage and reproduction signs.
I practiced the actual transfer process several times using scrap wood, and once I transferred the word to my piece, I had to darken it using black acrylic paint and a fine paint brush. As you can see from the practice pieces below, the end result of the transfer process is pretty light and faded (I felt like the final image on my piece needed to be darker and bolder).
Note for the practice pieces below: I experimented on my computer with different values of gray and black font colors. A lighter gray font color yielded the very light, faded image seen below, while 100% black resulted in the darker image, which was still pretty faded and distressed looking.

Final Step: Hang It Up
Fourth Step: Word Transfer
To reinforce the Frenchiness of the whole thing, I added the word 'cheval' under the horse using the wax paper transfer process explained here. This also added to this piece the graphic element that I really love in old, vintage and reproduction signs.
I practiced the actual transfer process several times using scrap wood, and once I transferred the word to my piece, I had to darken it using black acrylic paint and a fine paint brush. As you can see from the practice pieces below, the end result of the transfer process is pretty light and faded (I felt like the final image on my piece needed to be darker and bolder).
Note for the practice pieces below: I experimented on my computer with different values of gray and black font colors. A lighter gray font color yielded the very light, faded image seen below, while 100% black resulted in the darker image, which was still pretty faded and distressed looking.
Final Step: Hang It Up
The last step was, of course, to hang it on the wall. Once again my very handy husband helped me out (this thing is really heavy). We used two d-ring style hangers on the back and drywall fasteners to hang it securely on the wall.

This project was really a companion project to the dresser transformation; I really wanted a strong focal point at the far end of the living room, and the large, dimensional presence of this horse wall art piece combined with the oversized dresser/console achieves that.

I keep throwing around the word 'French' in this post, in part, because when I think of architectural salvage I often think of trumeaus. Trumeau has two definitions: (1) a column supporting a tympanum of a doorway at its center, or (2) a mirror having a painted or carved panel above or below the glass in the same frame (and usually a lot of other carved and ornate frivolity in some of the more elaborate pieces). Essentially, both both are architectural and decorative elements that originated in France; one supports doorways and arches, the other decorates walls. Obviously the piece I created here is more in line with the second definition (very loosely, I know).
This project was really a companion project to the dresser transformation; I really wanted a strong focal point at the far end of the living room, and the large, dimensional presence of this horse wall art piece combined with the oversized dresser/console achieves that.
I keep throwing around the word 'French' in this post, in part, because when I think of architectural salvage I often think of trumeaus. Trumeau has two definitions: (1) a column supporting a tympanum of a doorway at its center, or (2) a mirror having a painted or carved panel above or below the glass in the same frame (and usually a lot of other carved and ornate frivolity in some of the more elaborate pieces). Essentially, both both are architectural and decorative elements that originated in France; one supports doorways and arches, the other decorates walls. Obviously the piece I created here is more in line with the second definition (very loosely, I know).
***
So, is it a trumeau, a sign, a picture? A little of the last two, I would say, with a slight nod to the carved detail of a trumeau thrown in for good measure.


Thanks for visiting!
***
Most likely linking to the following this week....
Tablescape Thursday at Between Naps on the Porch
Bouquet of Talent at Life on Lakeshore Drive
Party in Your PJs at the Cookie Puzzle
Lou Lou Girls Fabulous Party at Lou Lou Girls