Friday, November 28, 2014

Quick Christmas wreath how-to


Once we've moved beyond Thanksgiving, I'm ready for Christmas. Ready for the fun, the magic, and that excited, anticipatory feeling that I still get on Christmas Eve and when I hear Christmas music, even after all these years (remember what it was like when you were 6 and Christmas morning couldn't come too soon?).  Most of all, I'm ready for the bright, festive colors, especially my favorite accent color-- red.

I've thrown together a wreath to kick off Christmas 2014 using a red-checked ribbon and red berries, and what is fast becoming my favorite seasonal decorating staple-- the grape-vine wreath.......


......and really, 'throwing it together' is how it is with these handy things that you can pick up at craft stores such as Jo-Ann Fabric and Crafts or Michaels-- if you don't want to get too elaborate, it literally only takes a few minutes to put together something that looks pretty fabulous... and fits quite nicely with a more casual, rustic approach to Christmas decorating (can't wait to try these things out at our cabin, once it's done).   


I like the rustic, viney-ness of grape-vine wreaths.  Because the sturdy, twisting texture and the warm brown colors stand on their own as a decorative element, I like to keep it simple and use seasonal embellishments sparingly and as a complement to the wreath itself. I also like the practicality of these things-- if you don't use hot glue, you can use them over and over again.....  


Here is the process I use to create Christmas wreaths each year as I start off the season throughout my house.

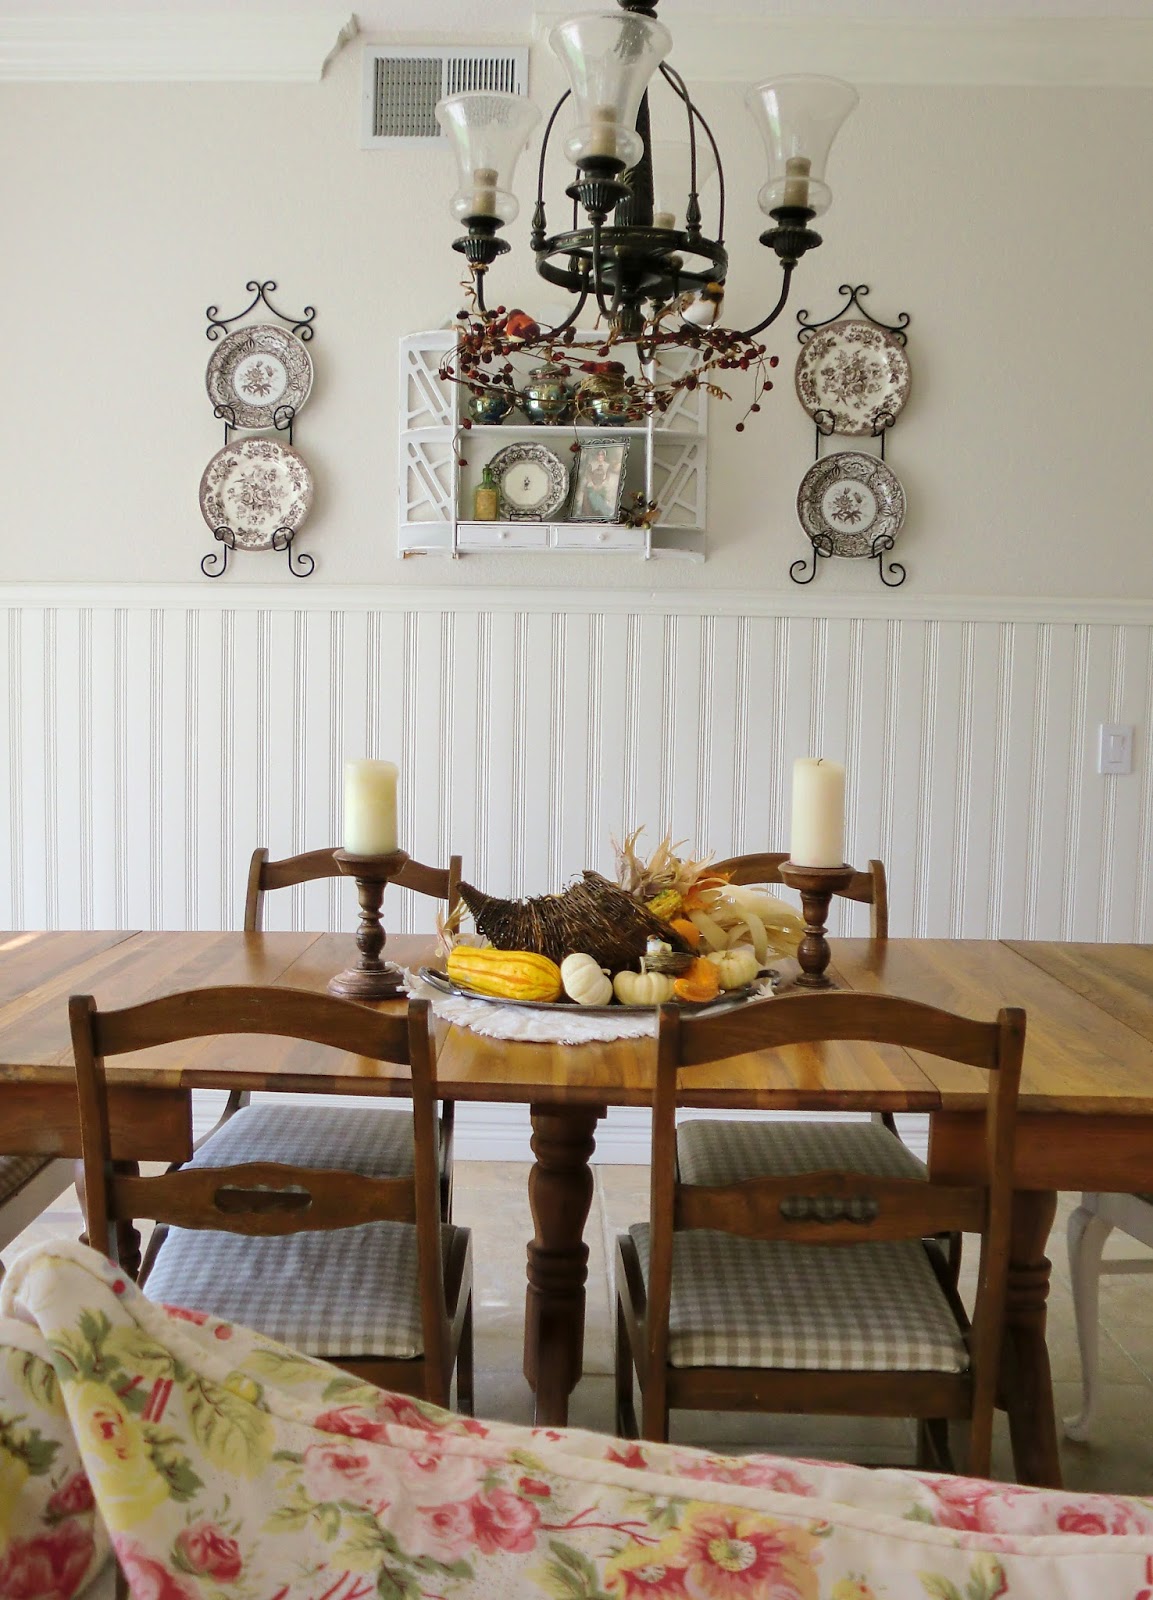
First order of business is to set up a wreath-making station on a drop cloth on my dining room table.... a sort of one-woman, wreath-making assembly line (is it an assembly line if there is only one person assembling?).


I've created a Christmas wreath here, but by switching the red berries and the red-check ribbon for something else, you could have an entirely different sort of wreath in just a few minutes.  You can throw together a wreath for any holiday or for every day pretty quickly by using greenery collected from your garden.  I like to use rosemary and bay leaves because I have a lot of it, it lasts a long time and still looks good, and it goes so nicely with the French country theme that I love so much.


I find that the the right tools make any kind of project go so much easier... for this kind of project, heavy-duty wire snips are needed to easily cut heavy gauge wire with minimum effort.


I've used a small grape-vine wreath in this post...these come in a medium- and large-size as well.


First wreath of the season all done!  This probably took less than five minutes to create.  


Linking to...

Wow Us Wednesdays #197 at Savvy Southern Style
at French Country Cottage
Best of the Weekend at Little Miss Celebration
Show and Tell Friday at My Romantic Home
The Scoop #147 at Cedar Hill Farmhouse
Wreath Ideas to DIY at the Nesting Place


Sunday, November 16, 2014

Ideas for late-fall decorating

Once I put Halloween away, I tend to keep it simple and use lots of natural elements for a general fall ambiance in my house.....trying to save my energy for the big Christmas blitz which approaches much too fast.


Bowls of fruit work very nicely if your house isn't a 'fall color' house.


I use the color orange very sparingly....


.......this little pumpkin and the leaves on the shelf below look nice with the deeper, more masculine notes in the entertainment center and doesn't fight too much with the raspberry- and cherry reds in the rest of the room.


I do love whimsical, and this little bird-character holding a clock is just that.


I've been experimenting with different ideas for a Thanksgiving tablescape since we will be hosting Thanksgiving this year.   


The chandelier above the dining table gets the natural treatment thanks to a berry-and-grapevine garland, more little birds to look down on us as we feast.  Here is something I'm liking quite a lot at the moment-- wired twine or, more accurately speaking, heavy-gauge wire wound with twine. Great for hanging stuff and wiring things together when you want a rustic look.  You can find this at most craft stores.


I found these miniature apples and pears, as well as the chestnuts, in a grocery store produce department.  The apples are about the size of a ping-pong ball, the pears not much larger.  Tip for shopping the produce department for decorations-- look in the organic produce section, that's where you will find the unusual and unique things.


I collected the leaves and acorns scattered throughout this post during a trip to Yosemite Valley a year ago.  Fall in Yosemite is incredible with the deep oranges, bright reds, yellows, and deep burgundies of all the deciduous trees found in the valley-- California black oak, bigleaf maple, black cottonwood, Pacific dogwood-- set against the dramatic, towering granite walls of the valley. I brought a little of that home with me as a reminder of a very special place....


You don't have to use candle holders for candles.....


......these candle holders work very well as display pedestals that can be used as a vignette anywhere or in a tablescape.


Linking to
at Cedar Hill Farmhouse
at Savvy Southern Style
at French Country Cottage

Sunday, November 9, 2014

Flowers: faux versus real

I've embraced the idea of faux flowers...... I think. There is no doubt about it, there is no comparison to the real thing-- the depth of color, the subtlety, the fragrance.... I even like the imperfection you get with real flowers, which is certainly what you get if you don't stay on top of fertilizing and controlling disease... (hah, I should have pulled off that nasty-looking leaf in the front).


But they soon wilt and fade away and, with my very limited free time, I tend to forget about them until suddenly the house is filled with the lovely aroma of rotting vegetation.  

"Hey Hon, why does the house smell like a swamp?" I hear my my husband ask loudly from the other room as I stand and stare sadly at my brown and dead flowers. Why indeed.  Because I haven't had the time or energy to put together new flower arrangements.  

One of my favorite time-saving tricks is to buy flowers from the grocery store and then augment them with roses from my garden. The colors of these 'Graham Thomas', 'English Rose', 'Evelyn', and 'Pat Austin' roses are especially lovely.....   


......when mixed with the brilliant fall flowers that are available everywhere right now.  Not having much in the way of interesting berries growing in my yard or near my home right now, and being nervous about bringing anything that might be toxic to my dogs into our house, I like to use the many imitation berries that are available in craft stores to add a pop of fall color.  Dried flowers add interesting texture-- as shown below.  


But, even with the convenience of using store-bought flowers, you still have to go through this process repeatedly if you want flowers in your house.  So, after the flowers shown above died off, I thought I would give the fake stuff a whirl.......    


I tried to replicate the colors in the real flower arrangements I had created before, such as this one shown below, with a gorgeous coppery-orange 'Pat Austin' front and center.....


.....which I think is mimicked fairly well here in this 'imitation' arrangement...


... and here in another one....


A little bird on the stairs... Using birds and other small creatures in flower arrangements (real or imitation) and your decor in general adds a lively new dimension that can be very pleasing.  


So my conclusion for now is that it's a lot of fun to play around with faux florals, some of which are very pretty-- I especially like the rose and the purple chrysanthemums (I think that is what they are supposed to be) shown below.  It satisfies my creative urge and gives me something else to blog about.....


Will it replace the real thing?  No, definitely not, but I will certainly use them from time to time when I can't bother with real flowers (or when my roses happen to not be blooming).


What to do you think?


Linking to the following:
  at Cedar Hill Farmhouse
Wow Us Wednesdays #195 at Savvy Southern Style
at French Country Cottage

Sunday, November 2, 2014

Decorating with brown transferware

Until recently, I collected red transferware only.  A few years ago, about the same time I decided it might be nice to have some brown transferware for fall, specifically for Thanksgiving, I stumbled upon a fantastic deal in an antique mall-- a huge collection of brown Tonquin Royal Staffordshire transferware drastically marked down.  Talk about serendipity.  I snapped it up and---voila!---had an instant collection with which to decorate (and eat off of) to my heart's content.


Lots of dinner plates, salad plates, bowls, saucers (no teacups), a few serving pieces-- mixed in here with other non-Tonquin pieces.  


Here is a close up of the pattern-- 'Tonquin'.  This is exactly the same pattern as my favorite red transferware collection.  Depictions of Chinese scenes are common in transferware, since the 'transferware' process was a method used in the 18th and 19th centuries to economically mass-produce inexpensive ceramics that emulated the very costly hand-painted porcelain being imported from China at that time.


Here is the mark.  Did a little research and found that these are one of the many patterns created by Clarice Cliff when she designed pottery for the Royal Staffordshire pottery factory in England after the 1920s.


Since getting the initial Tonquin collection, I've added other brown transferware things like this gravy boat and dish.....


.... and other Royal Staffordshire patterns as well as Spode on the wall. 


Since the colors in our house tend towards cranberry, raspberry reds and pinks, I avoid the red-brown transferware patterns and go for the darker, more neutral browns.....


...which I find look pretty fabulous with the dusky pinks and apricots of these  'Evelyn' and 'English Rose' blooms...


...as well as the rest of the colors in our house.  I don't worry very much about getting a total match to what I already have.  Too much matchy-matchy can look sterile.


A close-up of one of the serving platters tucked away in the little book-nook on our stairs... for more on how I decorated our stairs this fall, please have a look at this post from a few weeks ago.  There is some variation in the colors in this collection-- as you can see, the color in this piece has a more reddish cast.


When decorating, I like to use patterns and motifs found in one object in other elements in the room.  The fantastical birds and roses on this plate are repeated more or less on the love-seat slip cover...


....and come to life here on the sideboard.


Picking out the apple-greens of the fruit and birds and the pink of the rose in the decorative tray hanging over the sideboard......


and plunking them right down on the little desk that sits catty-corner.....


In fact, throughout this post, you can see an exuberant floral, natural theme in the fabrics, lamp details, pictures on the wall, the ceramic pieces, the flowers, the little creatures. Repeating a motif over and over keeps the eye moving and looking, and creates an interesting, layered look.


I love the way the sinuous curve of this little crane's long neck plays off the tall, simple vase in the background and echos the botanical profusion of the fresh flowers and the more stylized roses and leaves scattered along the border of the serving dish.  


Evening light adds a new dimension to all this.  I like the contrast between the way things look at night, when colors are more subtle, shadows lend more mystery......


...and in the morning, when everything is fresher and more vibrant.


Happy Fall!


Linking to at Cedar Hill Farmhouse and at French Country Cottage.